|
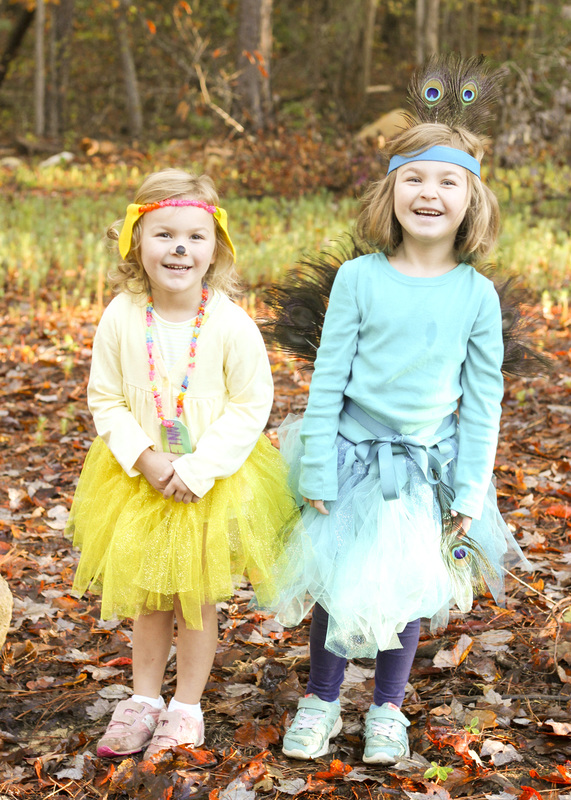
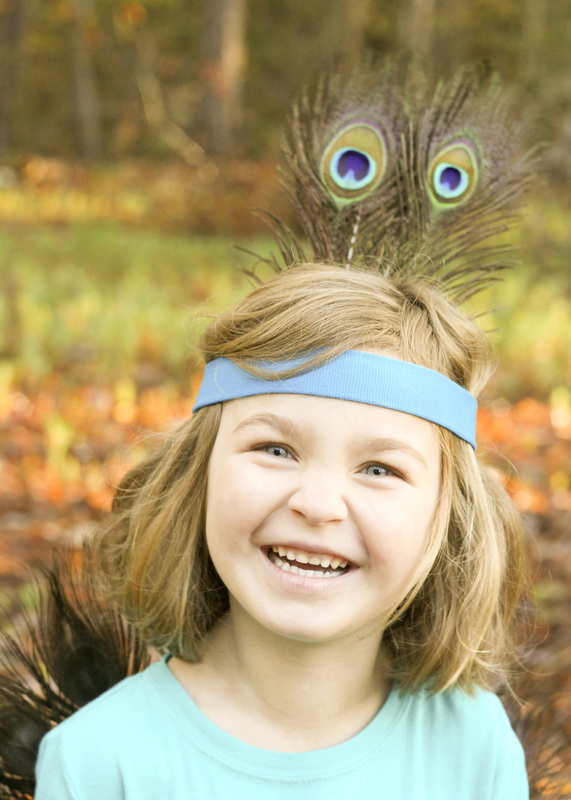
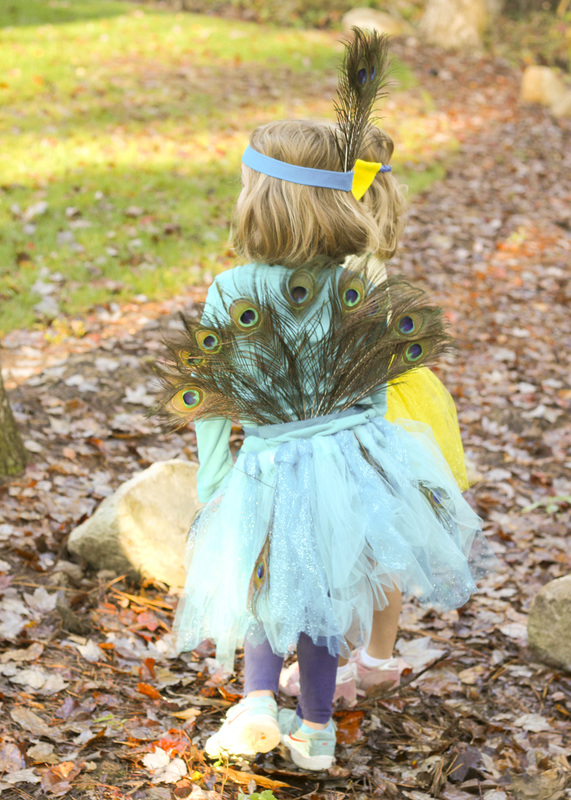
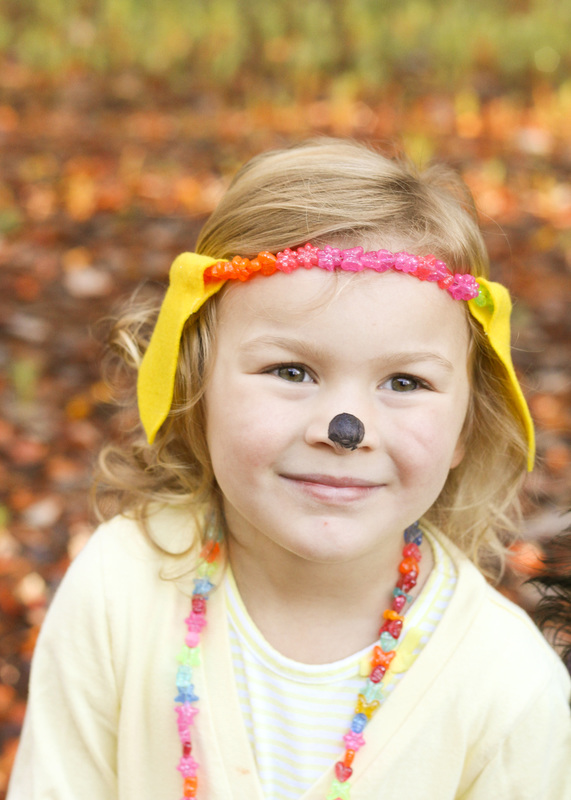
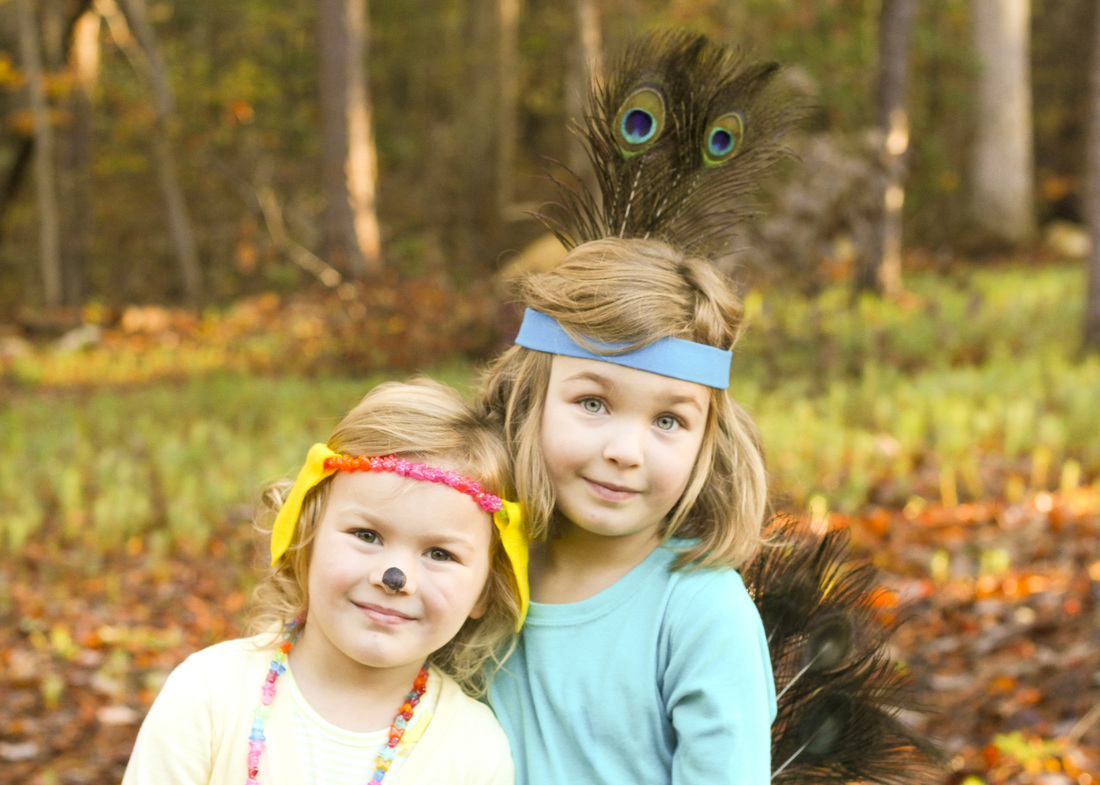
I looked out into the backyard to find our yellow lab, Finn, hanging out with a peacock. Happy Halloween from our wild animals!
0 Comments
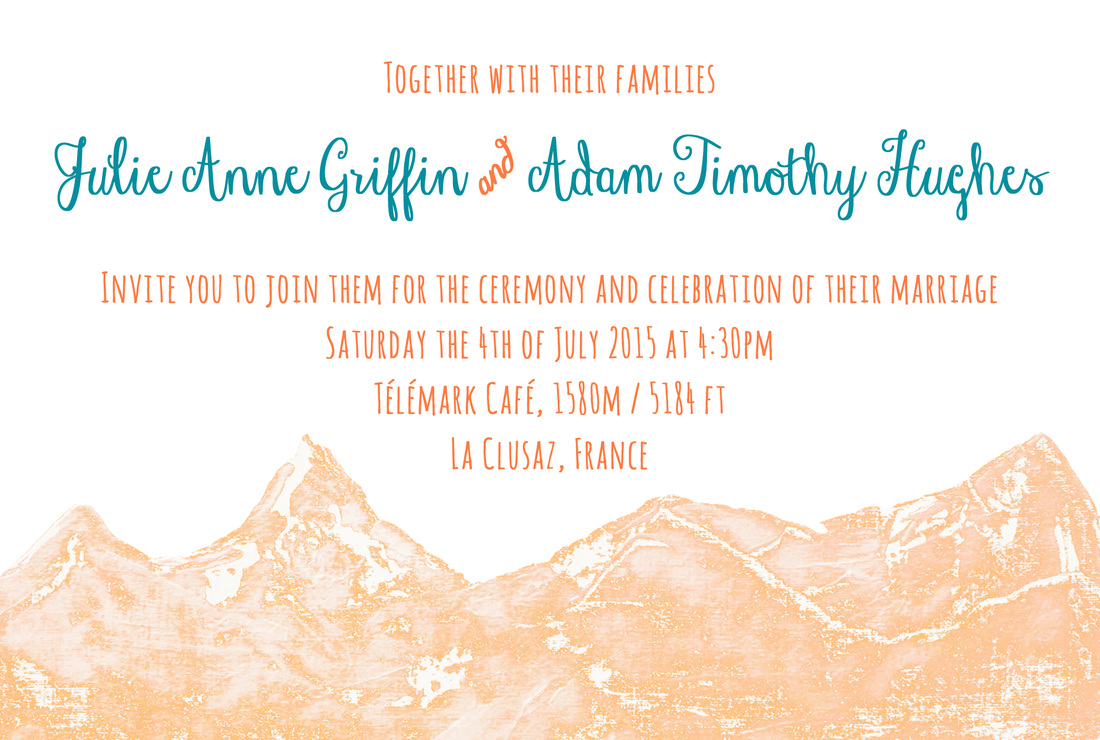
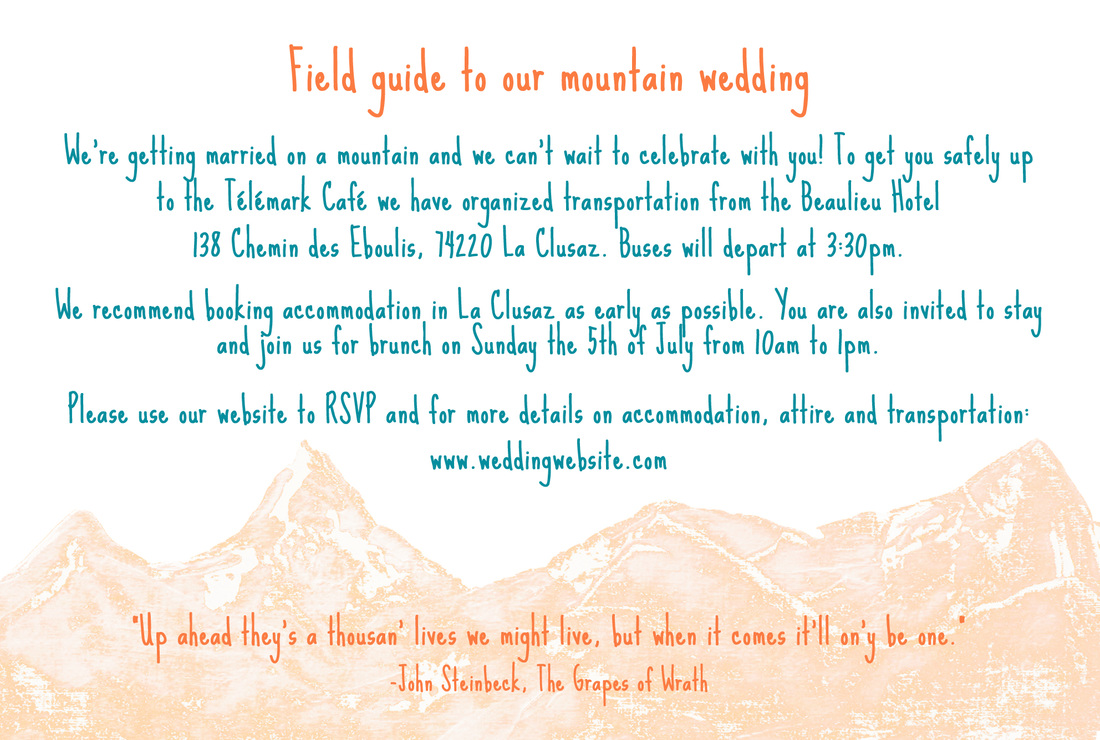
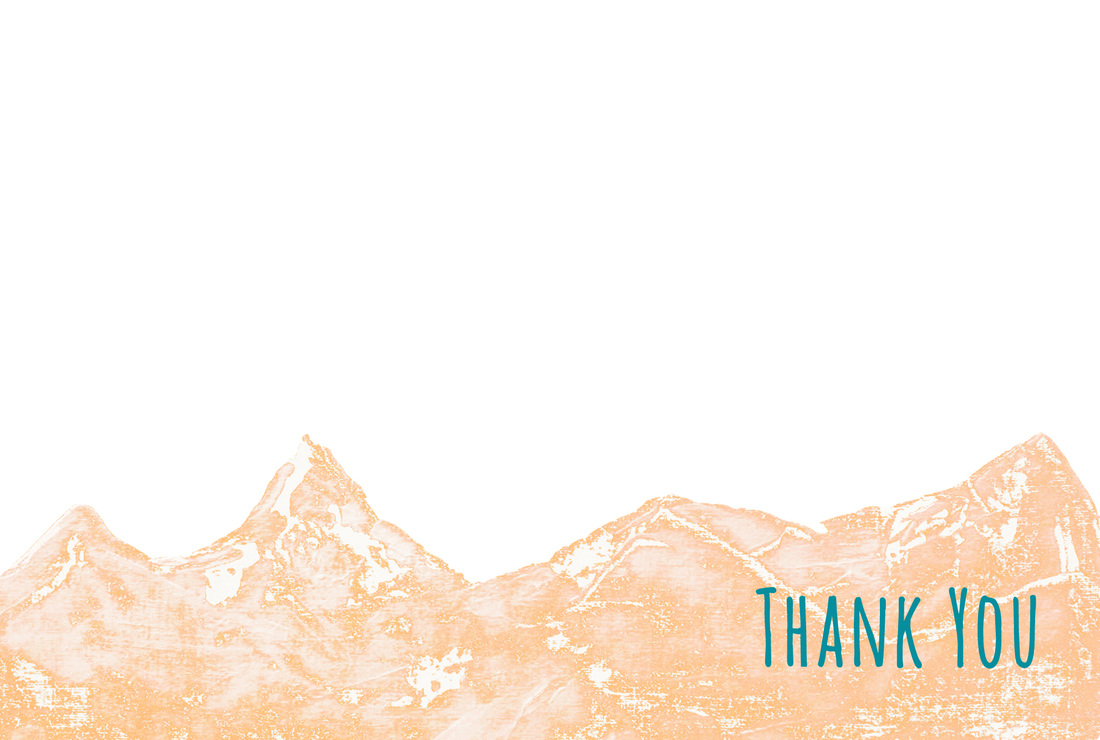
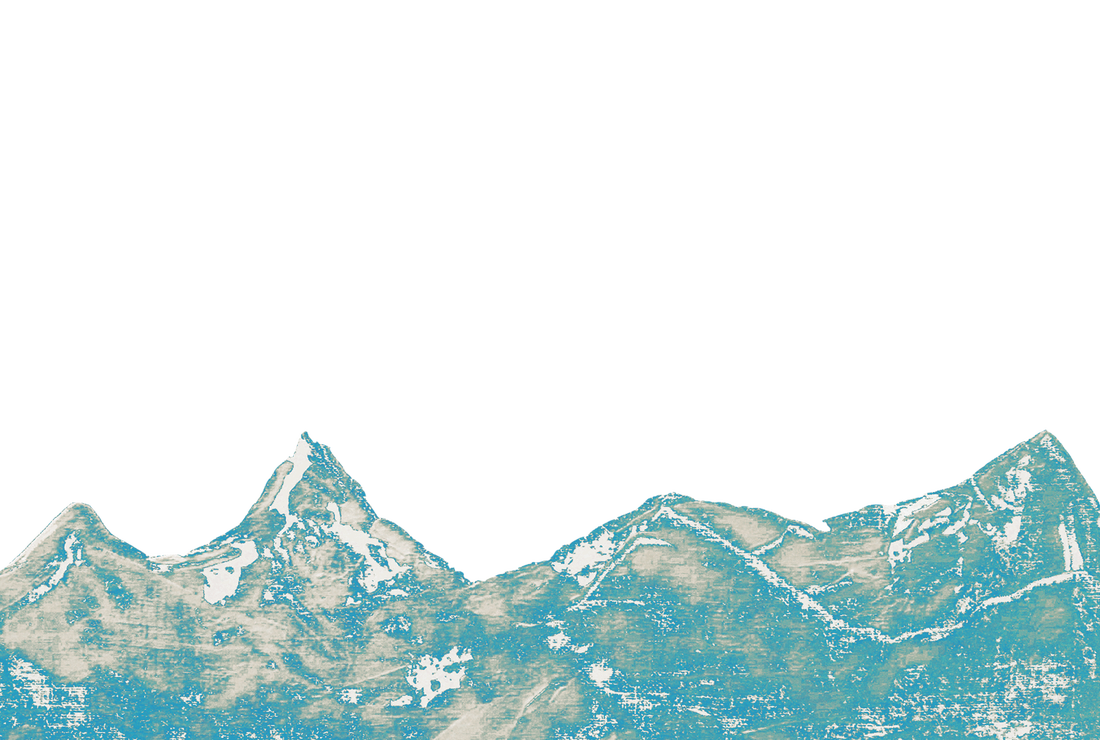
Last spring a college friend, Julie, asked me to design invitations for her wedding in the French Alps. She had seen the invitation suite I created for my sister's mountain wedding (here and here) and wanted a similar feel. While she had a concept in mind, she needed a designer to pull it together and polish it. The really neat thing about these invitations is that Julie's fiancé painted the mountain landscape. The original painting was in blue, but they'd settled on an orange and teal color scheme, so we played around with shades until we found the right combination. Above: Typically you stick to the same fonts throughout, but while Julie loved the all-caps font on the invitation itself, she wanted to make sure the field guide was very easy to read since it contained so much information. So we selected a more versatile font with a similar feel. We also lightened the mountains to highlight the quote in orange. Above: Front panel of the thank-you notes. Above: Julie wanted a teal version of the mountains that she could use for place cards or signs around the wedding venue, so I created file she could edit herself or just print and hand write information on.
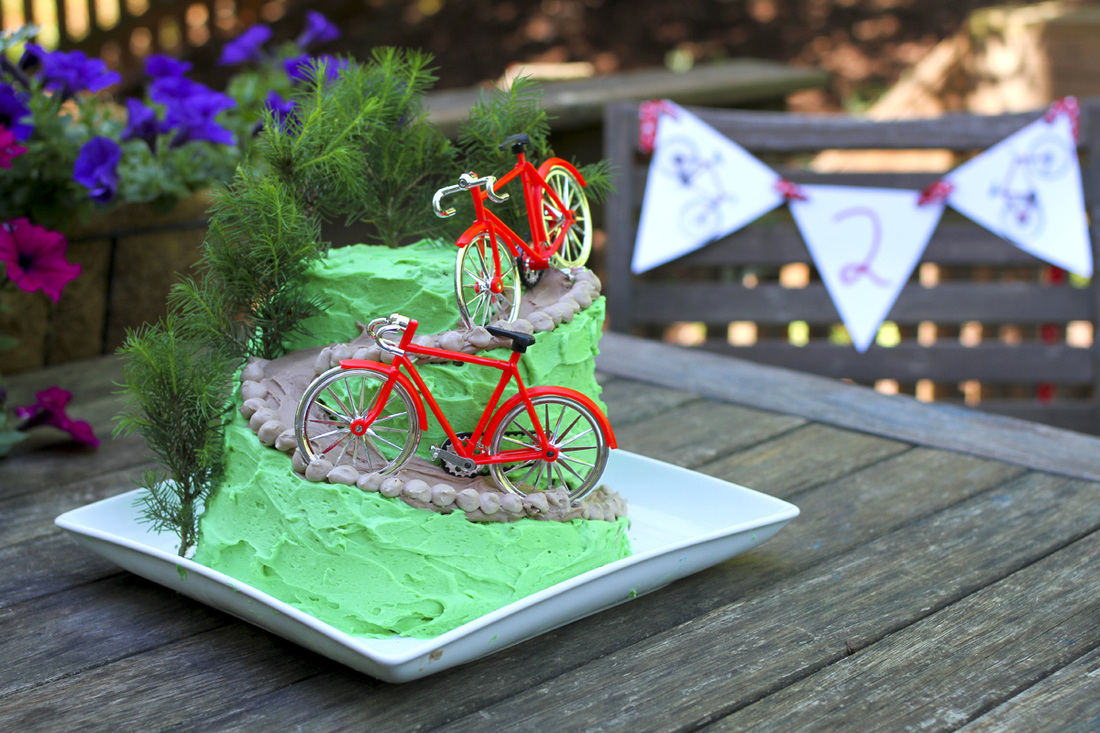
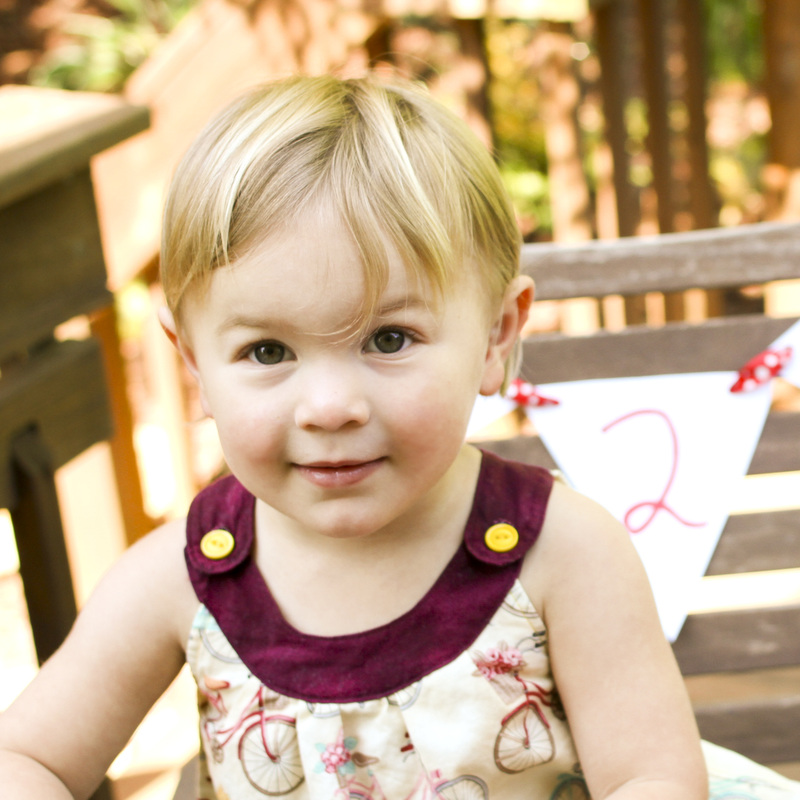
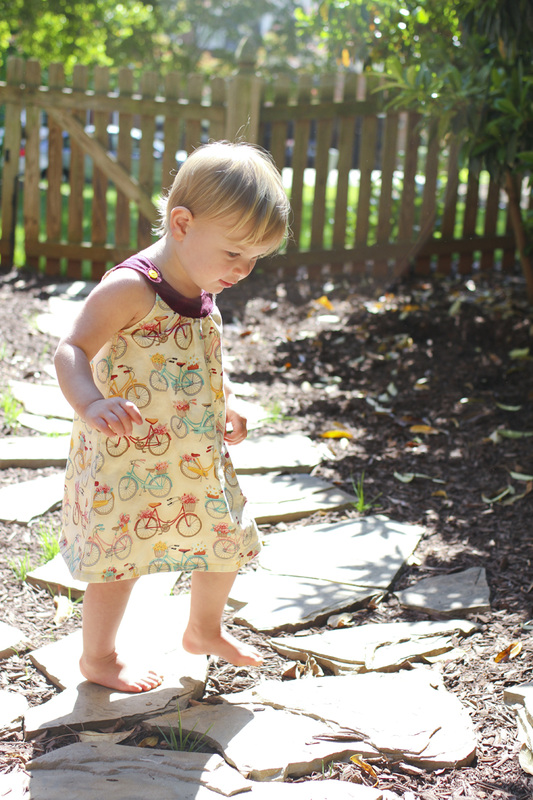
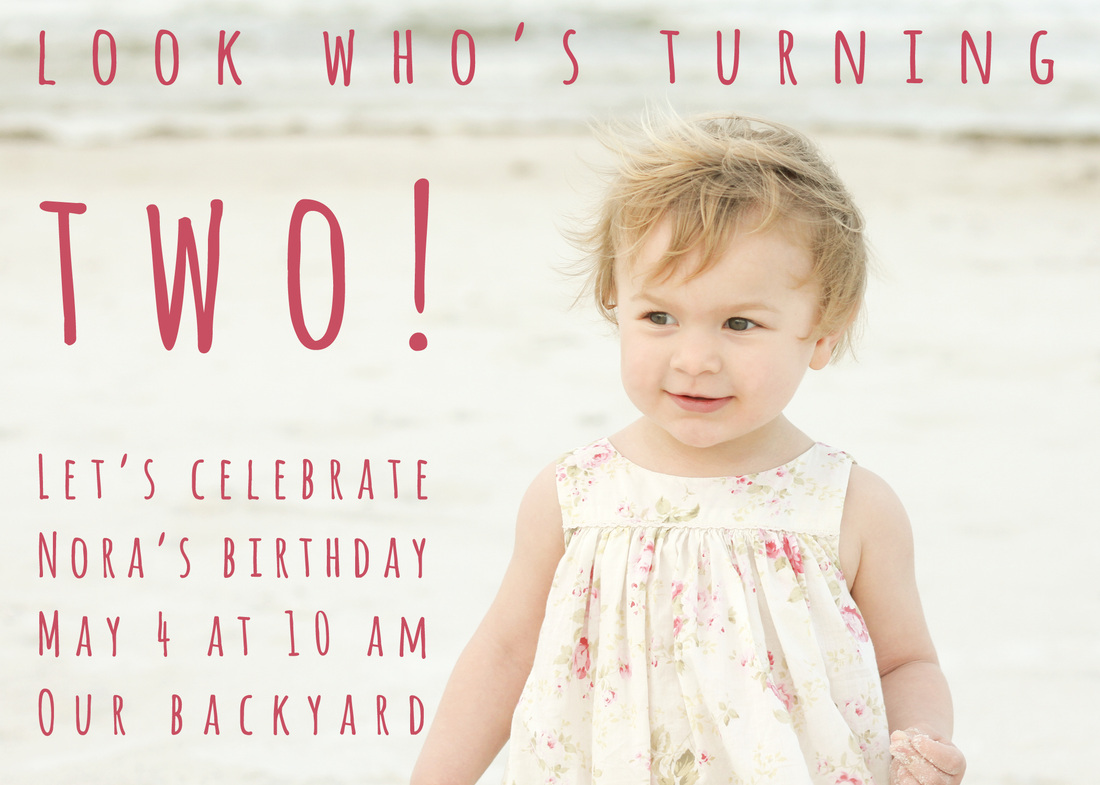
Congratulations, Julie and Adam! Thanks for letting me be a part of your special day! Whether she's sitting in our bike trailer eating a lollipop, riding a tricycle on the back deck or pedaling furiously on her pretend bike (the arm of the couch), Nora is obsessed with biking. We are too, so naturally we decided to have a bicycle-themed party for Nora's 2nd birthday. I may be more than two months late in posting, but I couldn't resist sharing a few snaps from the special day. Above: Thank goodness my engineer father-in-law was in town to help carve the path winding down the side of this mountain of cake or I would have been in trouble. You can find the inexpensive bicycle figurines here. Below: The birthday girl. Of course she needed some bicycle paraphernalia for her party. You can find this adorable dress here. One of these days, I'll post Nora's 2-year-old portraits from our trip to Florida this spring. In the meantime, here's a preview from her (non-bike-related) invitation.
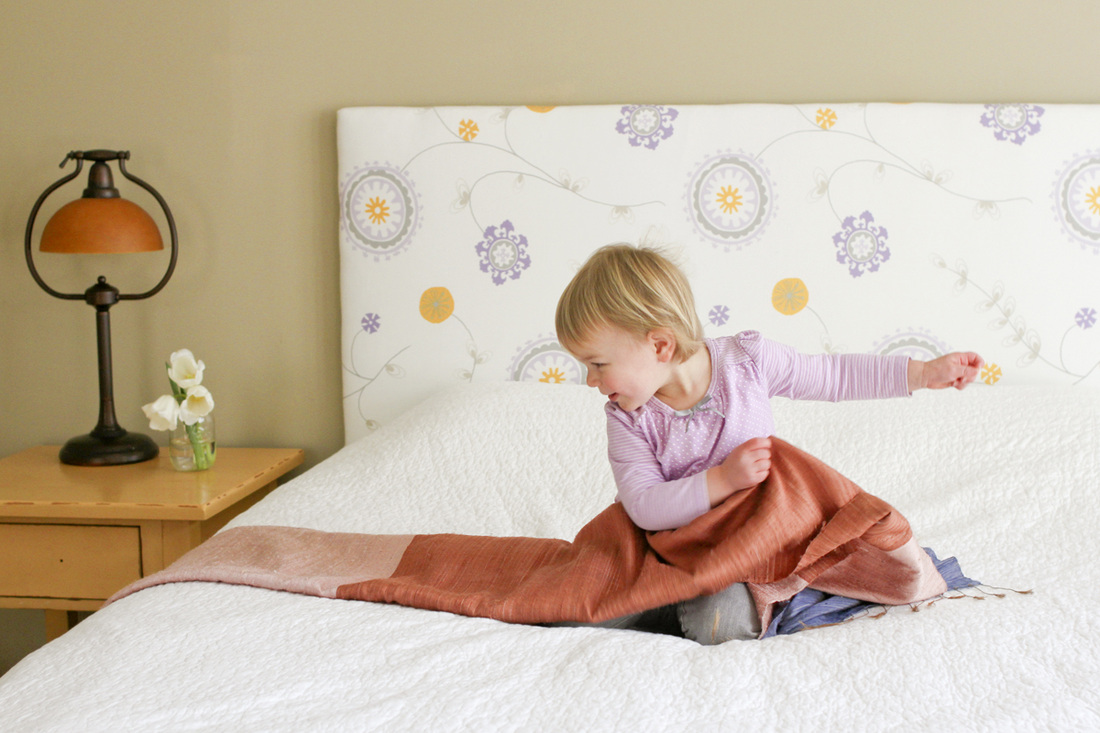
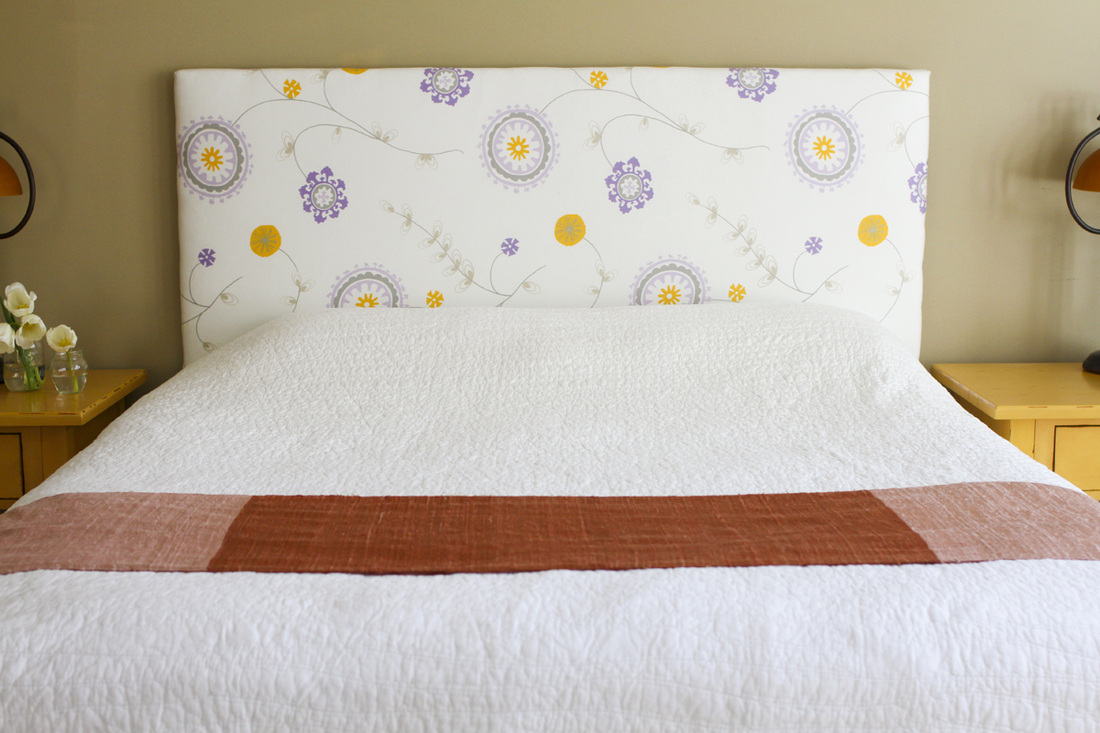
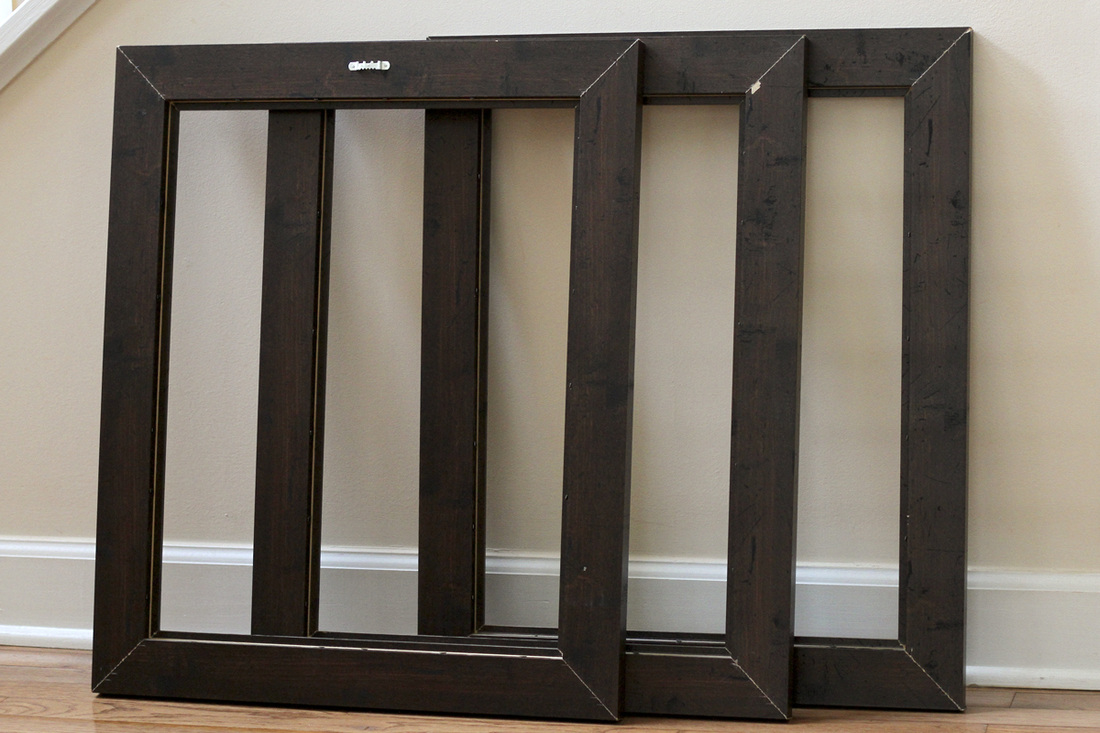
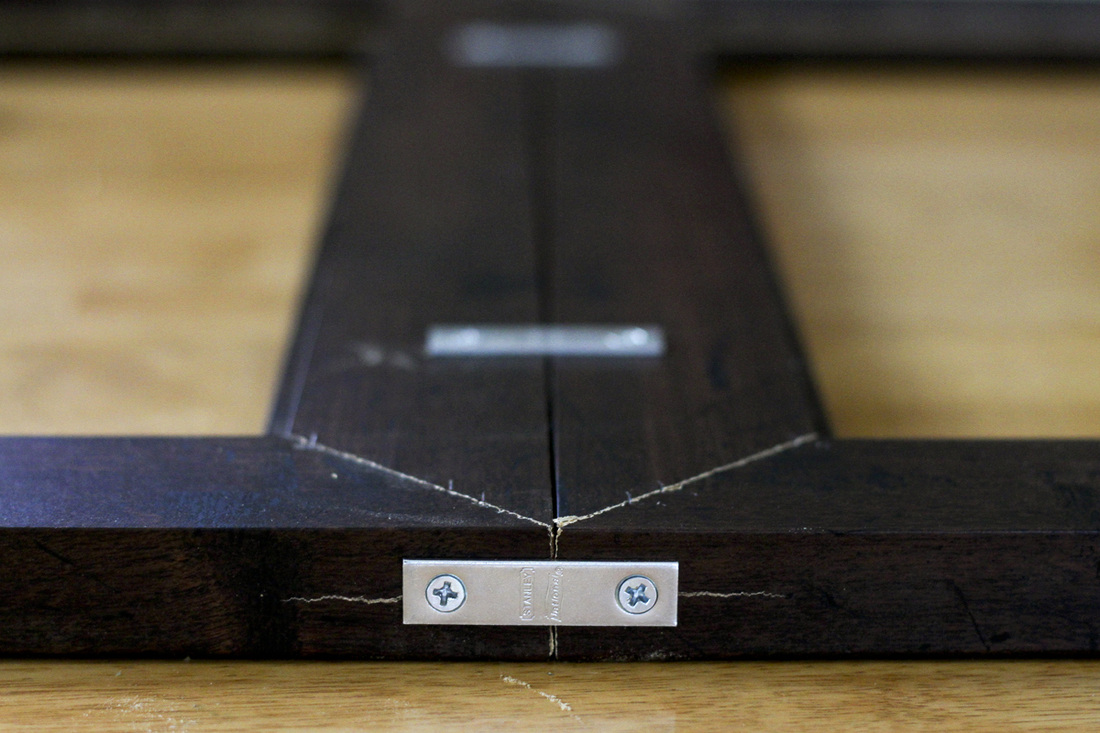
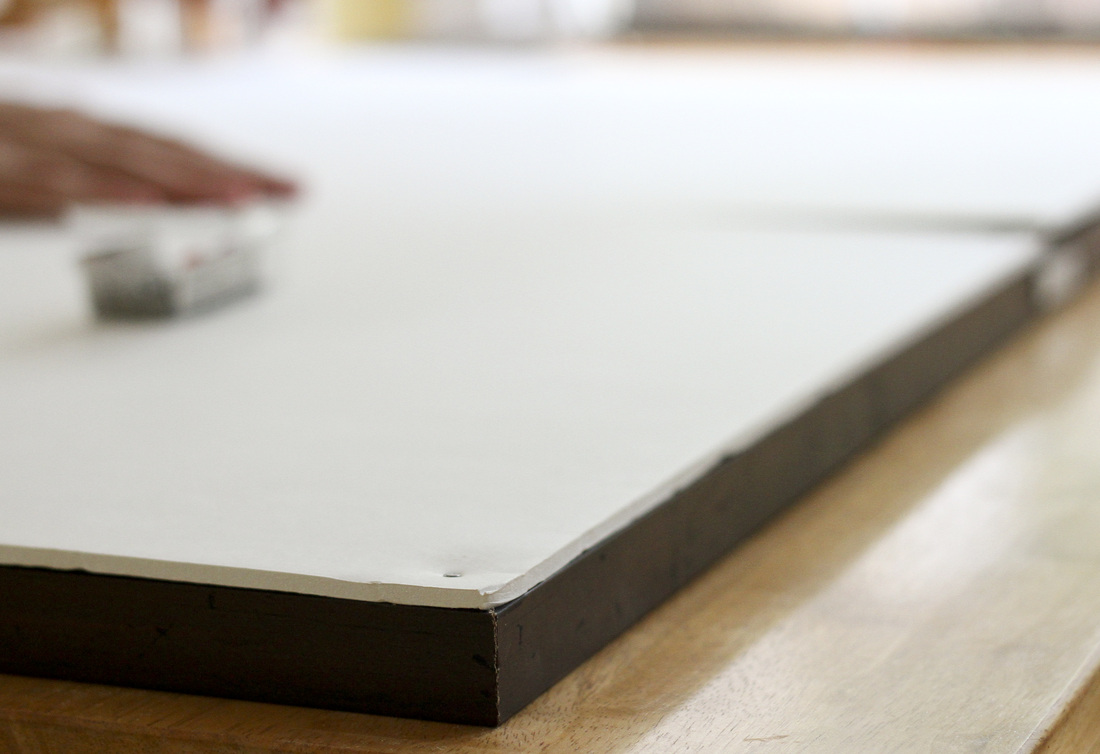
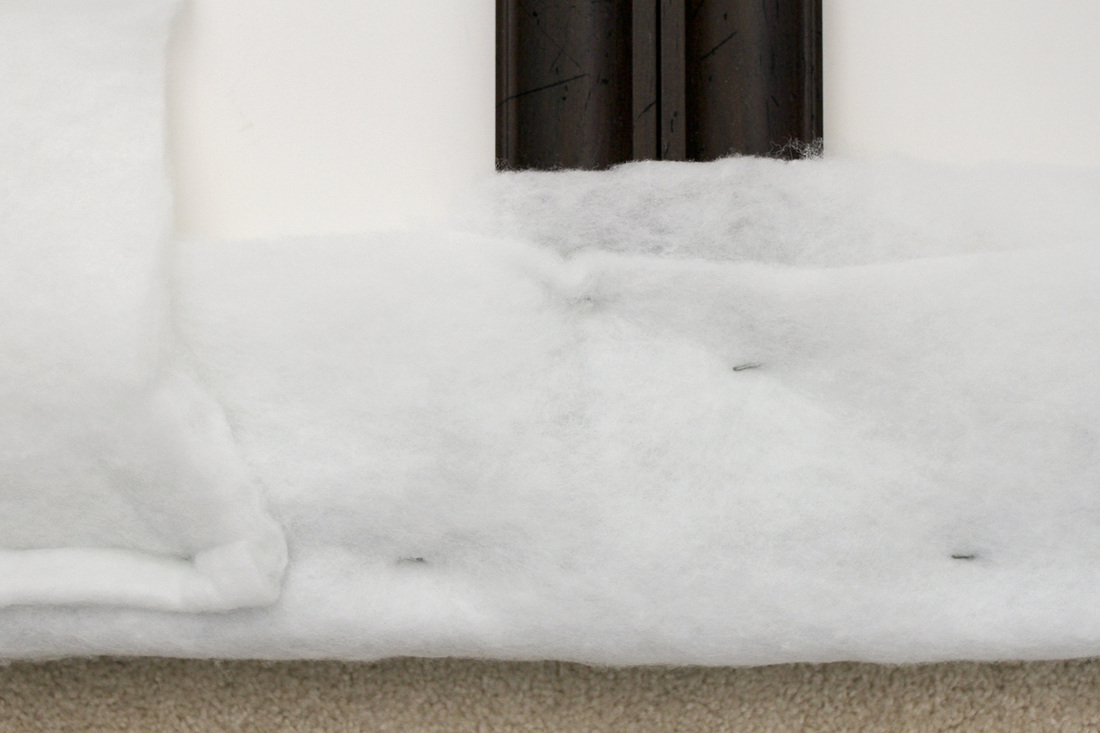
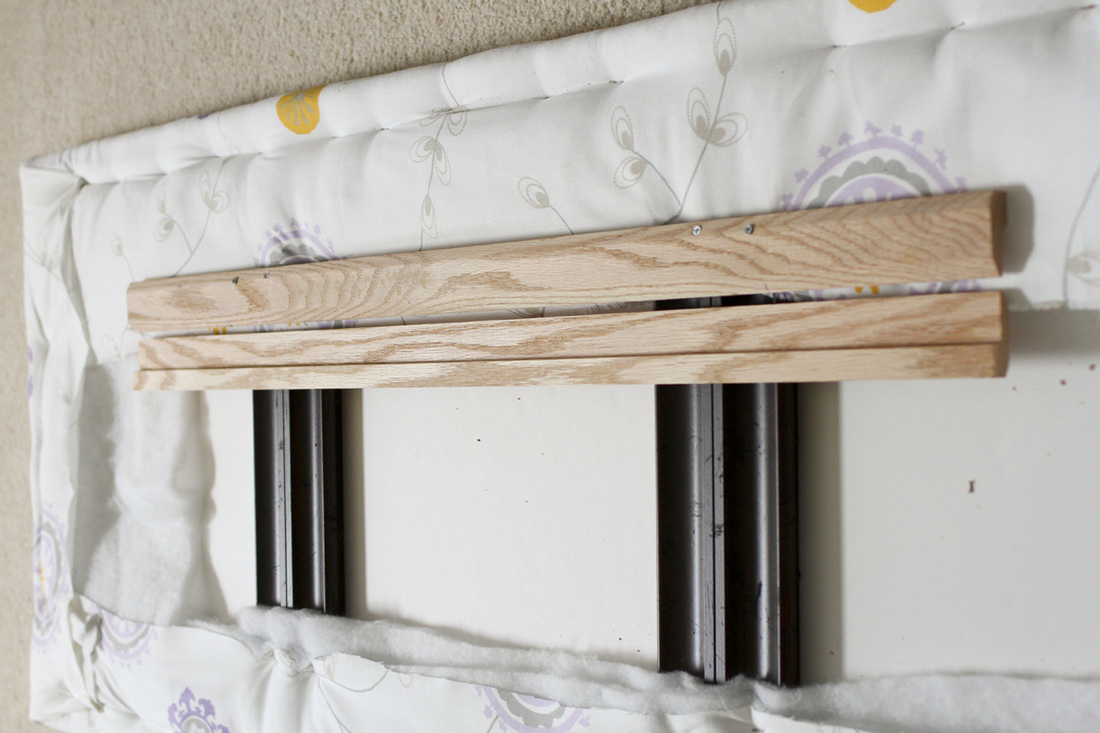
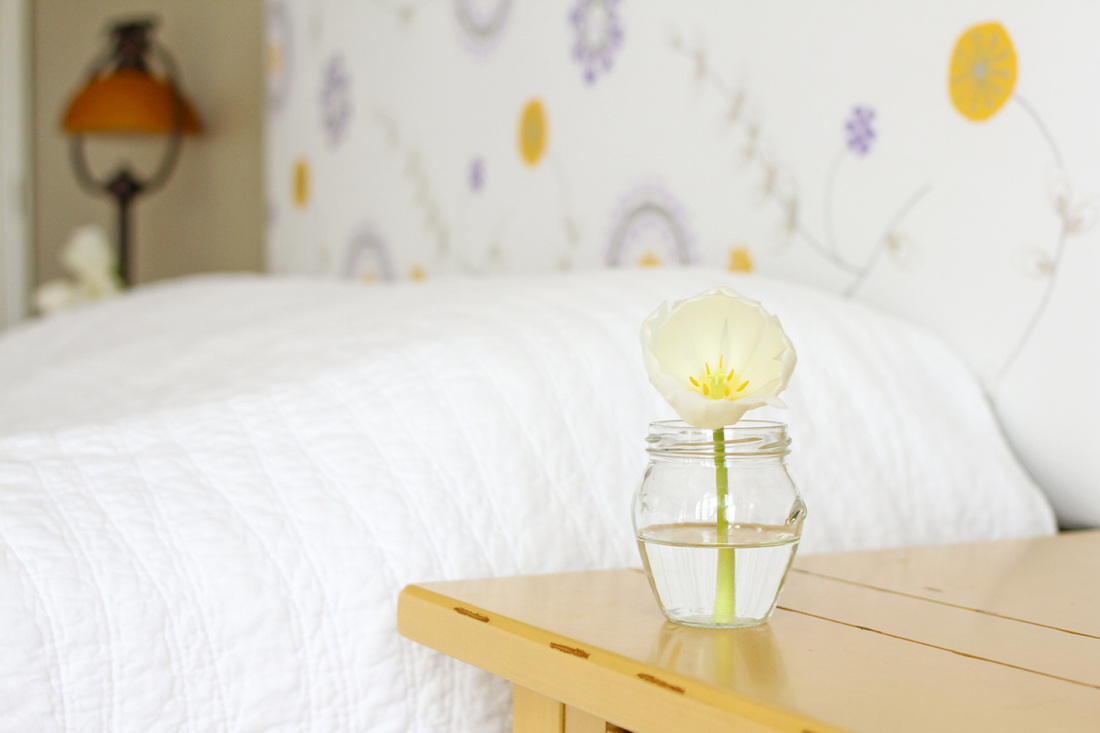
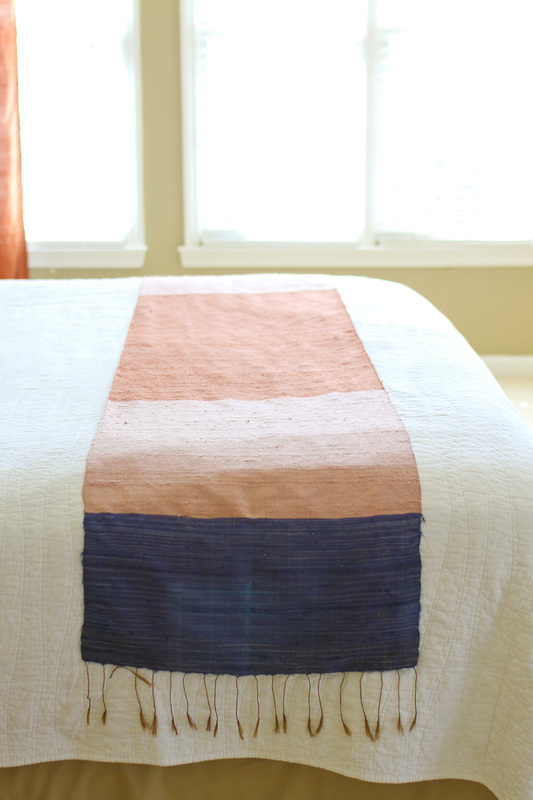
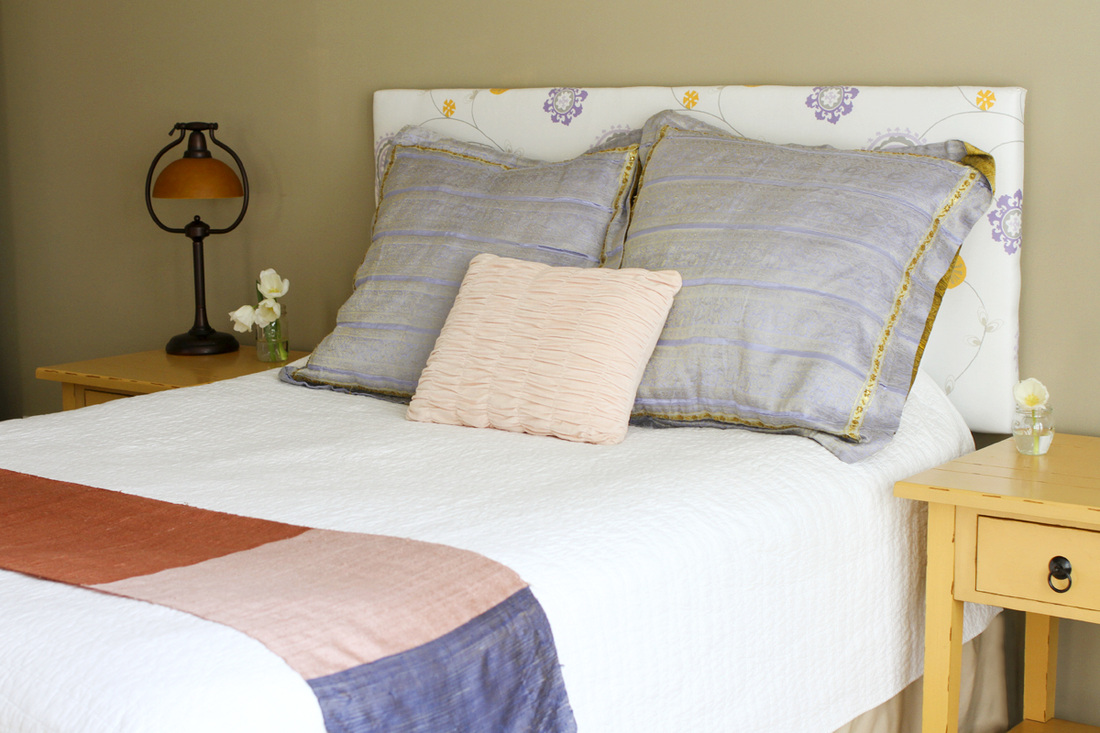
Only five short months after completion, I present to you the DIY headboard we made for our room with upcycled picture frames. It all started like this: You know the drill. You decide to switch out some wall hangings after a few years. Your significant other gets annoyed because you now have perfectly good picture frames kicking around the house unused and you have nowhere to put them since all your closets are packed to the brim a la Monica Geller. On a seemingly unrelated note, you've never found the perfect headboard for your bed. So one day you get creative and realize that if you tack three 20x24 picture frames together, they are the same width as a queen bed (60 inches). Aha! We decided to use the picture frames as a base for the queen headboard, then upholster it with the method we used to make Cricket's DIY twin bed. In a nutshell, here are the basic instructions. Remove and discard the glass and any hardware on the back of the frame used for hanging. If the picture frame is curved on the front side like ours, you'll want the flat back side (see below) to become the front of your headboard. With the front of the frames lying on a flat surface, tack together the backs of the frames with flat braces. You can see we tacked together the sides as well as the tops and bottoms of the frames. To fill in the holes in the frames and make a smooth surface for what will be the front of the headboard, cut foam board or cardboard to cover the entire surface (24 x 60 inches) and tack it on using small nails. Now you've got the foundation finished. Wrap the frame headboard in two layers of cotton batting and staple into place (like we did for the DIY twin bed). Wrap in headboard in fabric and staple. (You can find the inexpensive fabric we used here.) Despite tacking all the frames together, the headboard still wasn't very sturdy. So Jeff and his dad devised this hanging system, which helps hold the frames together. The top piece of wood is attached to each frame and to provide support along back. The bottom piece attaches to the wall. The top piece then slides into the bottom piece to secure the headboard to the wall. Here's the finished product. I'll warn you that it's still not incredibly sturdy. I don't know that the headboard would survive a move and wouldn't recommend it for a child's room if the child might hang on it. But it suits us for now. And I love how the fabric brightens the room. I couldn't resist sharing a close-up of this gorgeous silk scarf my best friend bought for me several years ago in Laos. And here is the final effect in our room (if we ever manage to get the pillows and scarf on the bed). My grandma helped me make the purple and gold pillow cases a decade ago using fabric I bought in India. They've followed me to every place I've lived since. The ruffled pillow is from Urban Outfitters, and the white quilt is from Target.
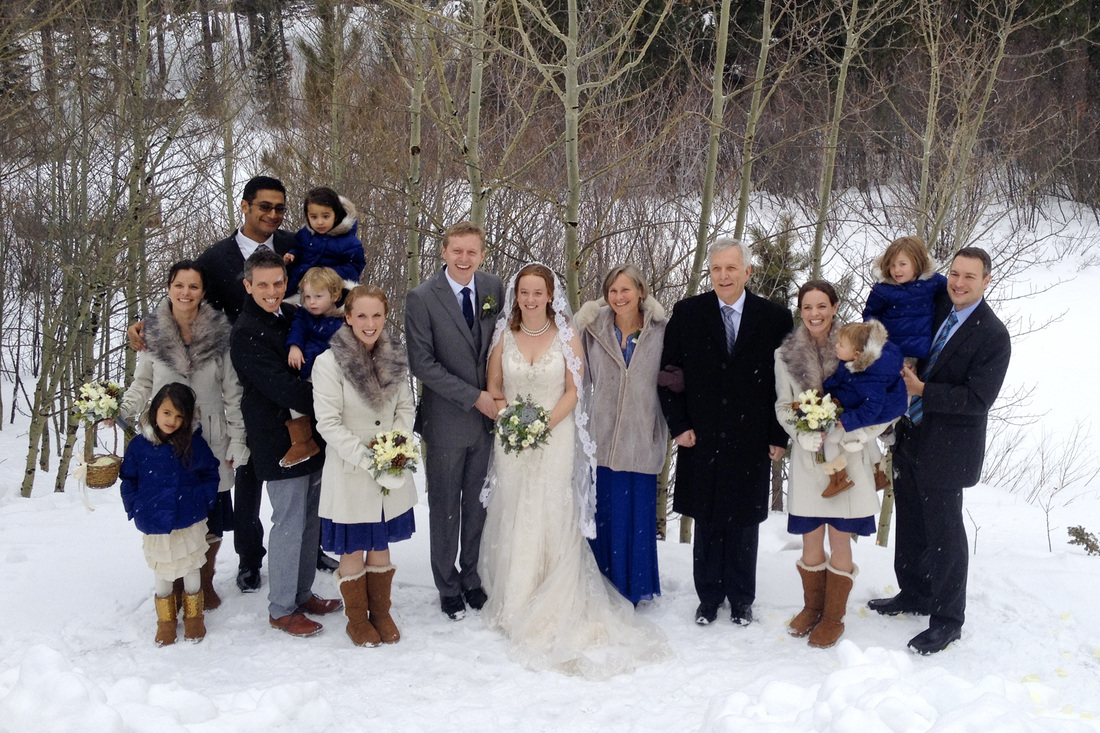
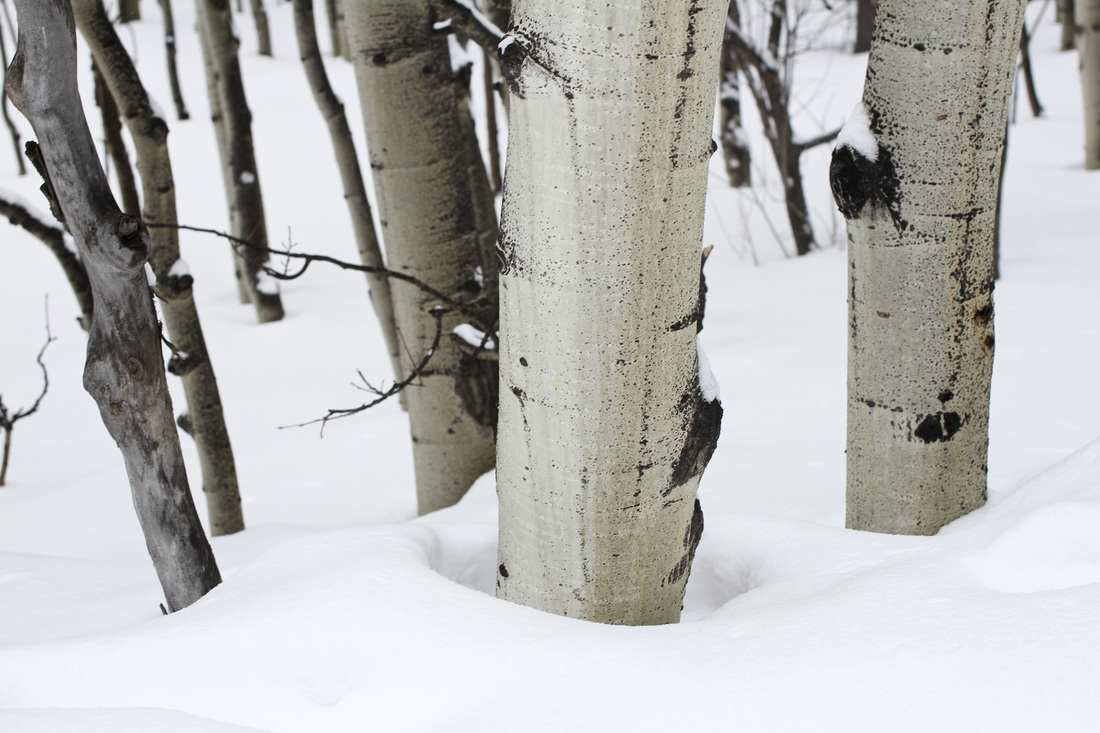
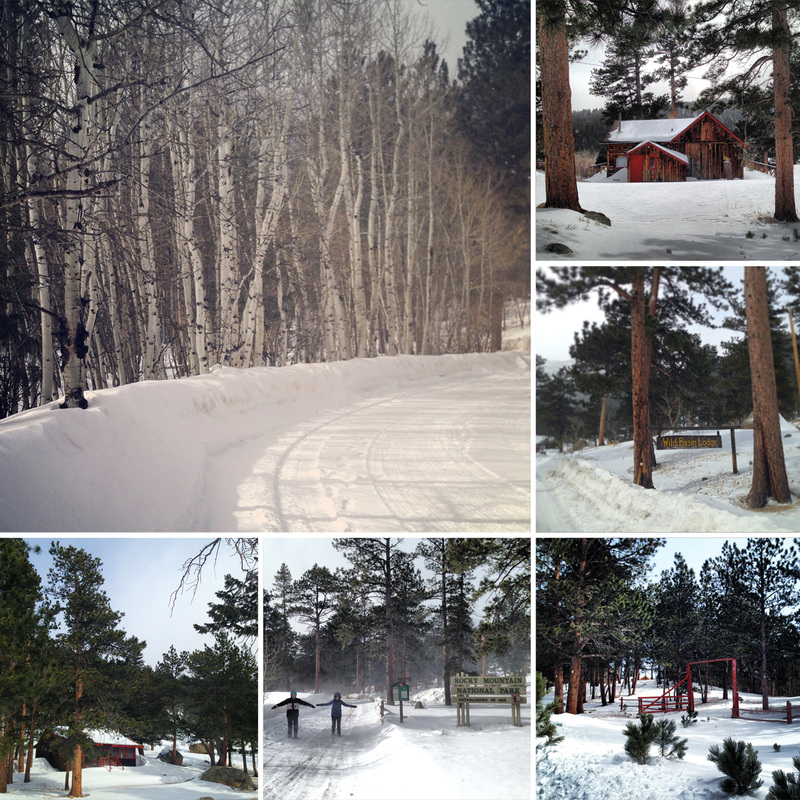
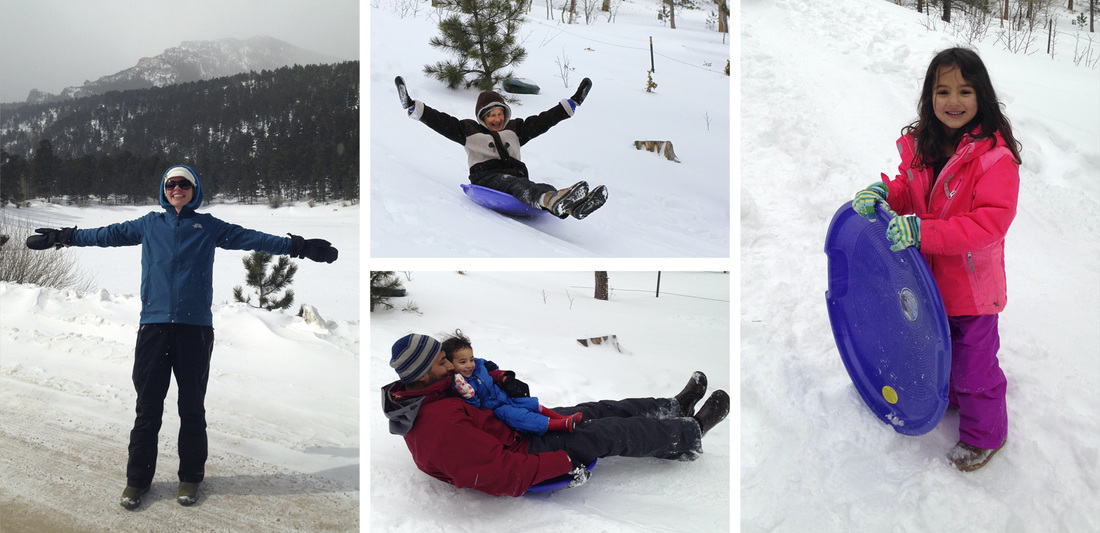
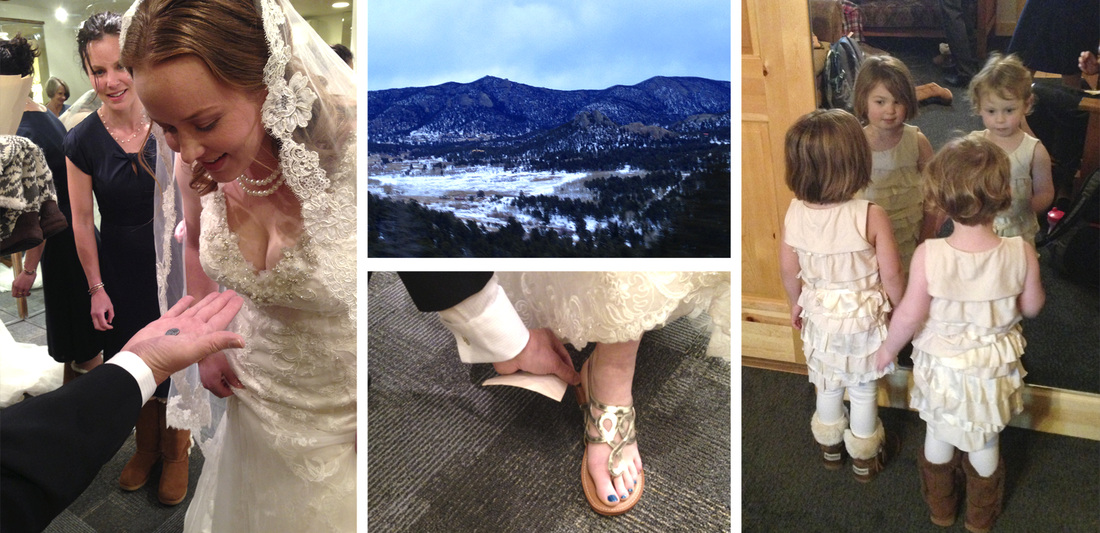
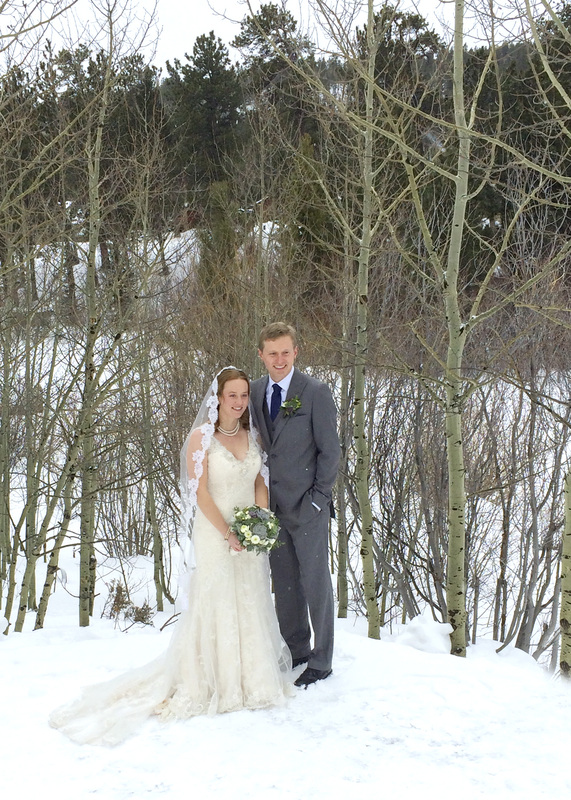
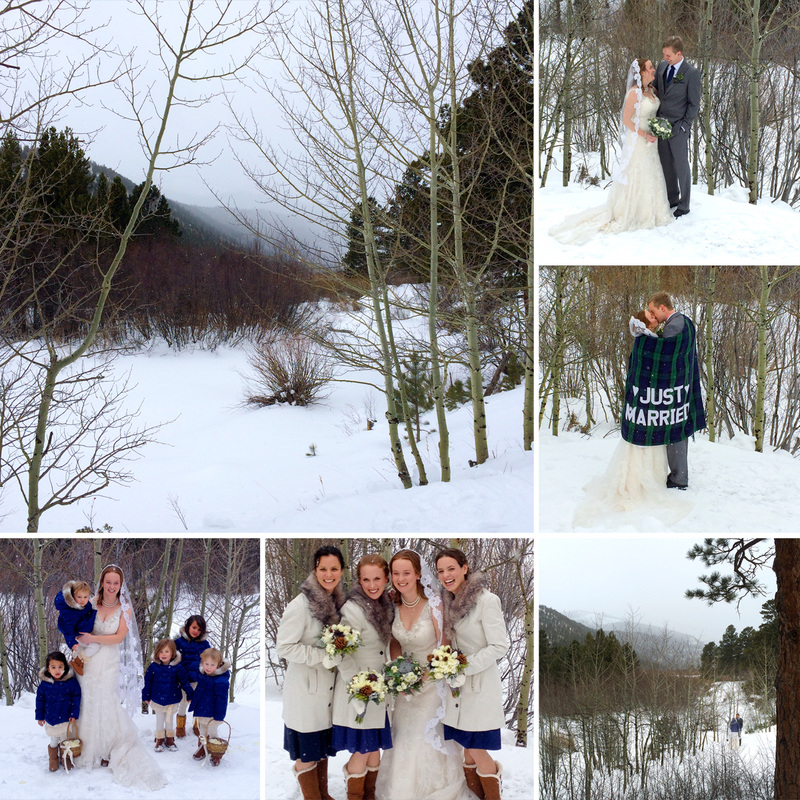
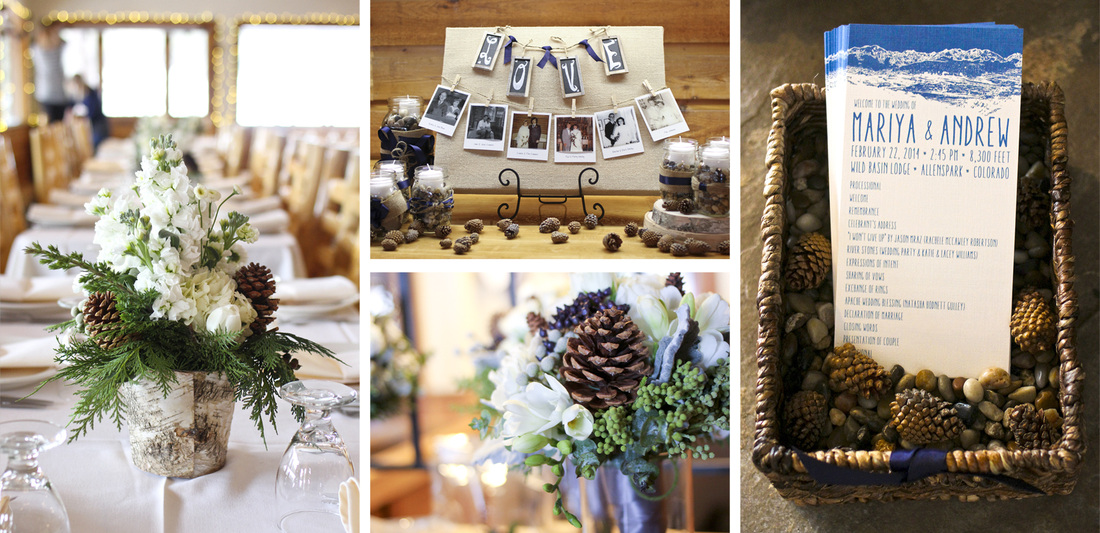
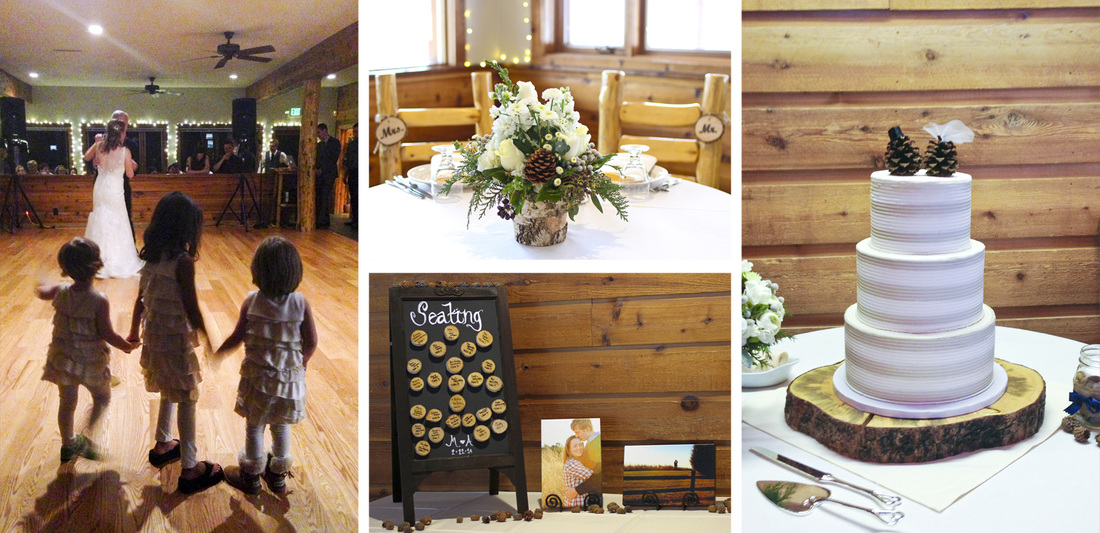
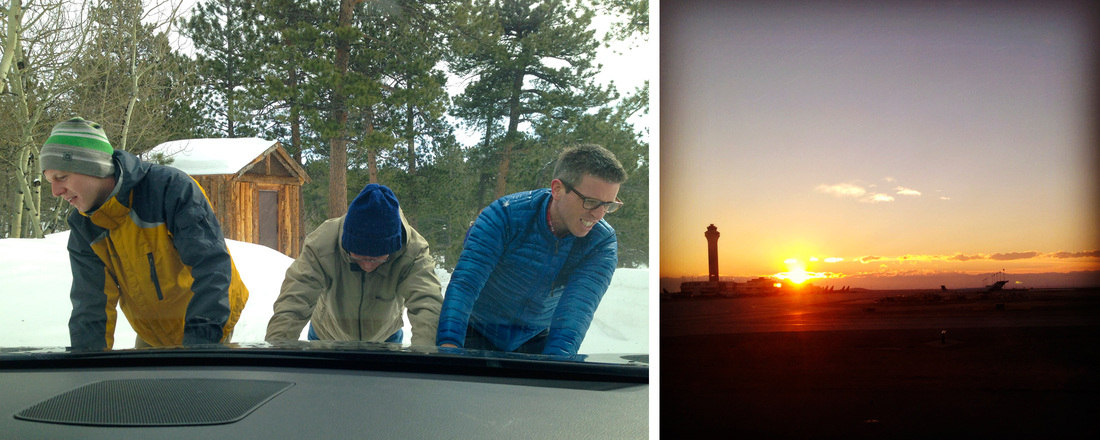
If you've been following this blog at all over the last few months, you know I've been entirely immersed in my little sister's wedding. (Previous wedding posts: here and here for more Colorado trip photos, here for save-the-dates and programs, here for wedding invitations, here for engagement photos, here for bridal shower photos and here for a DIY travel journal.) Well here's my final related post: photos from the wedding weekend. There are so many things I want to recount and remember about this event, but first things first. Let's set the scene. Planning a wedding in the middle of the winter in the middle of the Rocky Mountains at 8,300 feet was a risky maneuver, but boy did it pay off. The ground was covered with four feet of snow, and it snowed lightly but consistently each day of the trip. The wind was gusting up to 80 miles per hour. But to the crew of 50 guests, mostly hailing from Minnesota, Wisconsin or Colorado, these conditions were nothing to write home about. They just provided a dream-like backdrop for the big day. The wedding took place at the Wild Basin Lodge, which sits at a remote entrance to Rocky Mountain National Park, along the St. Vrain River. Most of us stayed at the lodge or cabins within walking distance of the lodge. Above: My immediate family has grown from 6 to 15 people in the last few years. I wonder what the next couple years will hold? (Thanks to my cousin, Katie, for taking this photo.) Below: A stand of aspen in snowdrifts in Rocky Mountain National Park. Here are a few winter scenes from in and around Rocky Mountain National Park's Wild Basin entrance. Oh, did I mention the wind was insane? My mom took this photo of me held up by the wind in the park. Plenty of sledders hit the hill in the backyard of our cabin, including...the mother-of-the-bride (top center)! The rehearsal dinner took place at a cute little Italian restaurant called Mama Rose's on the river in Estes Park. It was dusk and snowing as we drove down into the beautiful town (below top center). I'd love to explore that area more on my next trip. My mom recently discovered an envelope that belonged to my great-grandmother, on which was written: "The ten (10) cent piece worn in my shoe when I was married. Aug. 24—1907.” Apparently it is a Scottish-Irish tradition for the bride's father to place a coin in the bride's shoe just before the ceremony. So my parents surprised my sister with this re-discovered tradition and my great-grandmother's coin from her wedding day more than 100 years ago. Below right: Flower girls Cricket and Iris check out their dresses before go-time. They couldn't get over the fact that they all got to wear matching outfits. The ceremony was supposed to happen outdoors with a view of the river and mountains, but it was too blustery and snowy. Instead it took place in the entryway of the lodge in front of a huge stone fireplace with a roaring fire. Life doesn't get more picturesque than that (though I don't actually have pictures, because I was busy being in the wedding). For official photos, you can check out a beautiful blog post by the wedding photographer, Meghan of Visual Poetry. You'll see the space was small—with just enough room for three or four rows of guest—which made it even more intimate and special. To prepare for Mari's entrance, we were led outside and up the back stairway. I will never forget holding her train and helping her up those stairs as light snow was falling and landing on her amazing red hair. Yep, it was a fairytale from start to finish. There were many moments from the ceremony I won't forget either, like watching Andy's expression when he saw Mari and when the flower girls walked down the aisle holding hands and Cricket stopped to hug her new uncle. Also: bagpipes! I know my Scottish grandpa was smiling from above. We took bridal party photos in front of the frozen St. Vrain River, surrounded by aspen and foggy mountains. Right middle: Sweet "Just Married" blanket, stitched by Andy's mom. Bottom middle: My sisters and me. It's not often we're all lucky enough to be in the same place at the same time. Bottom left: The flower girls (my girls and their cousins). (Thanks again to Katie for taking those last two shots.) The details and decorations at the reception were unbelievable. My sister is lucky to have crafty friends who were endlessly generous in giving their time to help with decor. (I should also note that when one friend, who played guitar and sang beautifully during the ceremony, found out the wedding was supposed to be outside, she began practicing in her backyard on cold nights to make sure her fingers were agile enough to play in adverse conditions. Now that is loyal friendship.) One thoughtful detail was the canvas below (top center). Mari found wedding photos of Andy's and our parents and grandparents and had them printed to look like Polaroids. It was hard (for me) not to cry looking at all those beautiful images of lifelong commitment. The floral arrangements by Floral Designs of Europe were incredible and unique. Below right: I love the basket full of river stones and pine cones Mari and her friends devised to hold the wedding programs. Below left: The flower girls couldn't keep themselves off the dance floor while watching Mari dance with my dad. Below bottom center: The seating chart was adorable. Everyone's names and table assignments were written on little blocks of birch stuck to this board. Next to the board, you'll see canvases of the engagement photos we took in January. Below right: Bride and groom pine cone cake toppers! It should also be mentioned that my family has many wedding traditions. One is that the bride and groom drink champagne from a special double silver cup. Another is that toasts are a really big deal. My dad always gives a thoroughly researched, footnoted, intricate tear-jerker. And then my sisters and I do something ridiculous. And that ridiculous something might have been an ‘80s cover with words re-written for the happy couple. And that ‘80s cover might just be documented here. (Yes, I'm rocking a snowshoe guitar. And yes, I will probably receive many threats for sharing this footage.) Not pictured: The girls fell asleep on our shoulders as we danced the night away at the reception. I will always remember bundling up their sleeping little bodies and walking them back to the cabin—just the four of us together in the pitch dark mountains. Fresh snow was falling. It was silent except for the sounds of our boots crunching on the snow-covered ground and coyotes howling in the distance (and by distance, I mean a few yards away...). My heart was full-up. Below: This is how you leave the mountains: quite precariously with three men pushing your car out of a steep, snowy, icy driveway. And this (right), is a Rocky Mountain sunset send-off from the Denver airfield. After four months of planning and preparing and traveling and photographing and blogging, I'm officially signing off from the coverage of the amazingly beautiful and unique wedding of Mari and Andy. Congratulations to them on the beginning of their new life together!
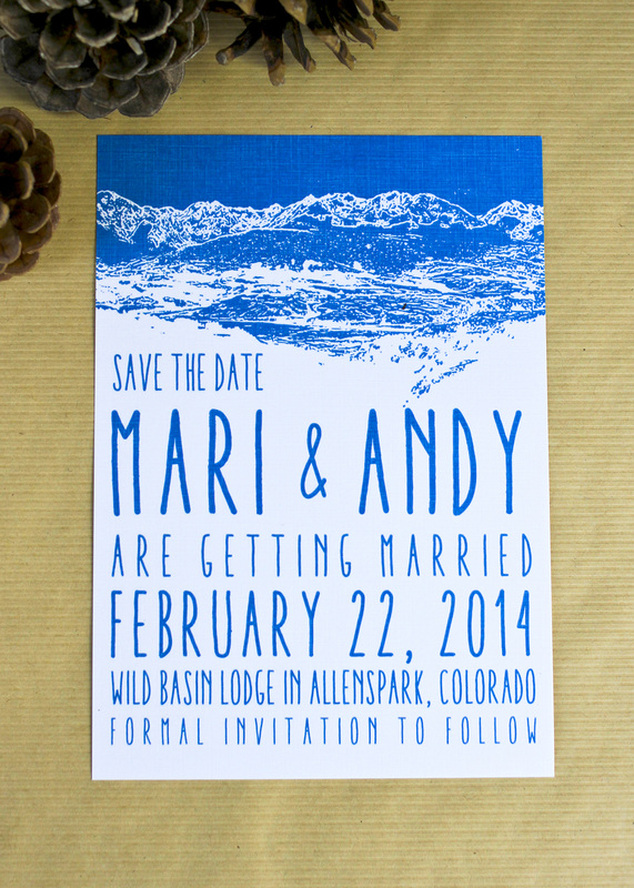
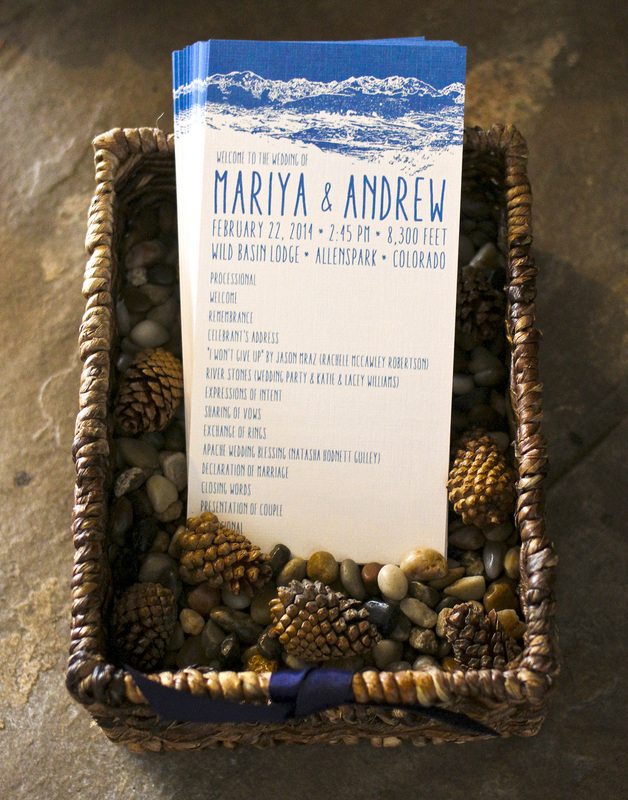
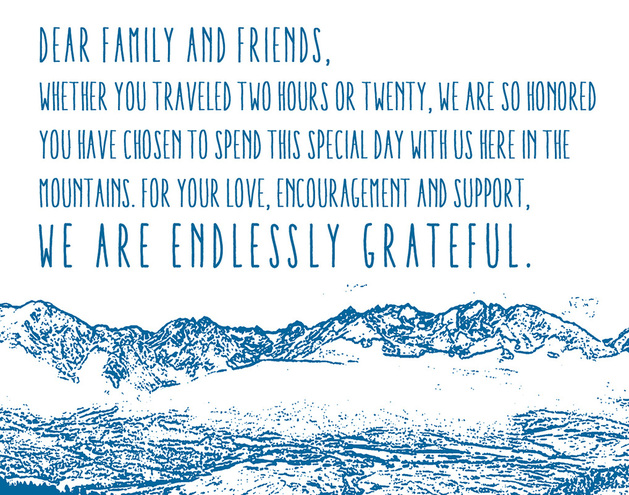
And just like that, my parents have married off the last of their four daughters! Last week I shared the wedding invitation suite I designed for my sister. Now I'm finally getting around to posting the save-the-date and program. I created this design with the same technique I mentioned here using this photo, which overlooks the Gore Range in Summit County, Colorado. We printed the programs on 4x8-inch linen paper. Mari and her incredibly crafty friends came up with the basket display, complete with pine cones and river stones. The back of the program listed the wedding party, which I'm omitting here for privacy, but I wanted to include the note and design at the bottom, which is an inversion of the mountain motif from the front. Indeed, we are endlessly grateful to everyone who traveled or sent their love from afar to make this wedding so special and reflective of the beautiful couple.
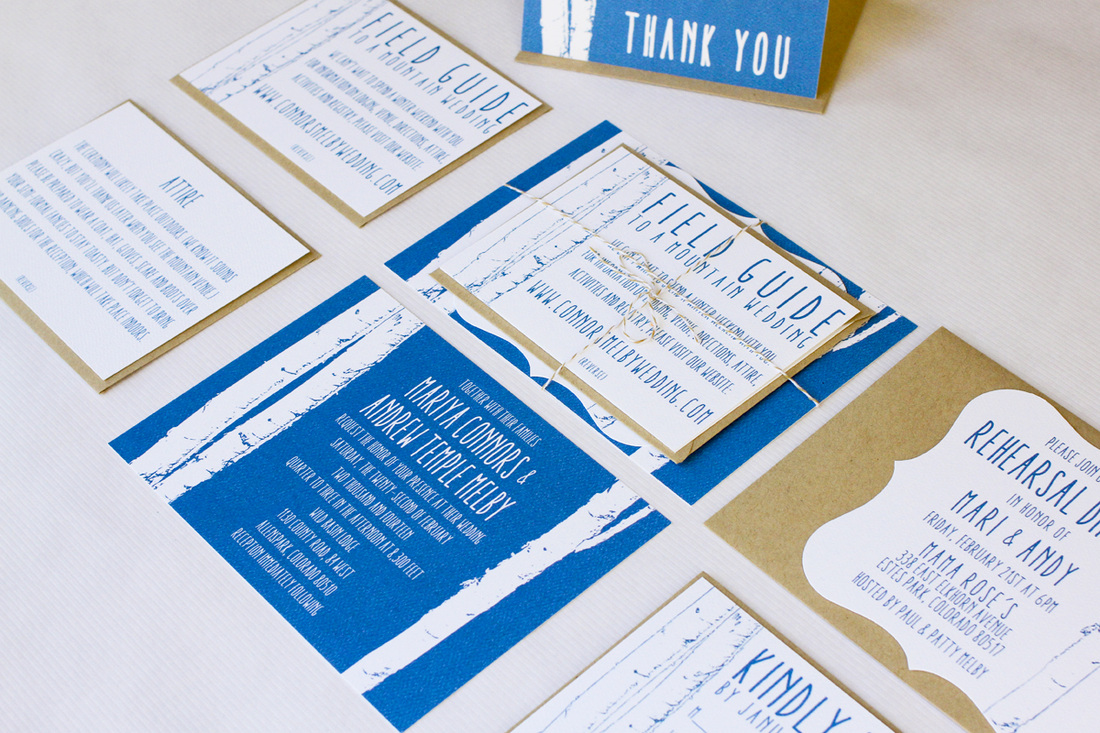
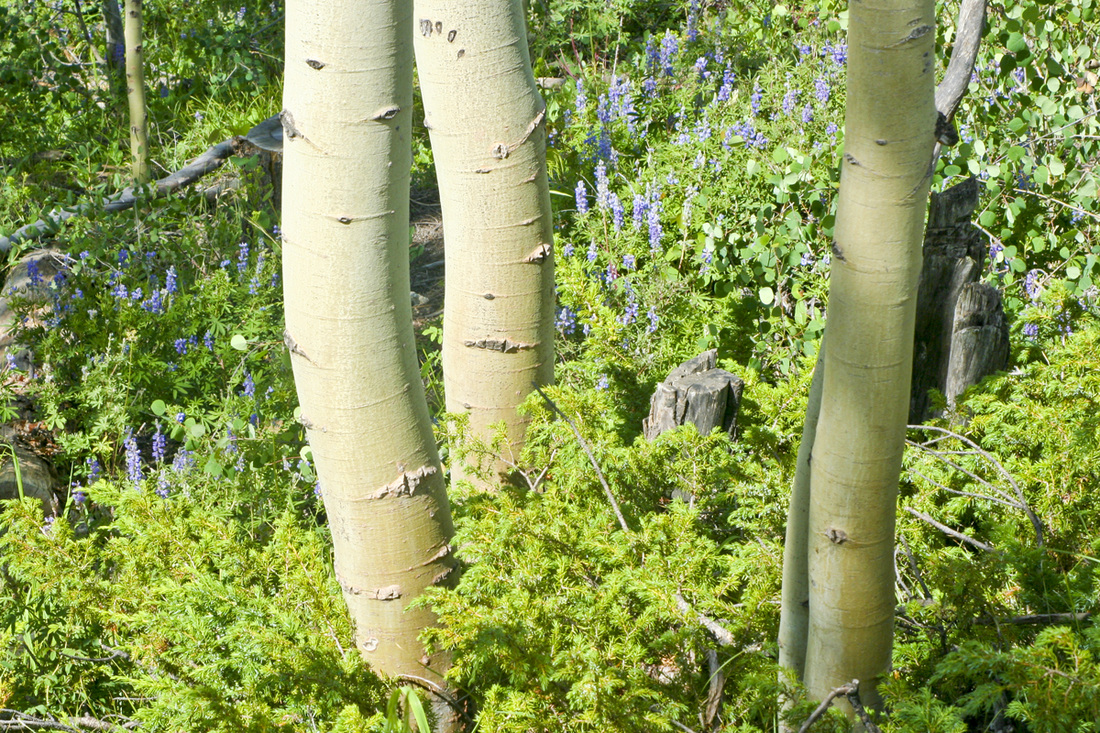
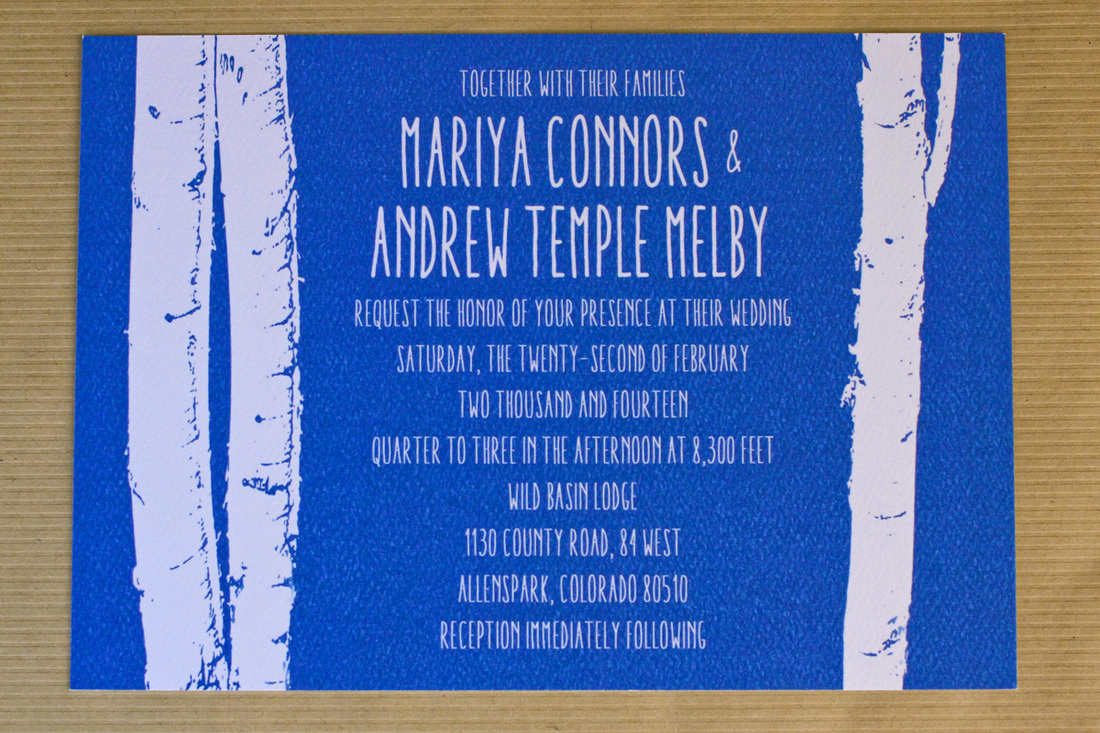
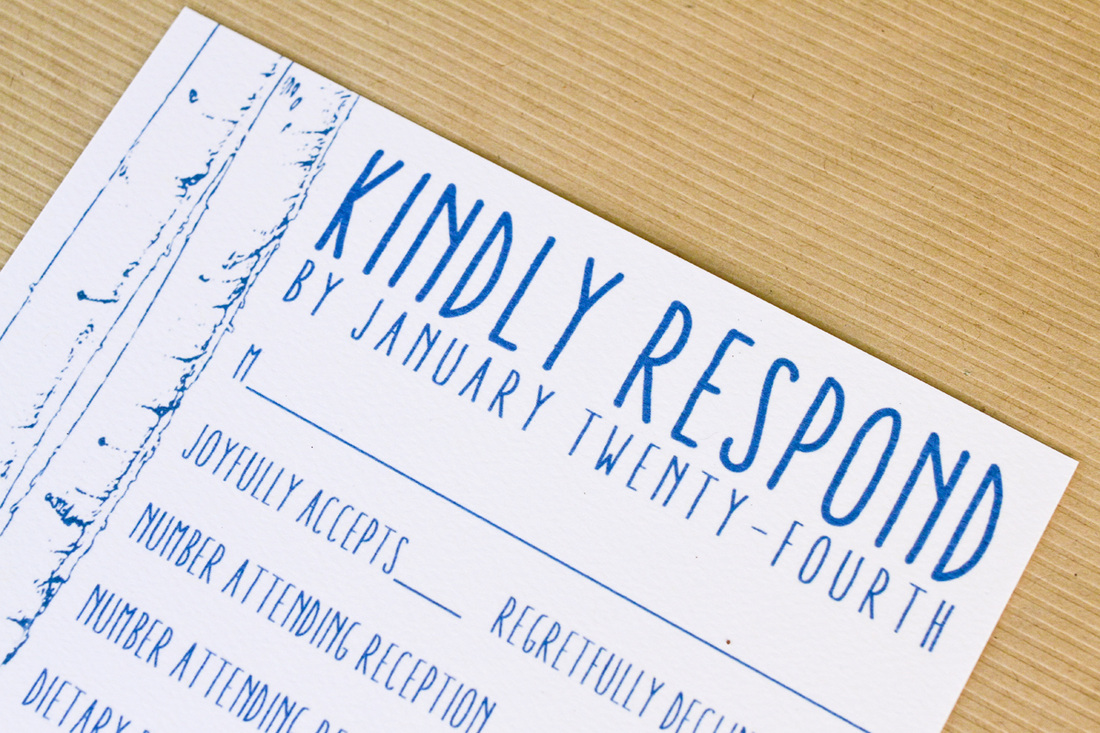
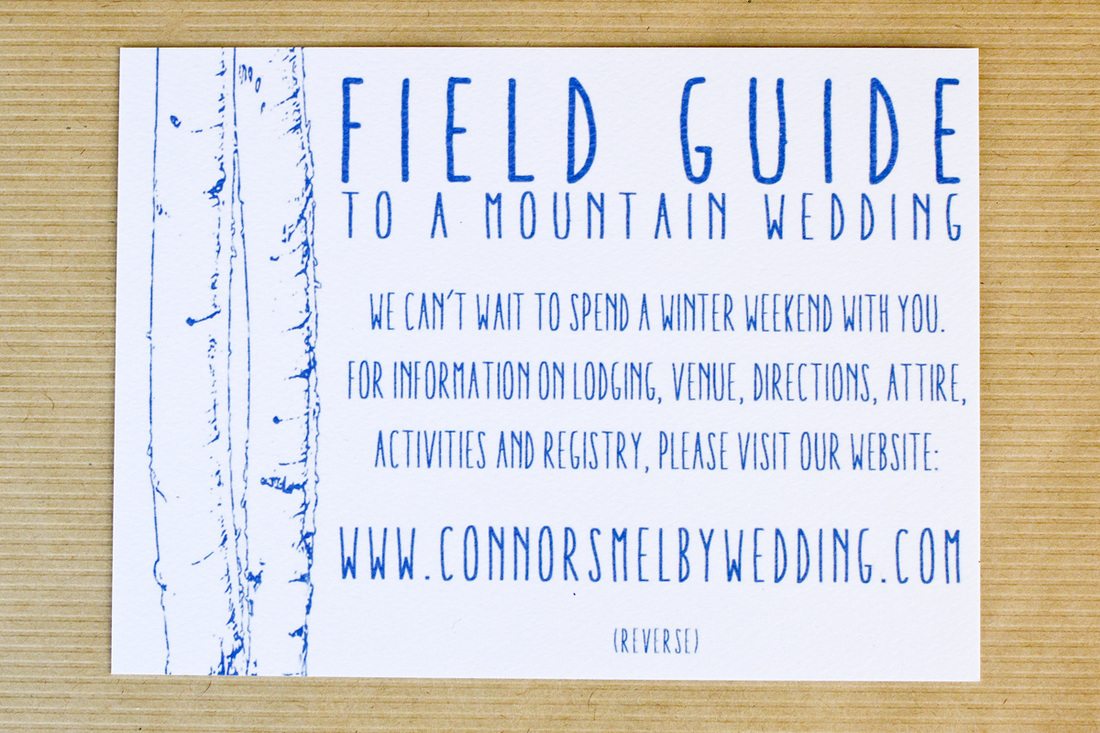
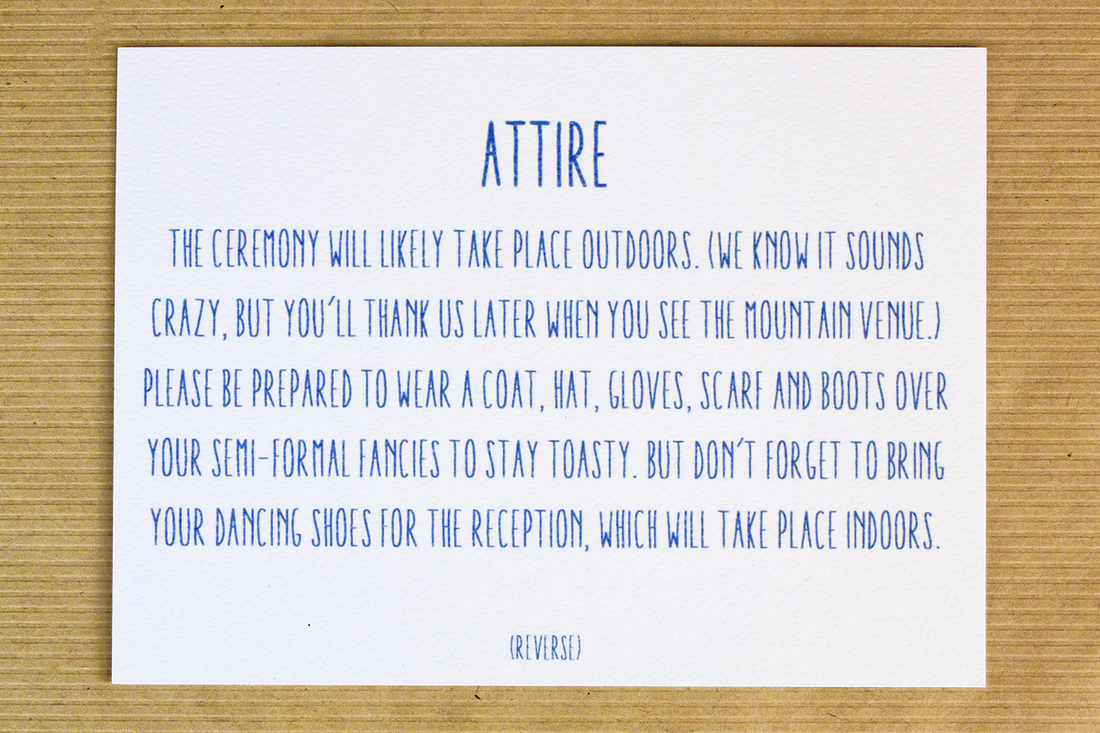
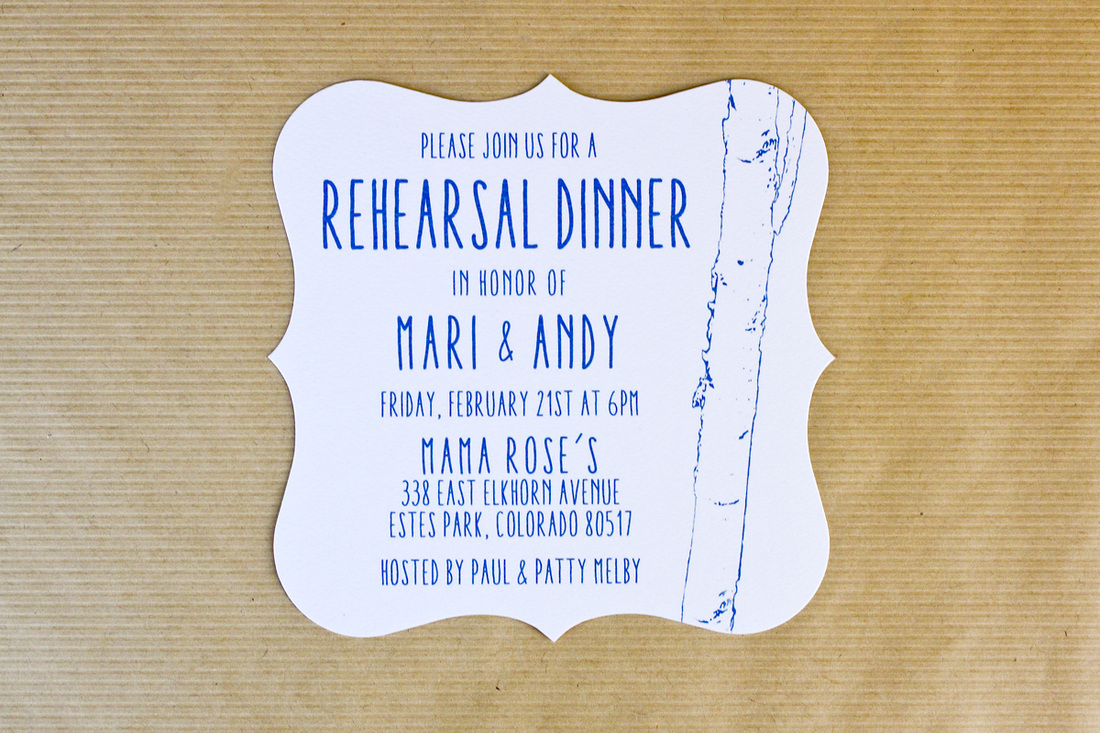
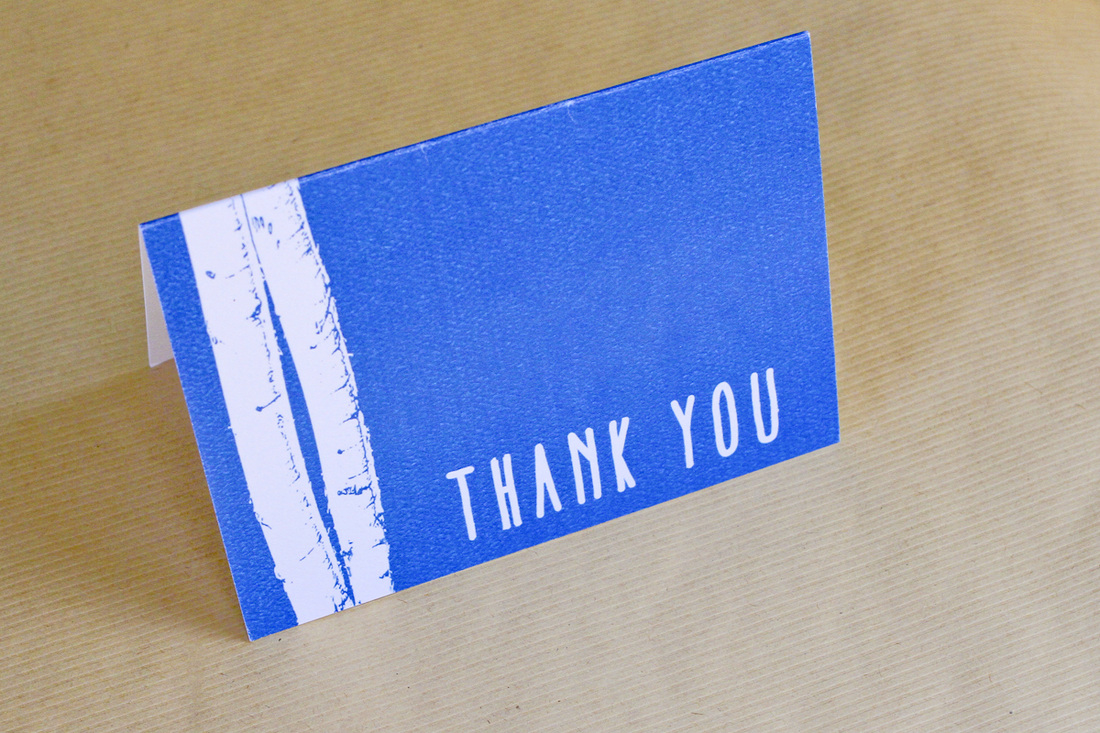
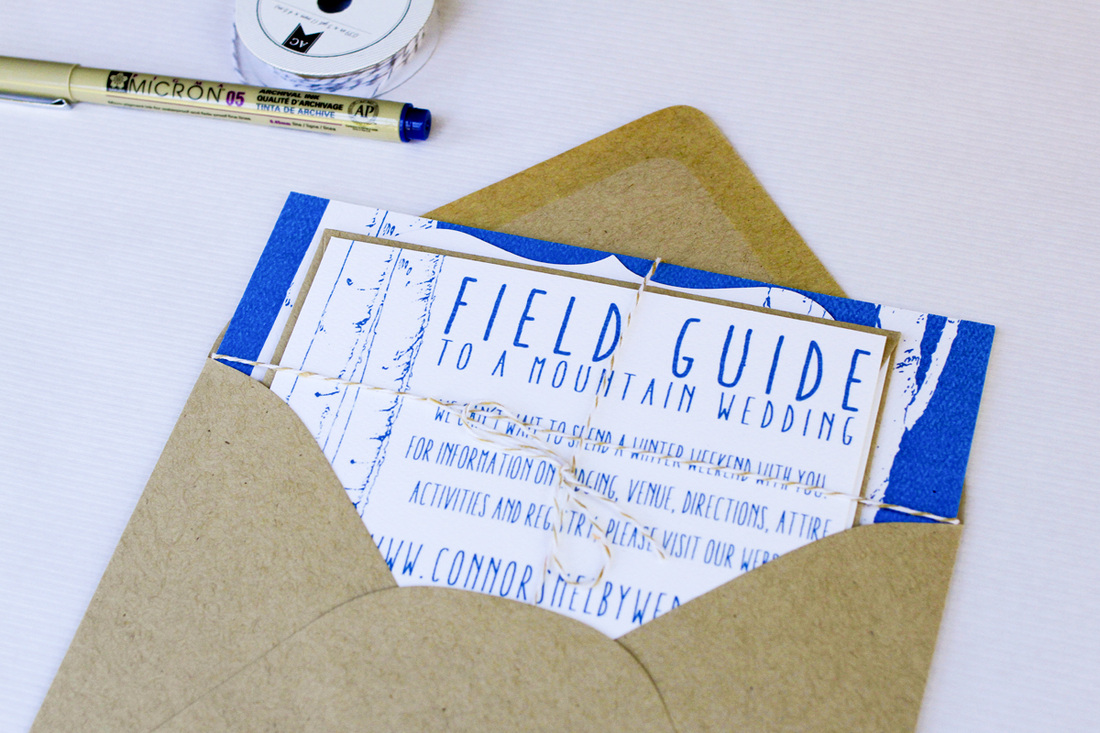
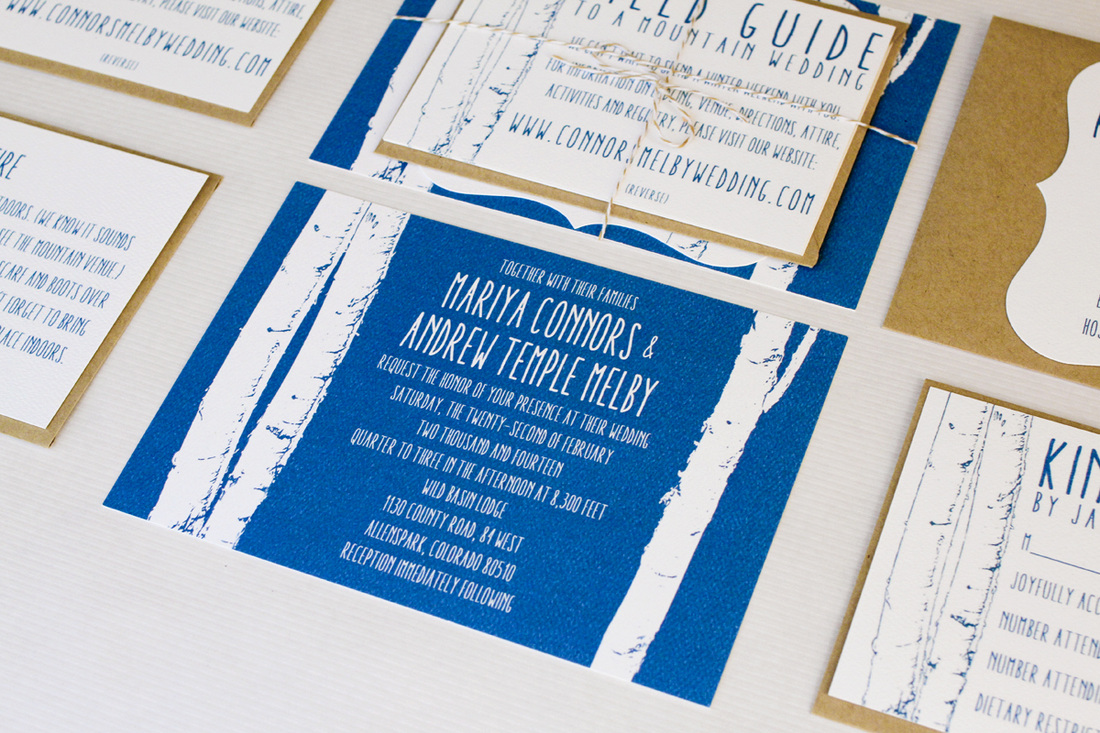
I've been dying to share these wedding invitations with you but decided to wait until after the wedding. Now it's finally time! (We're just home from our trip and have so much to tell. It will take a while to edit photos and jot down all the dream-like memories from the week.) When my sister asked me to design her invitations, her instructions went something like this: "Something wintry? With trees or mountains? And maybe some blue?" Naturally I turned to Pinterest for inspiration but wanted to create something that was uniquely Mari and Andy. Since their wedding location was a snowy, remote mountain lodge in Colorado, I sifted through photos I had taken in Colorado over the years and found a few we could use as a jumping off point. (I'll share the mountain save-the-date and programs next week.) To make the invitation, I started with the aspen photo below. I applied a stamp filter in Photoshop, edited like crazy to get the trees just right for the final effect and selected a thick watercolor paper to give the trees texture. (The blue is actually a bit darker and warmer than it appears in these photos, but I could not for the life of me get the photos to reflect the true color.) One of my favorite details highlighting the unique location was to include the altitude where the ceremony would be held (8,300 feet) on the invitation. The invitation suite included three additional inserts. Here's the reply card: Another of my favorite touches was the "Field guide to a mountain wedding" information card. The back of the field guide included a bit of crucial information: the ceremony would be held outdoors...in the mountains...in the middle of February. No one could say there was not fair warning! (Spoiler alert: there was so much snow that the ceremony ended up taking place indoors in front of a huge stone fireplace and roaring fire. The wedding party photos still took place outside.) We opted to include the rehearsal dinner invitation in the suite. This die-cut card made it stand out from the other inserts. And you can't design wedding invitations without throwing in some thank-you cards. We completed the package with my favorite Paper Source envelopes in paper bag, along with baker's twine. Here's what the final product looked like. Once you've been through it yourself, you realize that a wedding is not just a moment to celebrate your commitment but truly a send-off to one of life's grandest adventures. How lucky I feel to have been involved in preparations for my little sister's send-off.
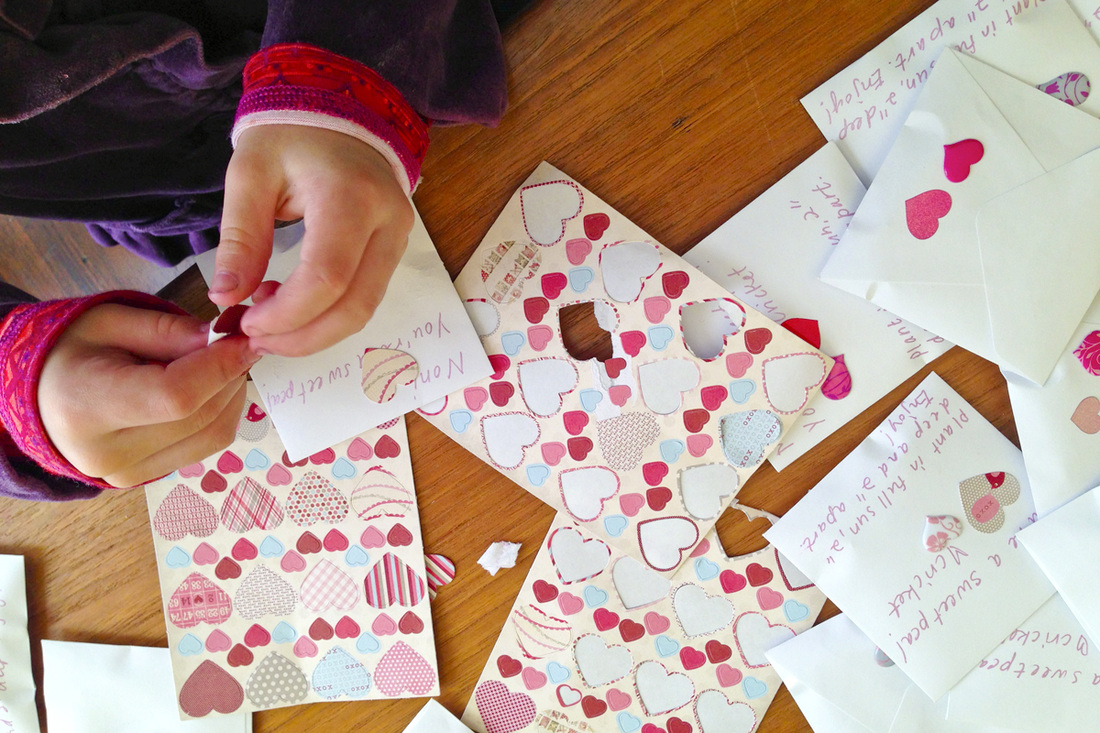
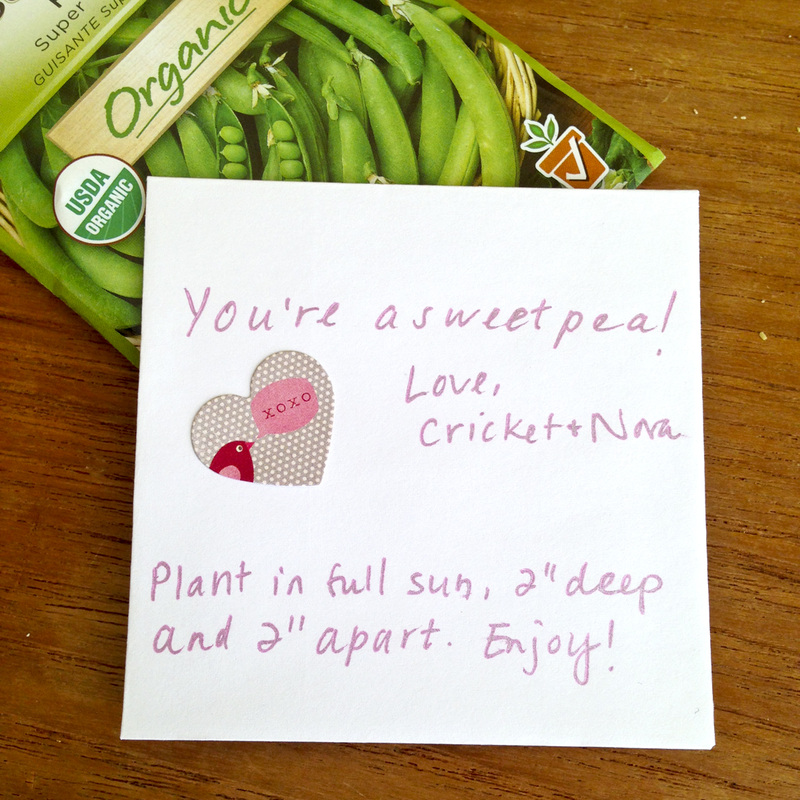
Happy Valentine's Day! I put these little hands to work making valentines for preschool friends and cousins. Stickers are serious business, people. She must have spent an hour making sure each envelope was just right. This pin served as our inspiration. (Full link here.) Our version was simpler: tiny white envelopes, stickers and pea seeds, but it will do the trick for all those precious 3-year-olds in our life. I hope your day involves lots of kisses and too much candy. Click here for more DIY & events inspiration.
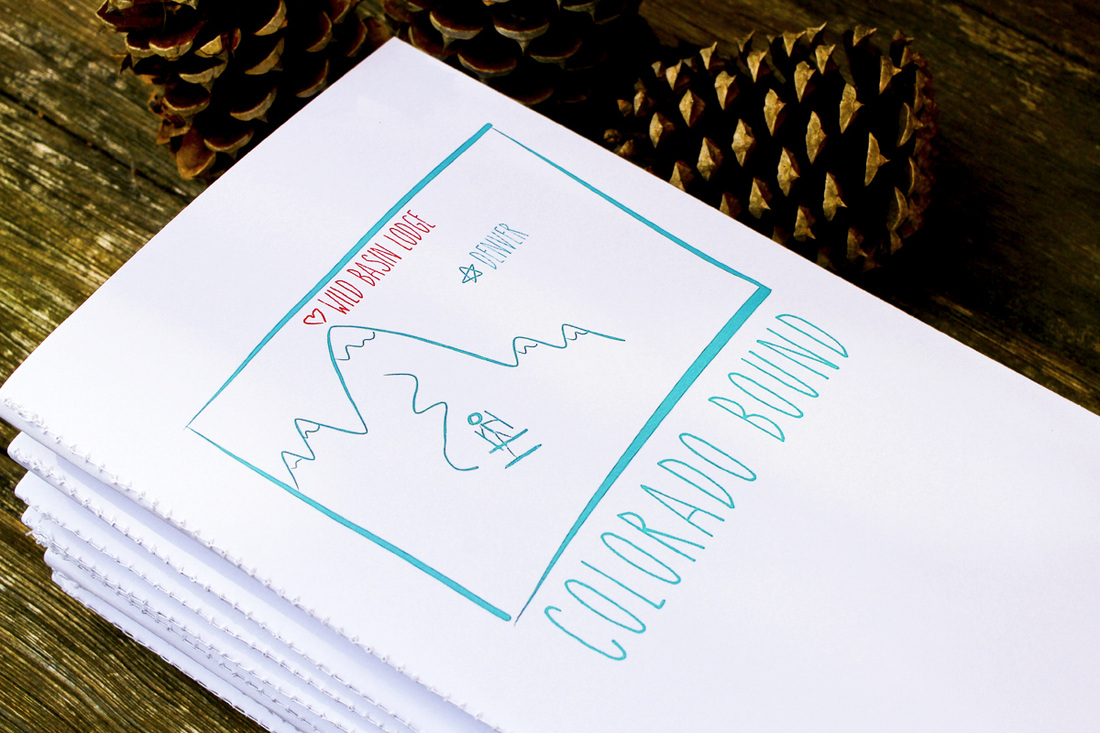
I've always loved to keep travel journals, so I thought it would be fun to make them for all the tiny girls in my life who will be hopping planes to my sister's wedding this month. Sure none of them is actually old enough to record her adventures in words, but they're all stellar artists and sticker users. (Well, one or two of them might prefer to use stickers as gum, but still.) We also passed a copy around during my sister's bridal shower to record our well wishes for a happy marriage.
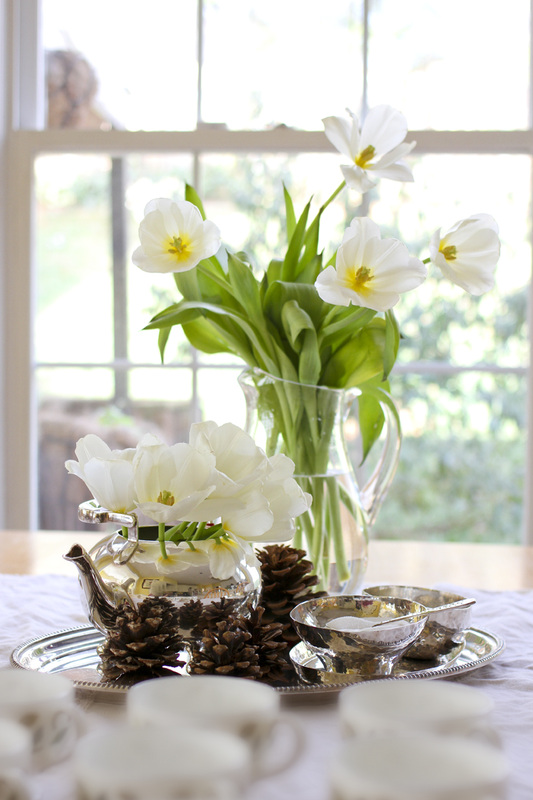
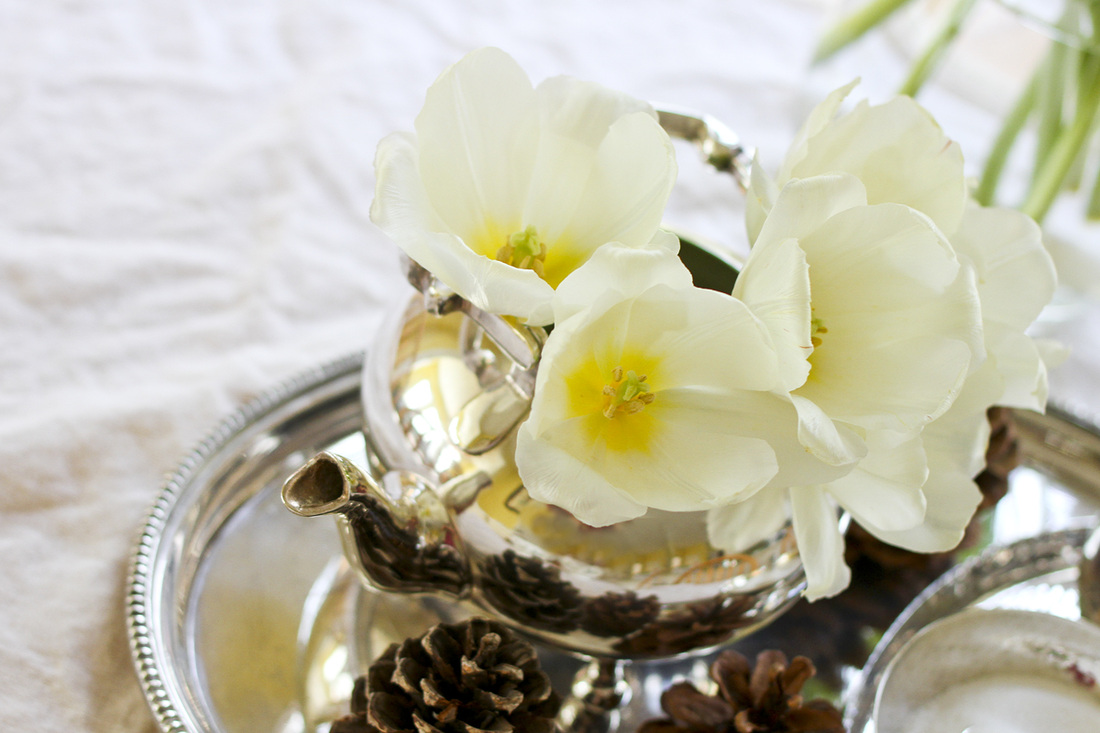
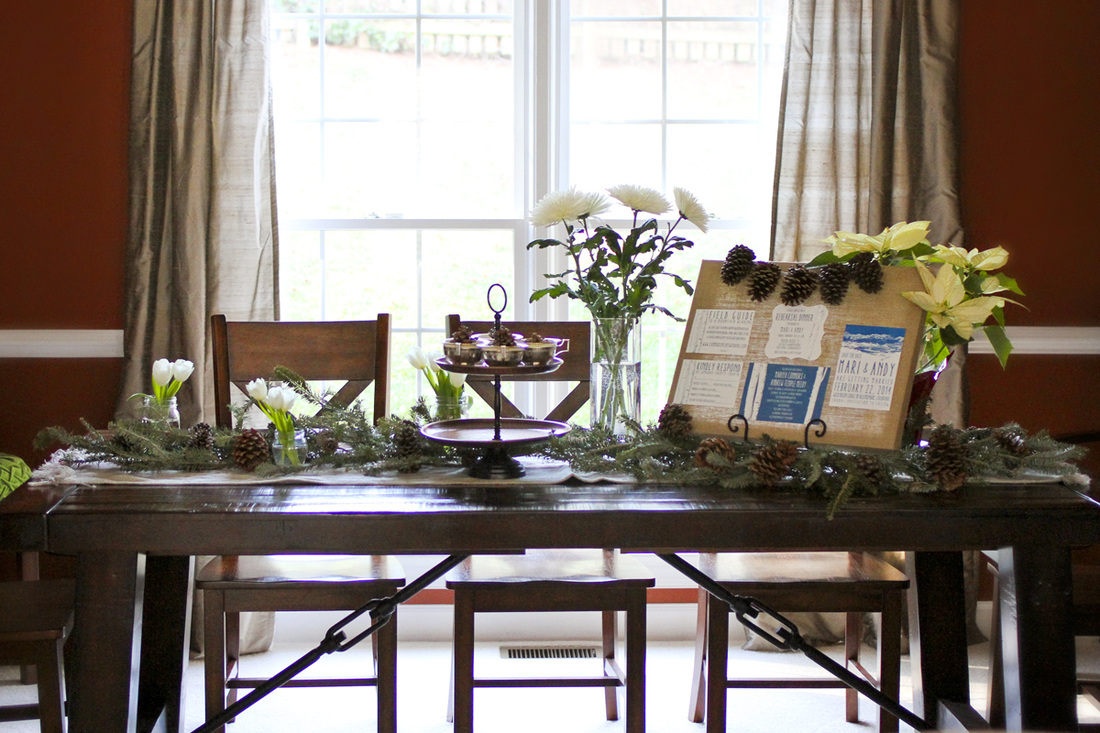
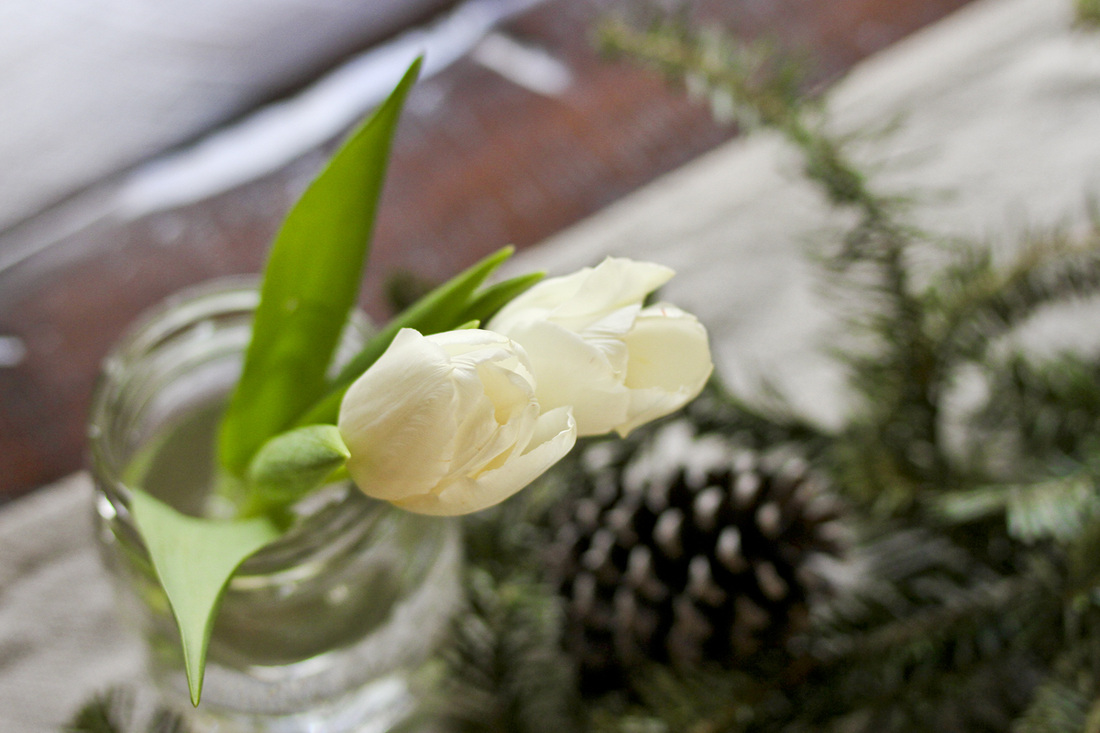
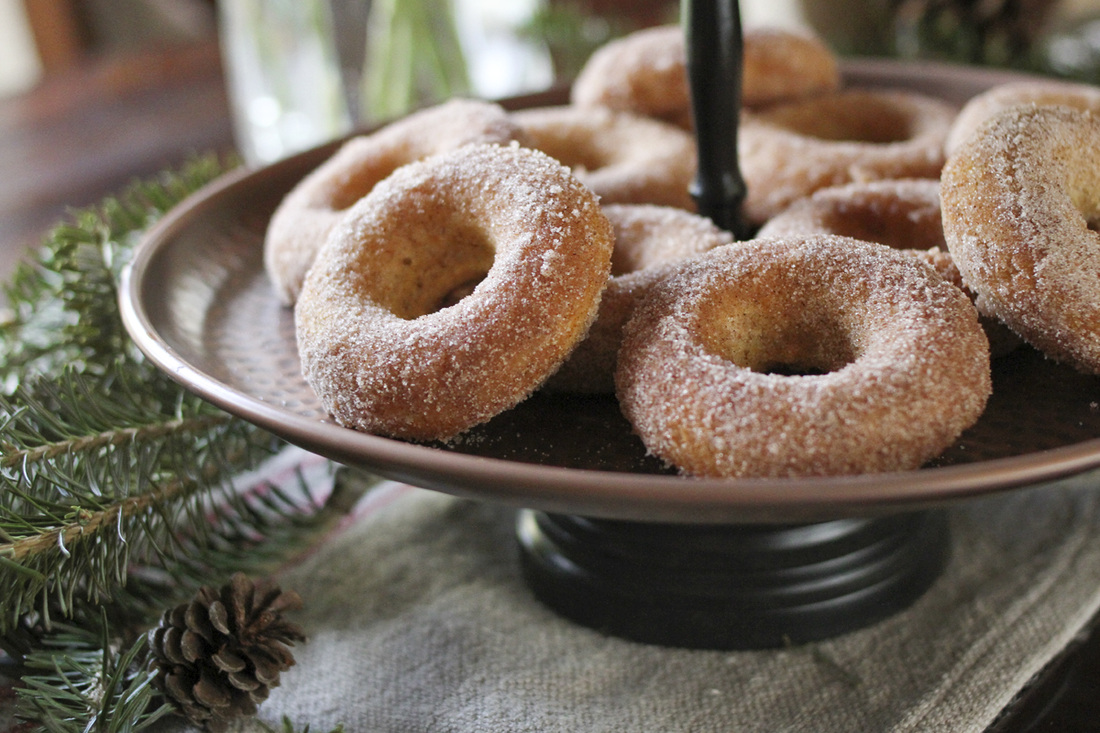
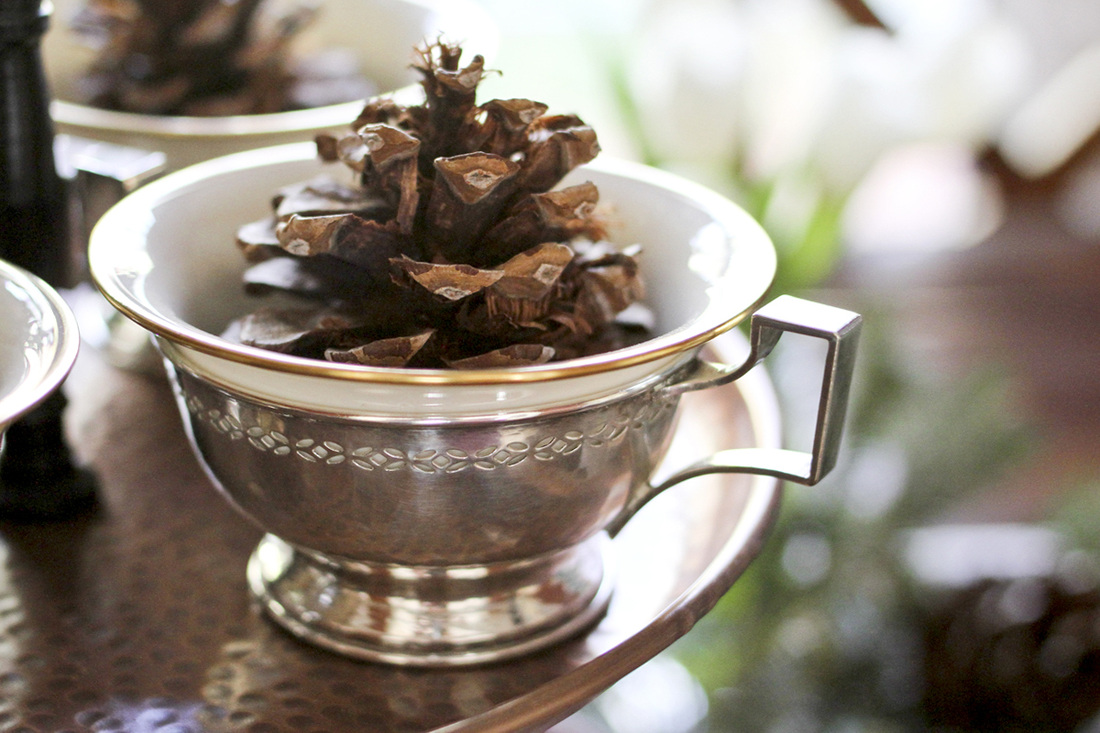
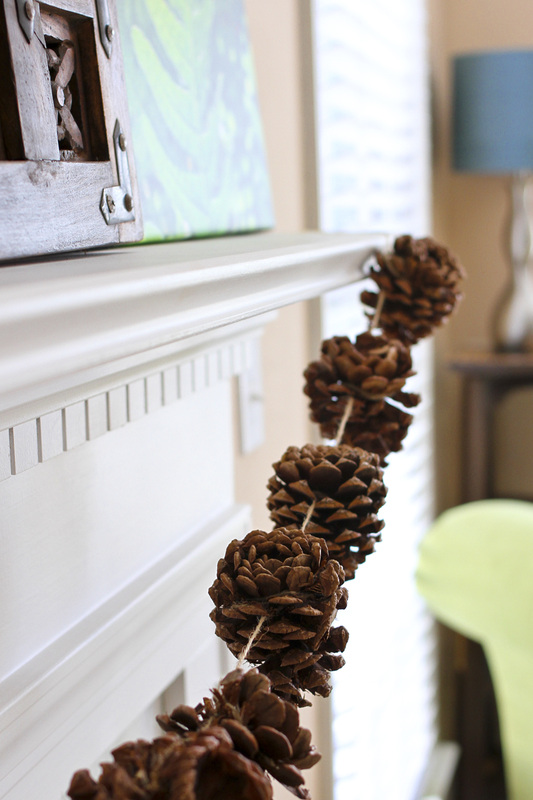
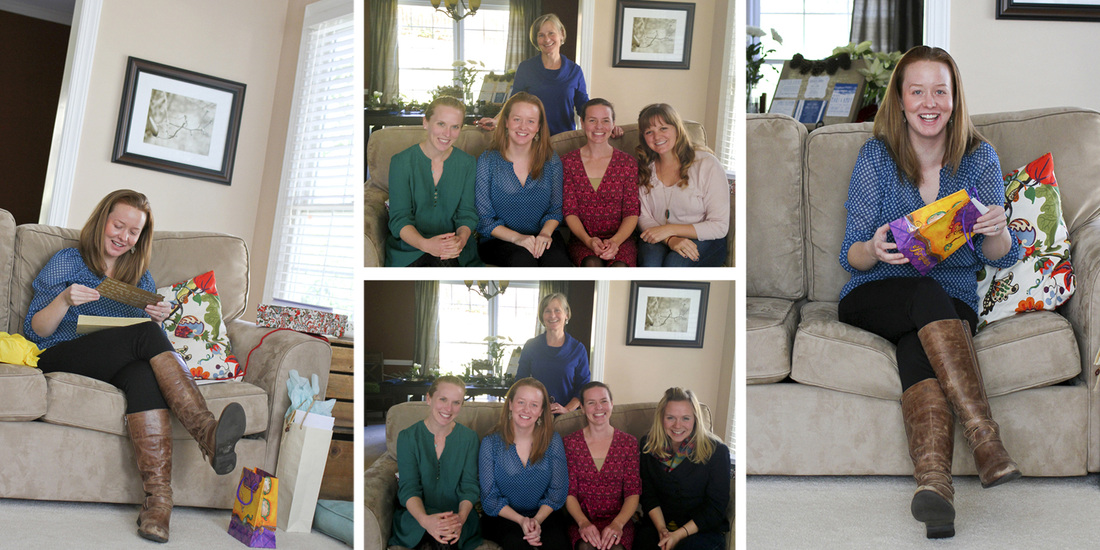
This pin inspired the simple binding method. (Click here for the full tutorial.) I sketched the design on my iPad, added text in Photoshop, used my wildly imperfect sewing machine skills to bind the books, then wrapped them with crayons and woodsy, mountainy stickers. (You could just pick a pretty paper or hand-draw the cover to simplify.) Now I'm dreaming of creating journals like these for each of our trips, but let's get real. It's always a miracle if we even have our gear packed before the cab arrives for the airport. To view more wedding preps, click here for engagement photos and here for bridal shower photos. In case you haven't noticed, this month is wedding central in my family. Last week I shared my sister's engagement photos with you. Still to come are posts on the invitations and save-the-dates, a travel gift I made for the little girls and—I’m sure—a million photos of our upcoming trip to Colorado for the wedding (and a healthy dose of skiing). Today I'm sharing some photos from the surprise bridal shower we threw for my sister a few weeks ago when she came to visit. The theme was simple: a winter wedding tea. Decorations included pine cones collected on our daily walks, boughs cut from our Christmas tree and winter-white tulips. Somehow I didn't get a photo of the complete spread, but here is the table mostly set. On the right, the wedding invitations and save-the-dates are displayed on a burlap-wrapped canvas. The menu included frittata, kale salad, muffins and baked cinnamon-sugar doughnuts. It wouldn't be a tea party without displaying these family heirloom silver cups my aunt passed down to me a few years ago. I used twine to make a pine cone garland for the mantel. Guests included my mom and sisters, as well as a cousin and friend who, lucky for us, now live in our area. For gifts, we chose an "around the clock" theme. Jeff turned pale when I mentioned "around the clock," thinking it meant a 24-hour gathering at our house. But have no fear. It worked like this: each guest was assigned a time of day and chose a gift that corresponded to something Mari might be doing at that time. (And thank goodness for FaceTime, so my sister who was stuck at home with sick kids could still join us.)
Happy wedding countdown! |
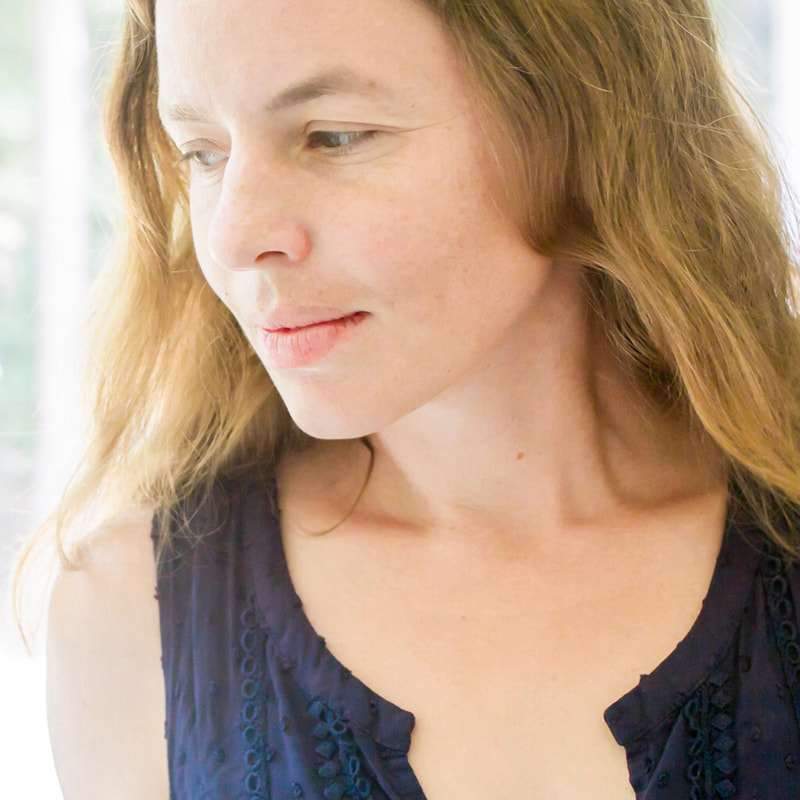
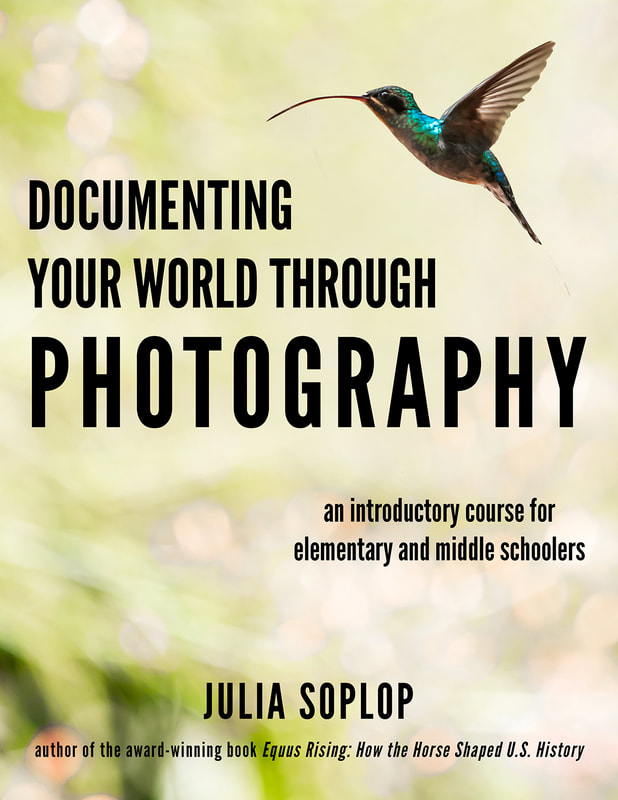
My new book is out! Click to learn more about it.Hello thereI'm Julia Soplop, writer and photographer. I believe there is something profound in bearing witness to moments of joy and pain in others’ lives. My husband, three girls and I live outside of Chapel Hill, NC. You can read more about me here.
Snag my new photo curriculum for kids!Categories
All
Popular posts |

