|
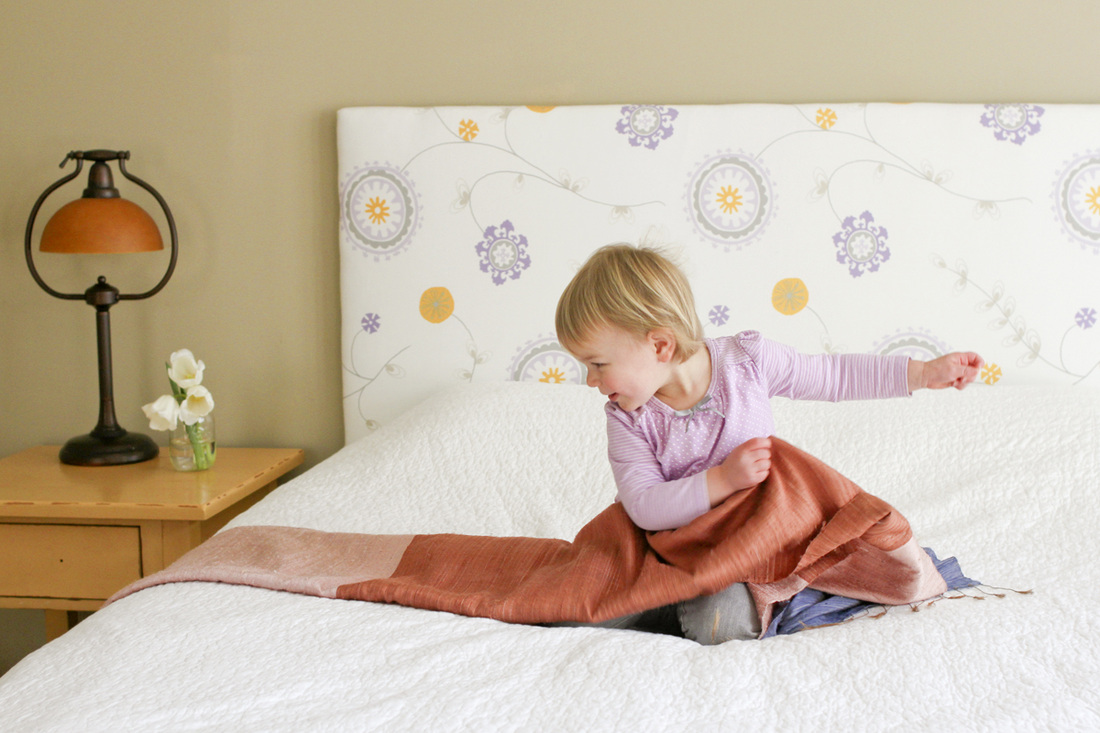
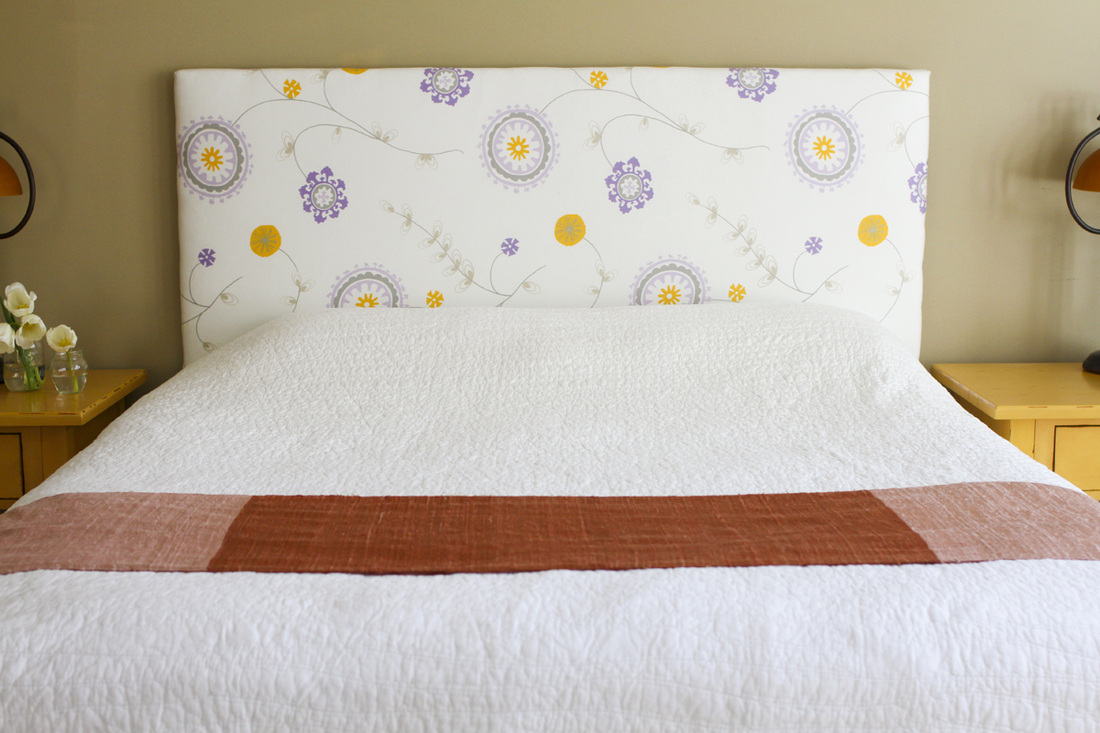
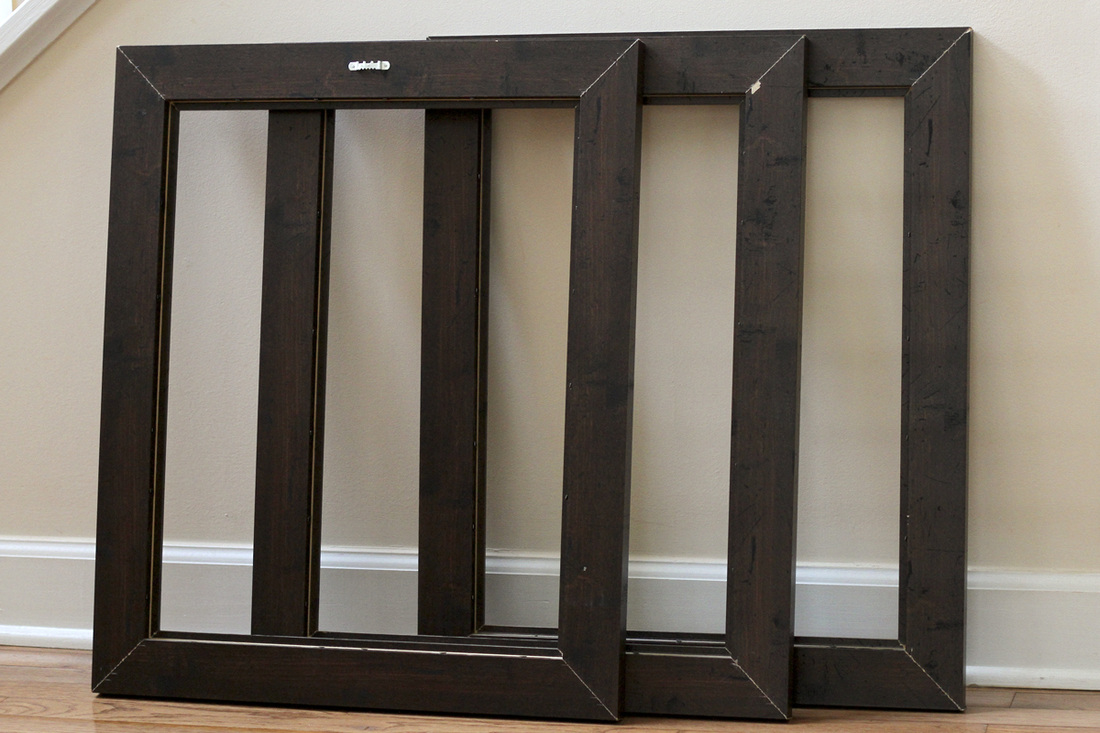
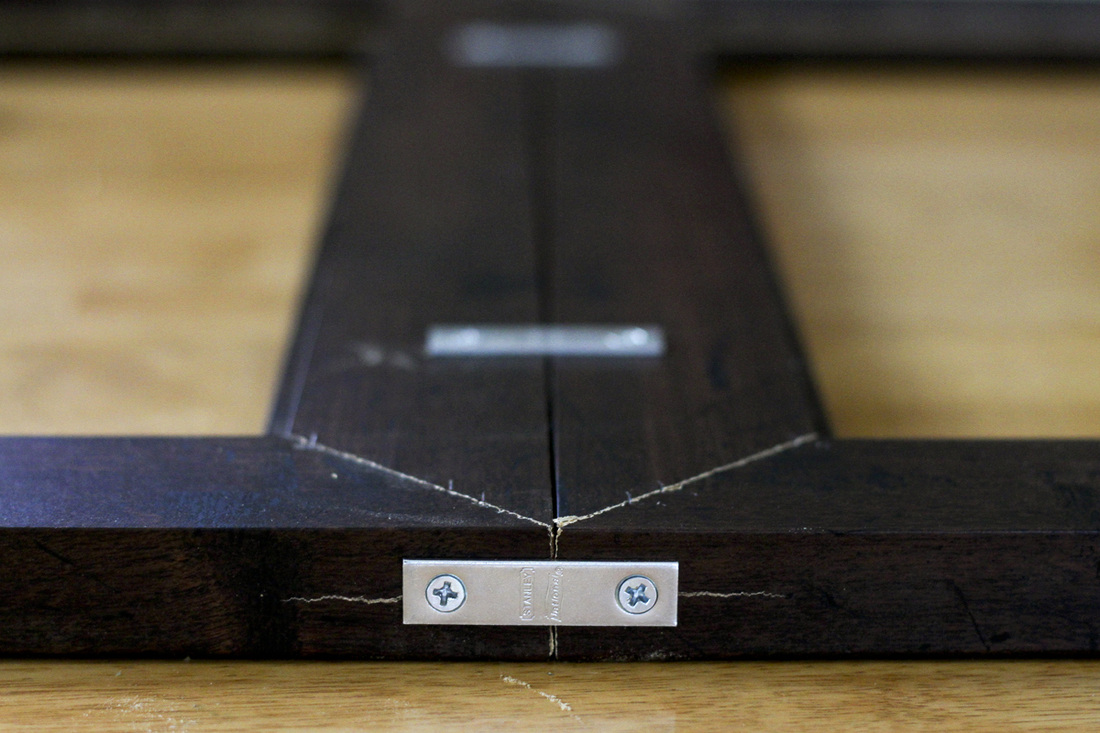
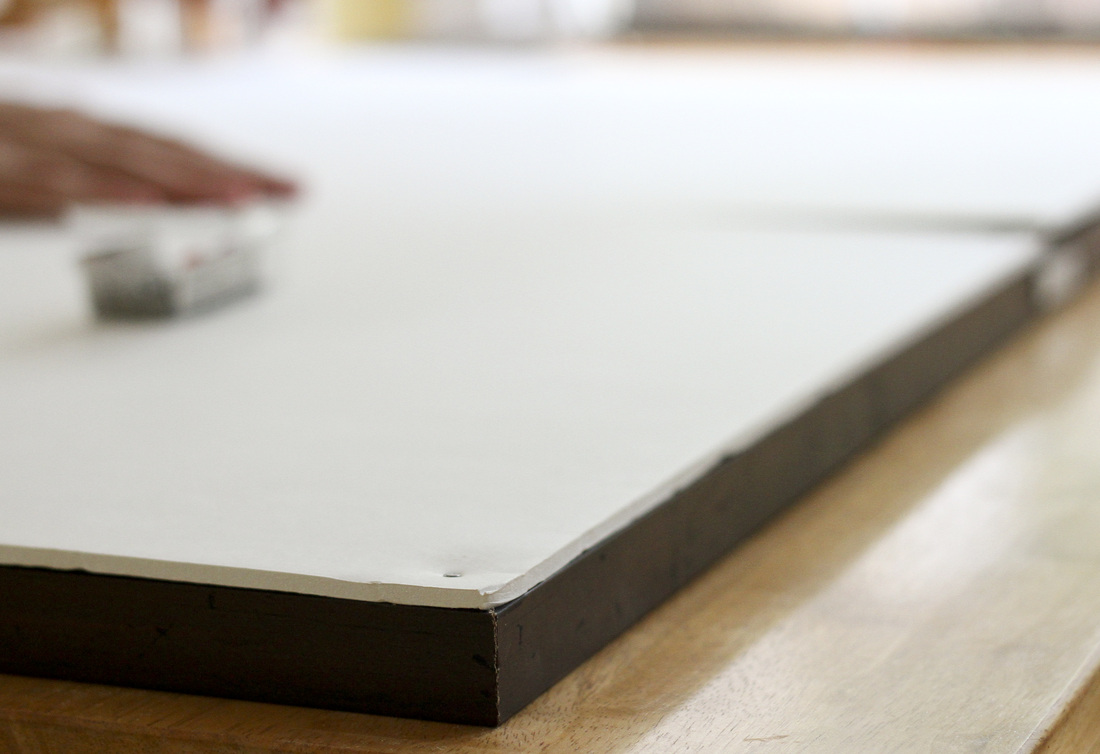
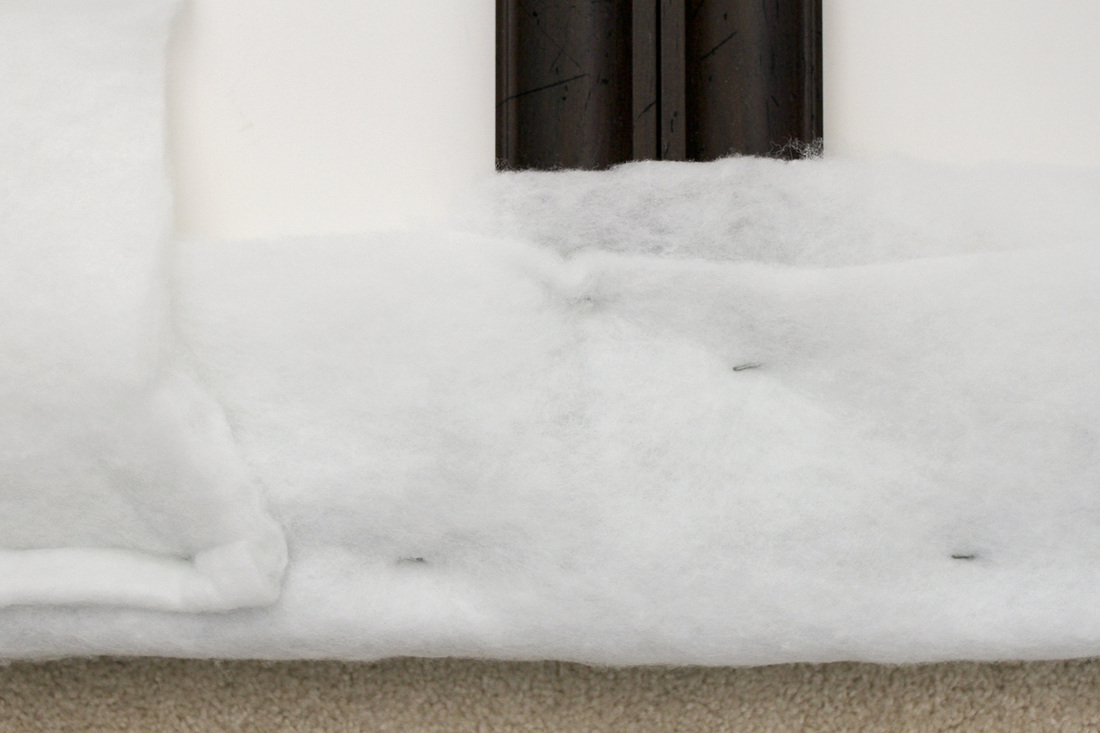
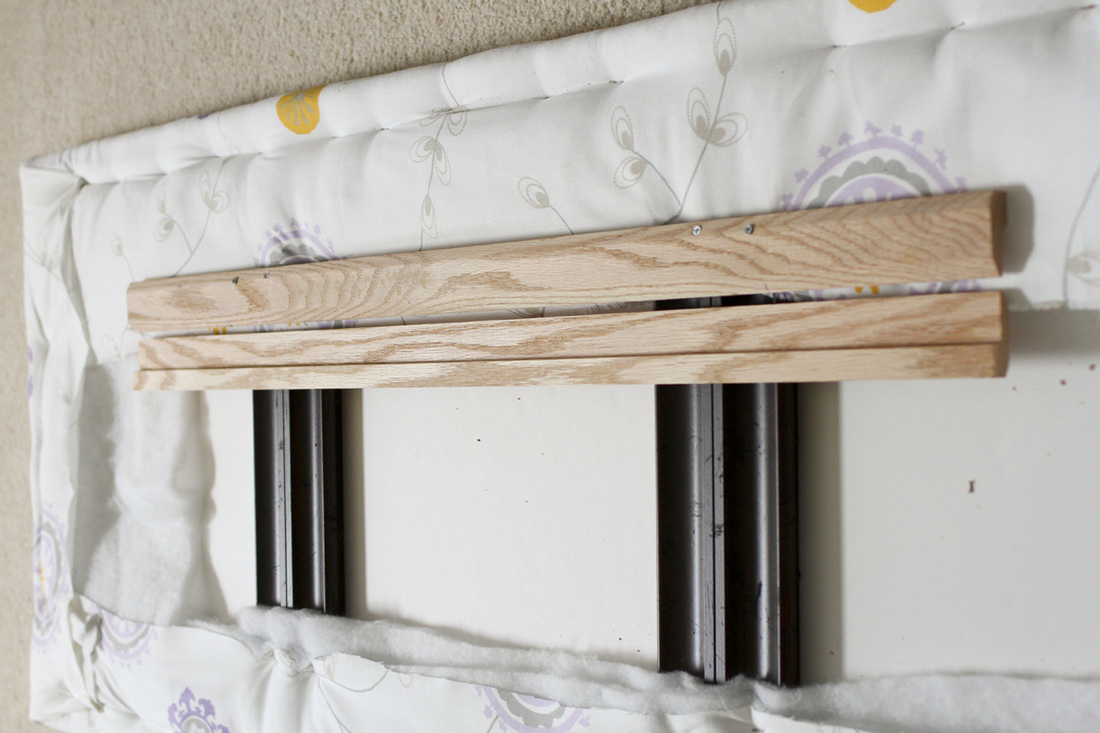
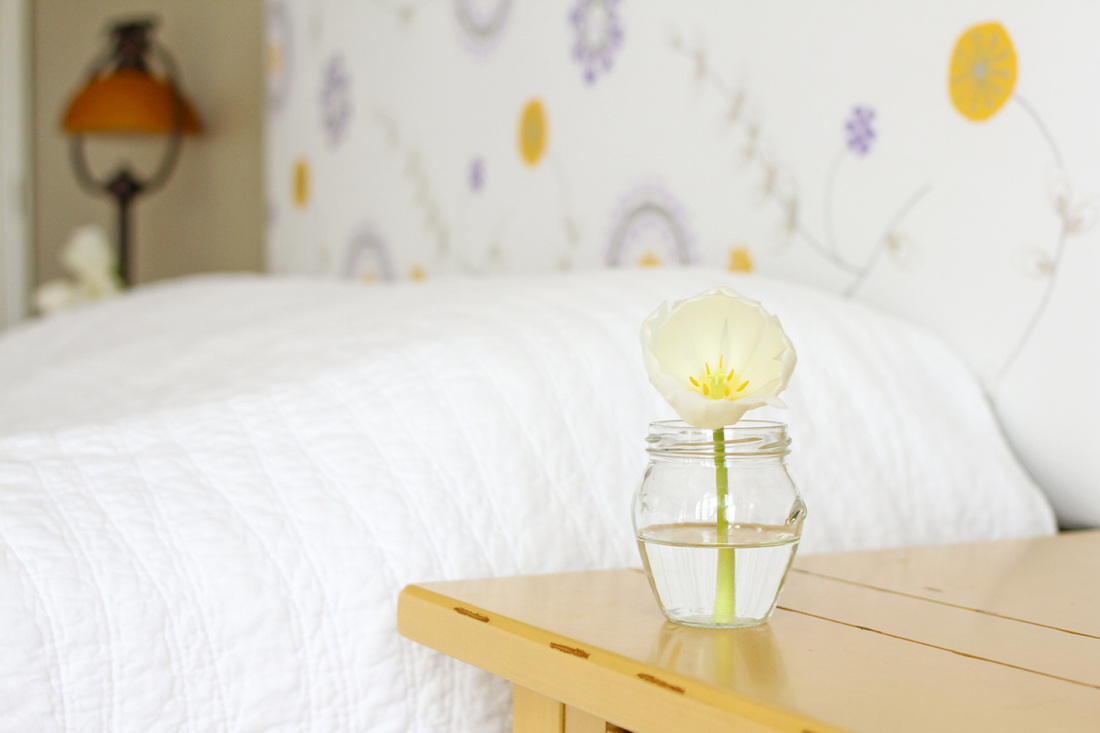
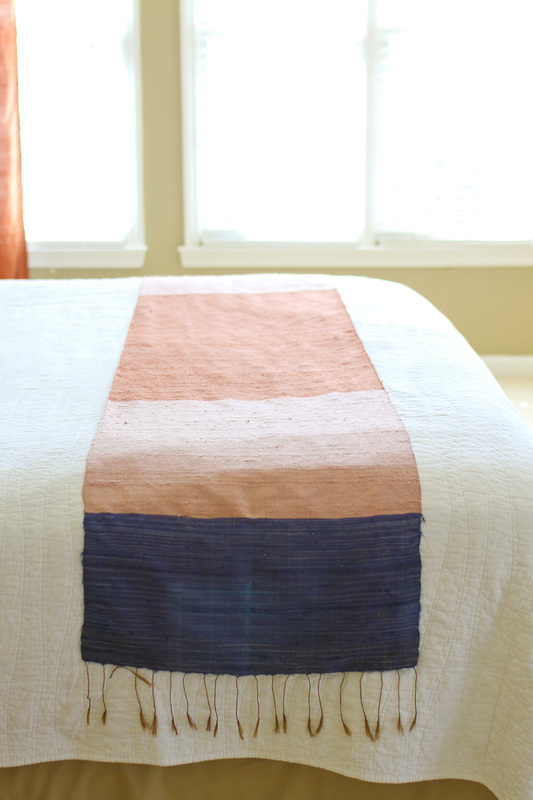
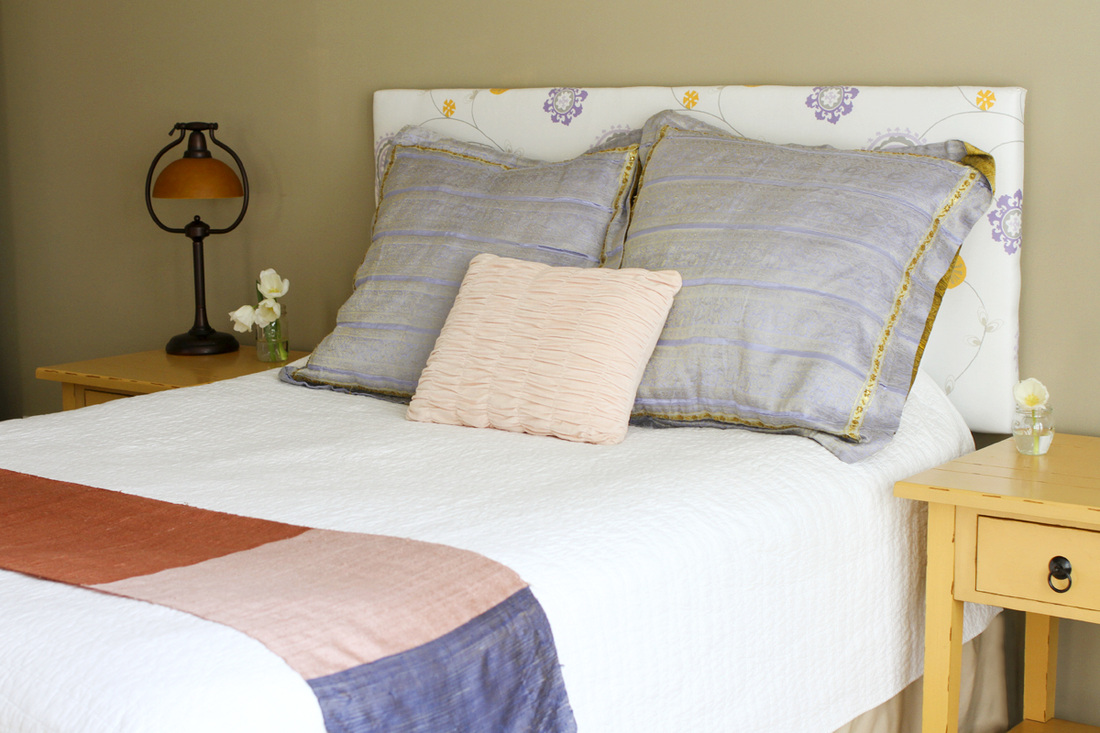
Only five short months after completion, I present to you the DIY headboard we made for our room with upcycled picture frames. It all started like this: You know the drill. You decide to switch out some wall hangings after a few years. Your significant other gets annoyed because you now have perfectly good picture frames kicking around the house unused and you have nowhere to put them since all your closets are packed to the brim a la Monica Geller. On a seemingly unrelated note, you've never found the perfect headboard for your bed. So one day you get creative and realize that if you tack three 20x24 picture frames together, they are the same width as a queen bed (60 inches). Aha! We decided to use the picture frames as a base for the queen headboard, then upholster it with the method we used to make Cricket's DIY twin bed. In a nutshell, here are the basic instructions. Remove and discard the glass and any hardware on the back of the frame used for hanging. If the picture frame is curved on the front side like ours, you'll want the flat back side (see below) to become the front of your headboard. With the front of the frames lying on a flat surface, tack together the backs of the frames with flat braces. You can see we tacked together the sides as well as the tops and bottoms of the frames. To fill in the holes in the frames and make a smooth surface for what will be the front of the headboard, cut foam board or cardboard to cover the entire surface (24 x 60 inches) and tack it on using small nails. Now you've got the foundation finished. Wrap the frame headboard in two layers of cotton batting and staple into place (like we did for the DIY twin bed). Wrap in headboard in fabric and staple. (You can find the inexpensive fabric we used here.) Despite tacking all the frames together, the headboard still wasn't very sturdy. So Jeff and his dad devised this hanging system, which helps hold the frames together. The top piece of wood is attached to each frame and to provide support along back. The bottom piece attaches to the wall. The top piece then slides into the bottom piece to secure the headboard to the wall. Here's the finished product. I'll warn you that it's still not incredibly sturdy. I don't know that the headboard would survive a move and wouldn't recommend it for a child's room if the child might hang on it. But it suits us for now. And I love how the fabric brightens the room. I couldn't resist sharing a close-up of this gorgeous silk scarf my best friend bought for me several years ago in Laos. And here is the final effect in our room (if we ever manage to get the pillows and scarf on the bed). My grandma helped me make the purple and gold pillow cases a decade ago using fabric I bought in India. They've followed me to every place I've lived since. The ruffled pillow is from Urban Outfitters, and the white quilt is from Target.
4 Comments
5/6/2014 07:27:08 pm
Saw this on craft gawker. Great idea and looks professional as well
Reply
Kim
7/20/2016 01:26:03 am
Hi Again,
Reply
4/19/2022 05:43:26 am
ICON Legal Services provides its best family lawyer in Chennai, family law matters including divorce, adoption, child custody, surrogacy, dowry harassments, domestic violence, probate, Will and inheritance.
Reply
Leave a Reply. |
My new book is out! Click to learn more about it.Hello thereI'm Julia Soplop, writer and photographer. I believe there is something profound in bearing witness to moments of joy and pain in others’ lives. My husband, three girls and I live outside of Chapel Hill, NC. You can read more about me here.
Snag my new photo curriculum for kids!Categories
All
Popular posts |

