|
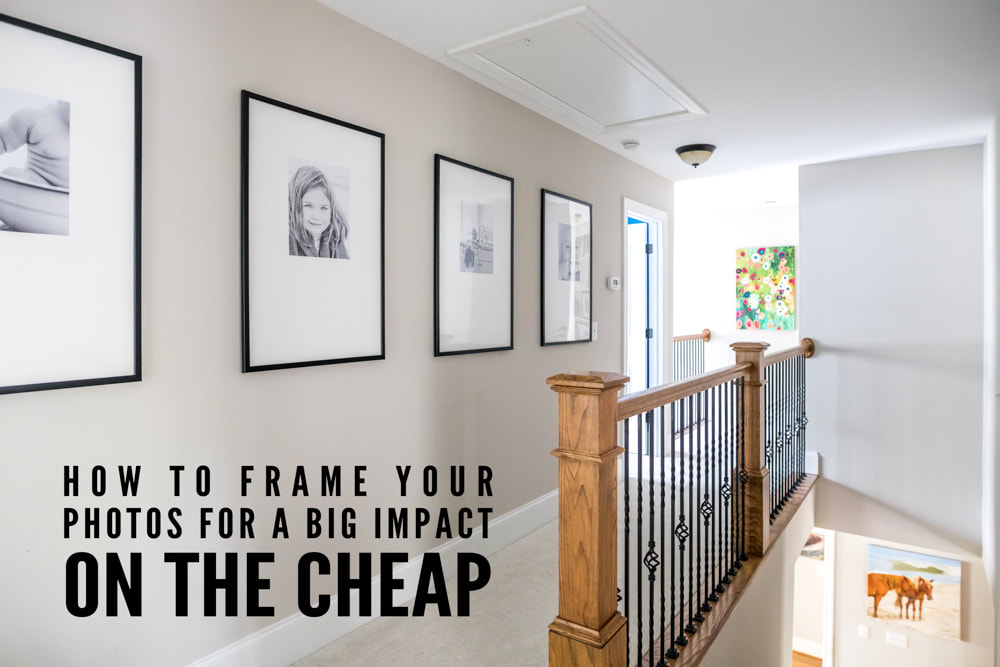
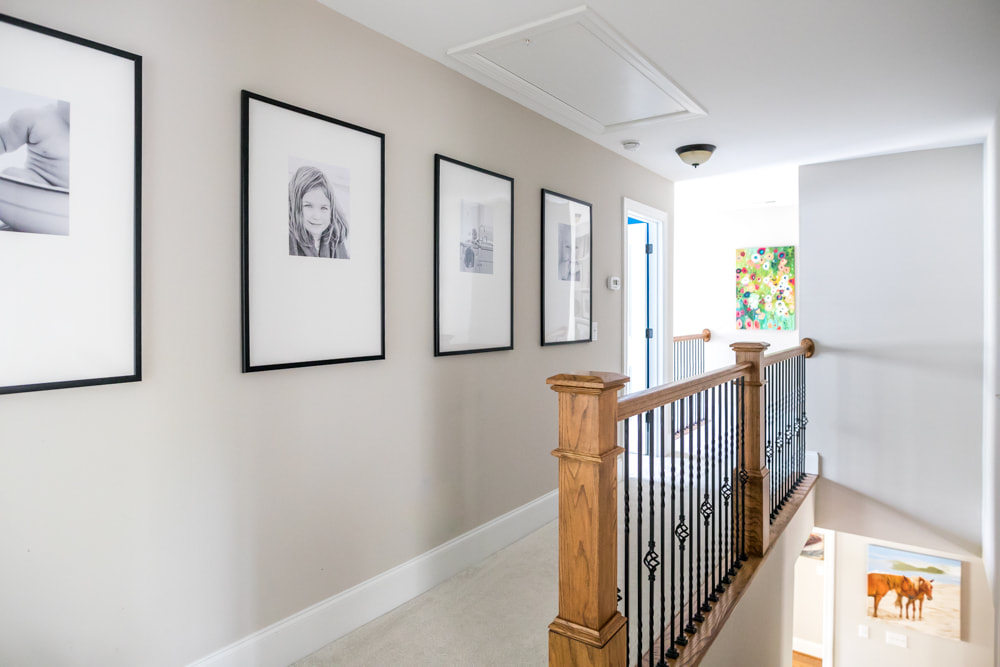
Remember that time long ago (in May) when Design Mom featured my home tour? I'm still pinching myself in disbelief that it ever happened. And I'm still getting a lot of questions about the frames lining our upstairs hallway from one of the photos that appeared in the post.
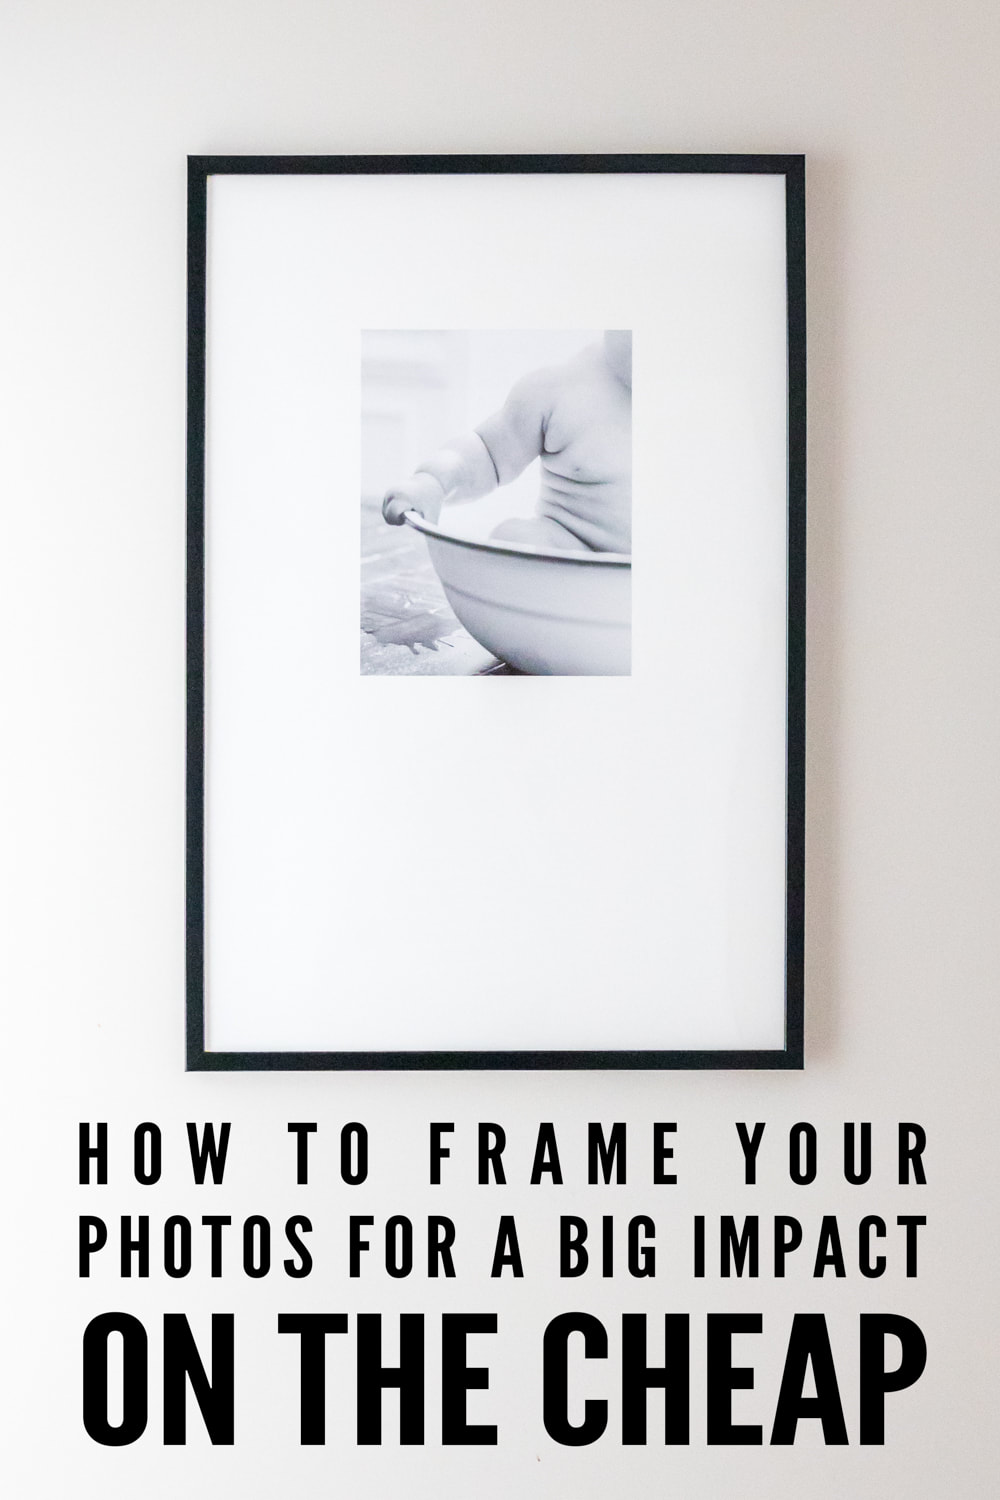
So I'm going to let you in on a little secret, which isn't actually a secret if you know me: I'm a cheapskate. I don't care about brands. I don't buy an expensive version of something when I can buy an inexpensive version. And I don't mind rolling up my sleeves and making something if it means it will fit my budget now instead of two years from now. This long hallway wall sat empty for a long time before I finally decided what to do with it. It doesn't get a lot of light, so I knew the art needed to be bright and reflective. I also wanted a simple, sharp, clean feel that drew the eye down the hall to the colorful piece that local artist Jenn Potter painted for that space. Eventually I decided small black and white prints with large white mats (plenty of negative space) checked off all my requirements. Designers often work in odd numbers, but I just couldn't figure out how to make the wall work with three or five frames, so I settled on four. (If you have a choice, go odd.) When I looked into custom framing four small prints with 24x36-inch mats, it was going to cost me in the neighborhood of $1,000. No, ma'am. I frame way too much in a given year to spend $1,000 on one wall. So I headed to a hobby store and went to work trying to create the same look for a fraction of the cost. I ended up framing all four prints for around $120 total. Here's how I did it.
Supplies
Poster frames with thin black borders (24x36)—$12.99 each White mat board for each frame at least 24x36 inches (uncut)—$7.99 each Prints (11x14)—$5.00 each Spray mount adhesive—$5.99 Scissors or crafting knife Measuring tape or yard stick Pencil Process I bought the inexpensive poster frames and uncut mat board at A.C. Moore (which doesn't list their inventory online). You can find similar supplies at other hobby stores, such as Michael's. The mat board was larger than 24x36, so I carefully measured and cut the outer edges to size to fit the frames. Instead of cutting windows in the mat board (which is difficult and frustrating without good supplies), I glued the photos on top of them. Guests to my home haven't noticed this shortcut, even upon close inspection! To do this, I measured and marked in pencil (and double and triple and quadruple checked) where I wanted to place the photos: 6.5 inches from the top and 6.5 inches from each side. Next I set up a place to spray the adhesive on the backs of the photos (in a well-ventilated area), sprayed them, then placed the photos extremely carefully onto the mat board where I had marked. There is a lot of room for error here, so you may want to purchase an additional mat board in case you make a measuring or gluing mistake. I assembled the frames. Normally I hang frames about two inches apart. But to continue the theme of negative space and keep the eye moving down the hallway, I spaced the frames 13 inches apart. Voila. You've got yourself a series of art for a fraction of the cost of custom framing. In other news, check out my new photography class! “Documenting Your World Through Photography: An Introductory Course for Elementary and Middle Schoolers”is an 85-page downloadable PDF packed with lessons and photo examples from my own portfolio.
7 Comments
debra
4/18/2020 03:42:55 pm
Hi, Love your gallery wall. Do your 24 x 36 frames have real glass on the front?
Reply
Maureen
10/16/2020 10:05:39 am
I wanted to ask the exact same question as Debra as these look lovely. Is there glass in your frames?
Reply
Megan
7/28/2021 07:41:52 am
Absolutely genius to glue the pictures to the mat! I will be redoing my diy cut mats.
Reply
Vickie Allen
11/5/2022 07:18:41 am
I have wanted to make a gallery for my narrow entry for years. My pictures are of my travels, mostly buildings. Would you recommend black/white? The pictures look great with some color.
Reply
11/9/2022 03:19:21 pm
I'm glad you talked that you should consider knowing the right spacing when framing your pictures. When my spouse and I were first married, she planned to have our graduation picture framed because she wanted to display it in our living room. You did a great job explaining the importance of framing. I'll consult a trusted custom picture framing service to gather information about the process of framing.
Reply
3/22/2023 01:36:33 am
It's great that you explained that frames can be spaced 13 inches apart. My friend wants their pictures to have unique frames. I should advise her to opt for custom picture framing to achieve her desired look.
Reply
10/2/2023 12:21:44 pm
Looks like you did a great job! I love the finished look. I’m working on a similar project and it’s nice to see it can look really nice without spending $1000. Thank you.
Reply
Leave a Reply. |
My new book is out! Click to learn more about it.Hello thereI'm Julia Soplop, writer and photographer. I believe there is something profound in bearing witness to moments of joy and pain in others’ lives. My husband, three girls and I live outside of Chapel Hill, NC. You can read more about me here.
Snag my new photo curriculum for kids!Categories
All
Popular posts |

