Calm Cradle Photo & Design
  • Home
  • Nature prints
  • Curriculum
  • Lifestyle portfolio
    • Newborn & maternity
    • Baby & child
  • Session information
  • Investment
  • Blog
  • About
  • Contact

Curriculum: Helping kids write and publish books (Part 1)

4/10/2019

0 Comments

 
Helping Kids Write and Publish Books (Part 1). Homeschool curriculum. By Calm Cradle Photo & Design
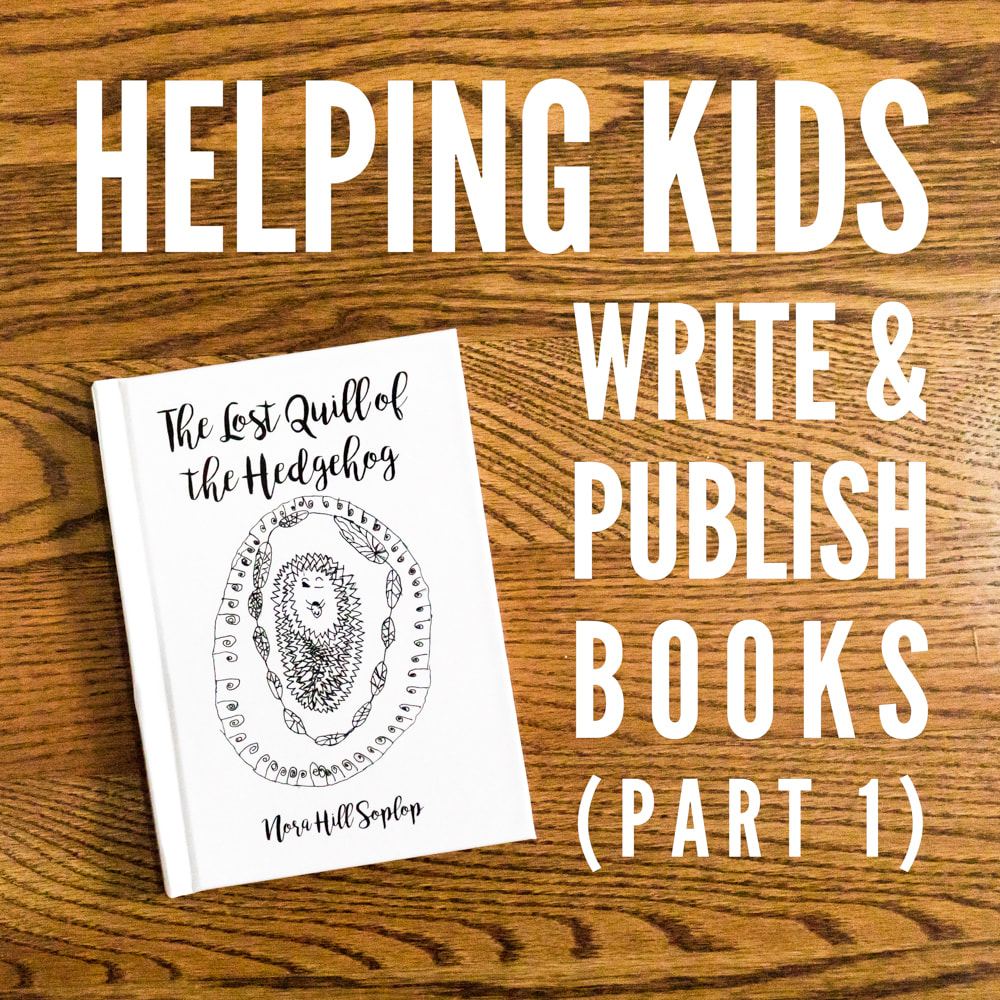
We just wrapped up one of our favorite activities of the homeschool year: a book-writing workshop. Can you imagine the joy and pride in the girls' eyes when their printed books arrived in the mailbox?

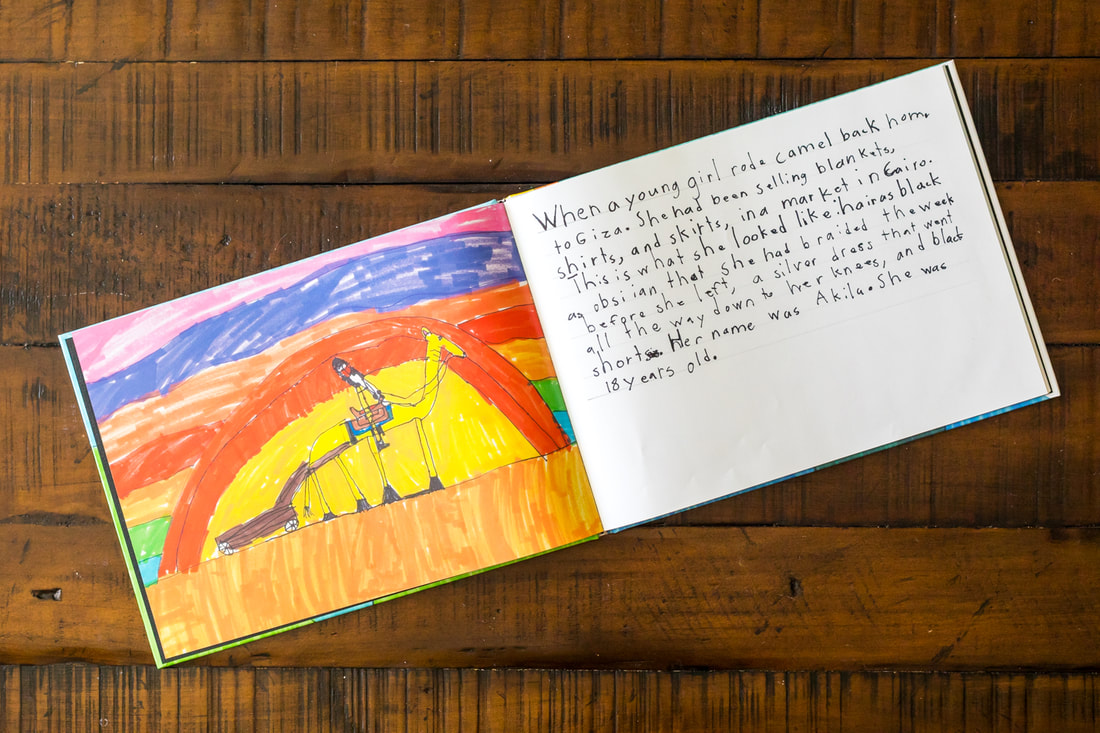
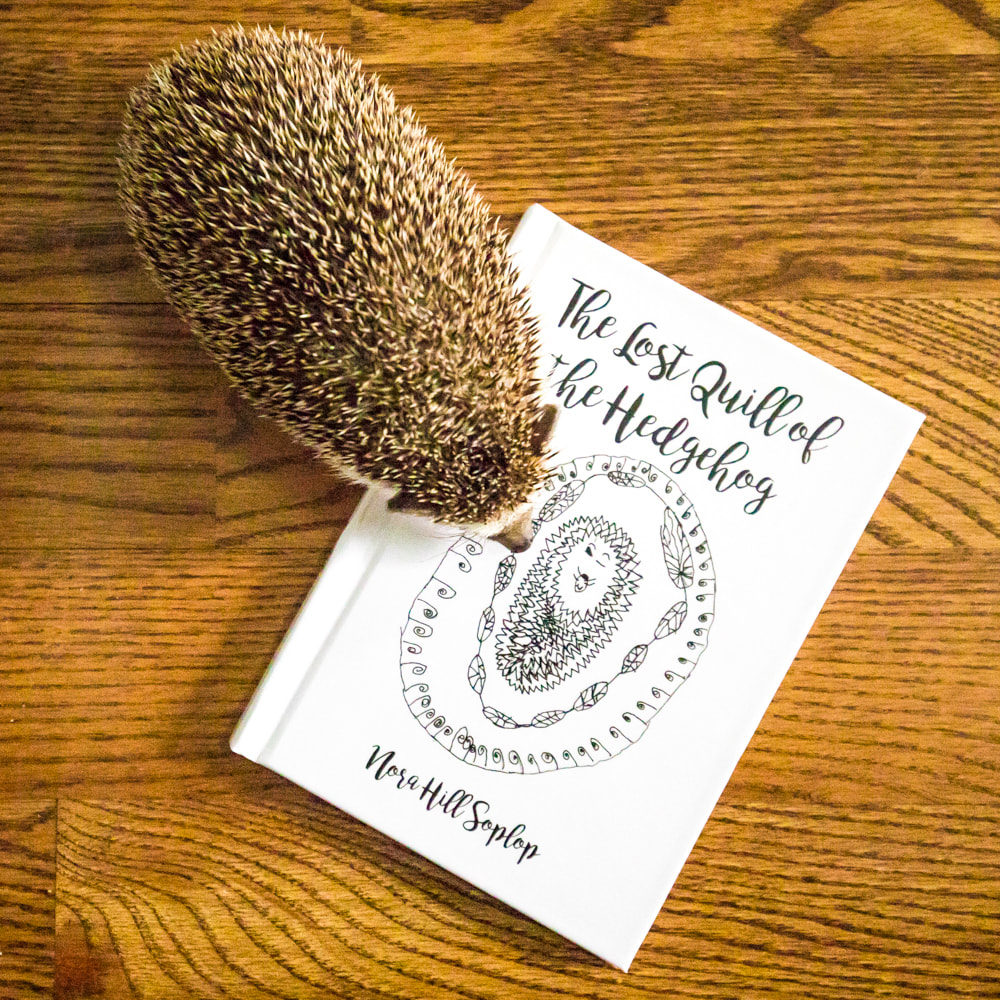
I've gotten a lot of questions about how we put the books together, so I thought I'd share our process. In this post, I'll describe the writing, editing, design, and printing methods we used for the books we wanted to print hard copies of but did not plan to actually publish. In the next post of this series, I detail how we went about independently publishing Cricket's book, which is now available on Amazon.

Pulling together a book is no small task for the child or the parent/educator/editor, whether you plan to publish it or not, but it's so worth the work. Why? Three reasons: 1) a book is a literal, physical, understandable representation that you can achieve an overwhelming goal by breaking it into manageable pieces and dedicating hard work to it; 2) a book shows kids their ideas and work have value; 3) telling kids they have to study grammar, spelling, mechanics, and literature in case they need them for their careers when they're 40 means nothing, but a finished book product shows them that with those elements, they're capable of producing meaningful work now.

Last year, Cricket wrote and illustrated a picture book. This year, Nora wrote and illustrated a short chapter book, and Cricket wrote and photographed a short chapter book. Our process happens in three phases: freewriting and re-writing, workshopping, and formatting.
Helping Kids Write and Publish Books (Part 1). Homeschool curriculum. By Calm Cradle Photo & Design
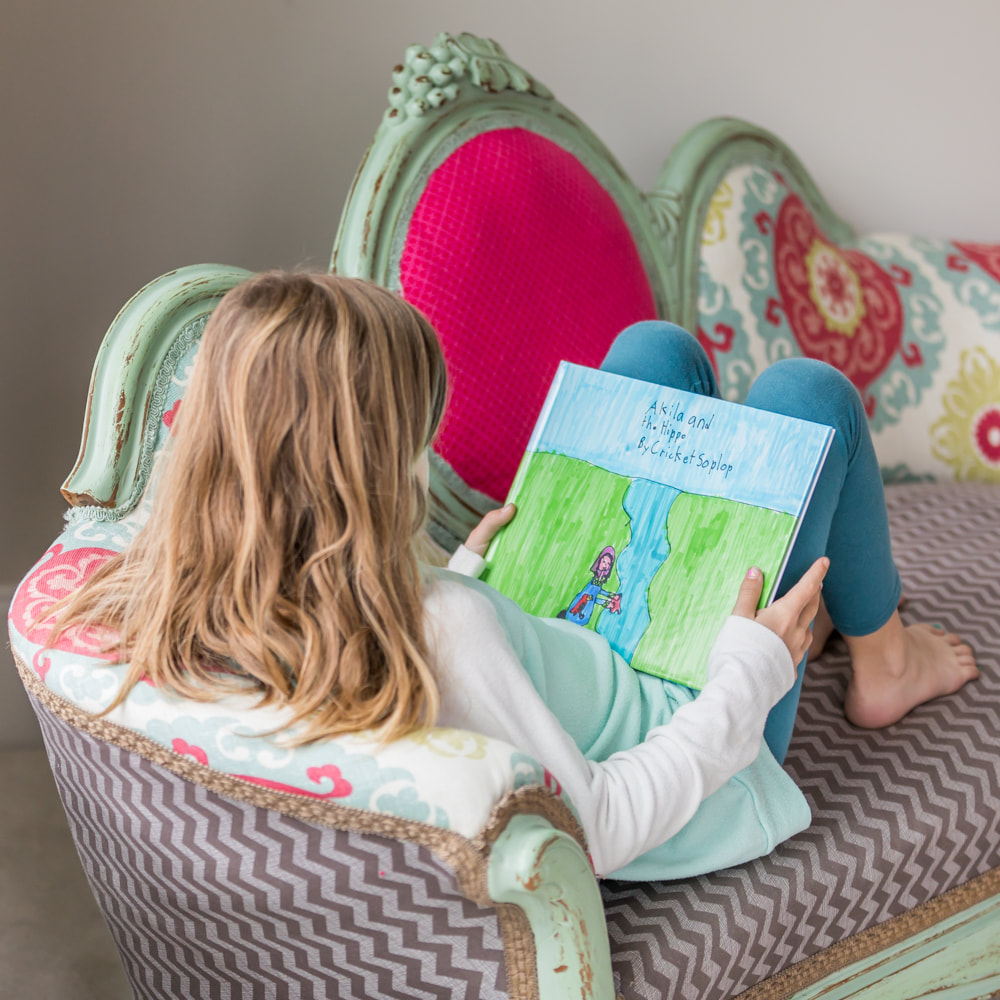
Freewriting (and re-writing)

  • During the school year, we take a page from the Brave Writer lifestyle and do what we call Freewrite Fridays. Sometimes we're at home, sometimes we're at a park or coffee shop. What matters is that the girls grab their notebooks and spend time—but not even a specific amount of time—writing. Some people give prompts, but my kids always have their own ideas to write about. This exercise is about getting thoughts onto paper, not about mechanics. At all. They can show me what they wrote it they want, but they don't have to in the moment. I don't make any corrections in their freewriting notebooks.
    ​
  • In the later winter or early spring, after they had a bunch of little vignettes, stories, and ideas written down from Freewrite Fridays and any other time the impulse hits to write, we sat down to choose a story or idea to turn into a book. I gently guided them into selecting something I thought could make for a full story and keep their attention throughout the process. 

  • Once they selected their story ideas, they set out to write complete drafts. At this stage, we set aside most of our other academic activities (besides math) to focus all our energy on the book project for a few weeks or a month. (It takes some good chunks of focused work to pull it all together.) My older kids are in 1st and 2nd grade, so keep in mind the goal was not to produce adult-level work. The goal was to produce polished 1st- and 2nd-grade-level work that a 1st and 2nd grader could be proud of. At this level, I needed to nudge them to remember a story has a beginning, a middle, and an end; and something needs to happen in the story. I also encouraged them to move past feeling limited by actual people, places, and circumstances when they're writing fiction.
Helping Kids Write and Publish Books (Part 1). Homeschool curriculum. By Calm Cradle Photo & Design
Workshopping

Once they completed a draft of the story (I put no time limit on them—a project like this is done when it's done), we began to work through the editing process together. I've done this part in two different ways.

  • When Cricket wrote her picture book last year, the story was short enough that I didn't think it would be too overwhelming for her if we to sat down together and I marked up spelling and mechanical errors in pen, explaining the mistakes as we went. I've learned to be careful here, because as a professional writer/editor, I can be ruthless with a red pen. Cricket was a good sport about the the mark-ups, even though there were a lot of them. She understood we had some work to do to polish up the mechanics.

  • This year, the girls wanted the text to be typed rather than hand-written to look more like a "real" book. Since the stories were substantially longer and would be covered with substantially (overwhelmingly) more mark-ups for spelling and mechanical errors than last year's short picture book, I decided to workshop them differently. Since the girls aren't efficient typists yet (Cricket is just starting typing lessons and Nora hasn't take any), instead of red marks and handwriting new drafts that would later need to be typed anyway, we sat down together at the computer and talked our way through the final draft while I typed.

    This process worked well. It's similar to how editing occurred at some of the newspapers I've written for (writer finishes draft, editor takes the keyboard, writer and editor sit together and talk through edits). It still took a long time, but the girls got really into it. I explained the mechanical corrections we needed to make and helped them think through some major plot holes, but reigned in my inner editor to continuously remind myself we were just trying to polish up 1st- and 2nd-grade work, not produce adult-level masterpieces. The girls saw the corrections happening but weren't overwhelmed by a paper covered in red ink with comments all over the margins. For very young writers, I highly recommend workshopping in this way for longer pieces. While this process would never happen in a traditional school setting due to resource limitations, it's how the real world of writing and editing often works and is a wonderful learning tool. 
    ​
  • After the drafts were complete and we proofread them, we proceeded in two ways:

    • For the picture book, we went through the story and split up which text would go on which pages and which illustrations would accompany the text. We put pictures on the left-hand pages and text on the right-hand pages. (You could combine text and pictures if you wanted.) Then Cricket hand-wrote the final draft divided onto the separate pages and drew the illustrations on separate pieces of paper. She also drew a cover. Then I scanned all the pages to make separate JPEG digital files for each.
      ​
    • For the chapter books, we had already typed the text by the end of our workshopping session. Nora then drew illustrations on separate pages for me to scan for the interior and the cover of her book. Cricket took photos at the barn where she rides to illustrates her story.
Helping Kids Write and Publish Books (Part 1). Homeschool curriculum. By Calm Cradle Photo & Design
Formatting

For the books we wanted to print to have copies for ourselves but not to actually publish, I used an online photo printer, Snapfish, and put them together as hardcover photo albums. There are plenty of inexpensive photo printer companies, but I liked that Snapfish allowed us to choose from several different sizes and gave us control over the page design.

  • I got input from the girls on how they wanted their books to look, but I did the online assembly myself. It's just too laborious to have "help" with from young kids as far as my mental health is concerned. For the handwritten picture book, I uploaded the individual JPEG scans of the text and illustrations and put one scan per page, with the text on the right and the illustration on the left. Uploading scanned JPEG pages is no different from uploading photos into a photo album. When it was all set, I asked Cricket to do a final proofread and approve it. Then I ordered a copy for her.
    ​
  • For Nora's chapter book with illustrations, I copied and pasted her illustrations from the scanned files right into the Word document of her story where she wanted them placed, then saved the Word document as a PDF. Then I uploaded each page of the PDF onto a page of photo album. (Alternatively, instead of combining the text and illustrations in Word, you could copy and paste the text directly into text boxes on each page of the album, then copy and paste the illustrations onto the album pages. Either way, it's laborious.) For the cover, I added text to Nora's illustration in Photoshop, but you could easily add text in Word or using the Snapfish album creator, if you preferred. I asked Nora to do a final proofread and approval before ordering a copy for her.
Helping Kids Write and Publish Books (Part 1). Homeschool curriculum. By Calm Cradle Photo & Design
Odds and ends

The formatting for Cricket's published book happened a little differently, and I explain that process in my next post.

When the books arrive, we make a big deal out of them! A shiny, new, complete project is a big deal, whether it's technically published or not. (And legally, if I remember correctly from graduate school, if at least three people read something, it can be considered published regardless of any formalities.)

We also throw a "Book Release" tea party, which is a blast and I'll tell you about in another post.

I can't encourage you enough to build a book-writing workshop of some sort into your curriculum. Sure, I may be biased; I'm a writer after all. But regardless of their interests and skills, all kids need to learn to communicate effectively and break overwhelming projects into bite-size portions to succeed. Plus your heart will explode when you see how proud they are of their finished products.
Helping Kids Write and Publish Books (Part 1). Homeschool curriculum. By Calm Cradle Photo & Design
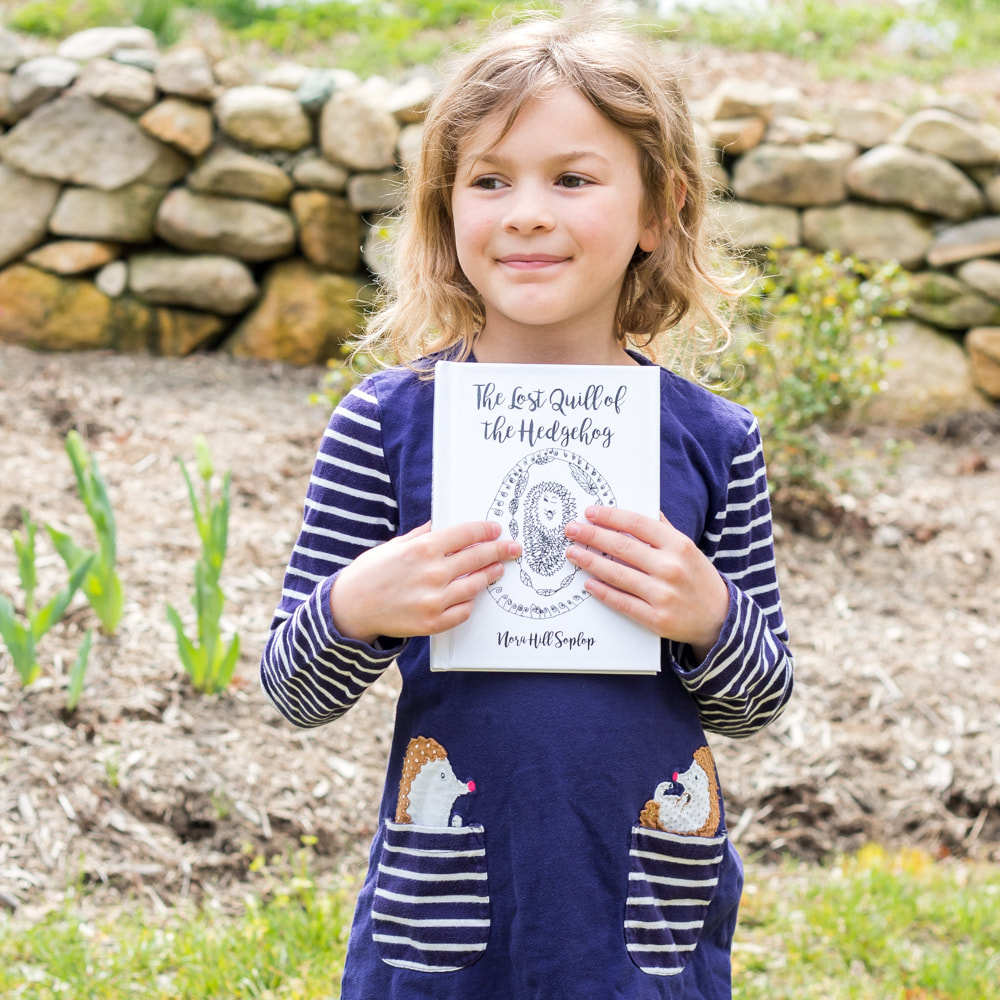
Learn about my intro photography curriculum
Documenting Your World Through Photography: An Introductory Course for Elementary and Middle Schoolers

Book lists: Around the world
East Africa (Part I)
East Africa (Part II) and Central Africa
North Africa (Egypt)
Southern Africa
West Africa
The Arctic
​Antarctica
0 Comments


Leave a Reply.

    My new book is out! Click to learn more about it.

    Equus Rising: How the Horse Shaped U.S. History. By Julia Soplop. Illustrated by Robert Spannring.

    Hello there

    Picture
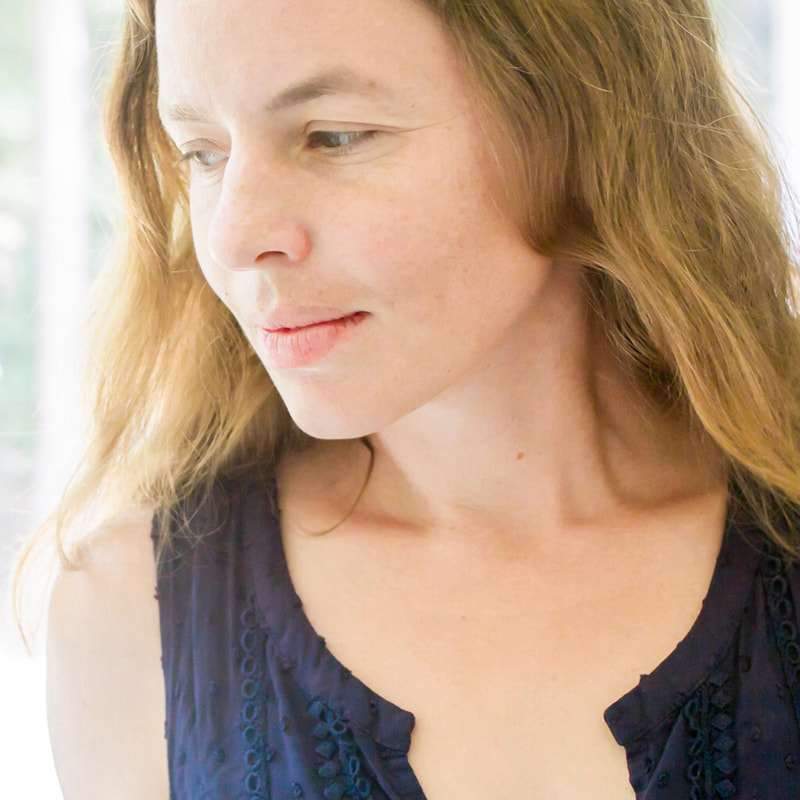
    I'm Julia Soplop, writer and photographer. I believe there is something profound in bearing witness to moments of joy and pain in others’ lives. My husband, three girls and I live outside of Chapel Hill, NC. You can read more about me here.
    Picture
    Picture
    Picture
    Picture

    Snag my new photo curriculum for kids! 
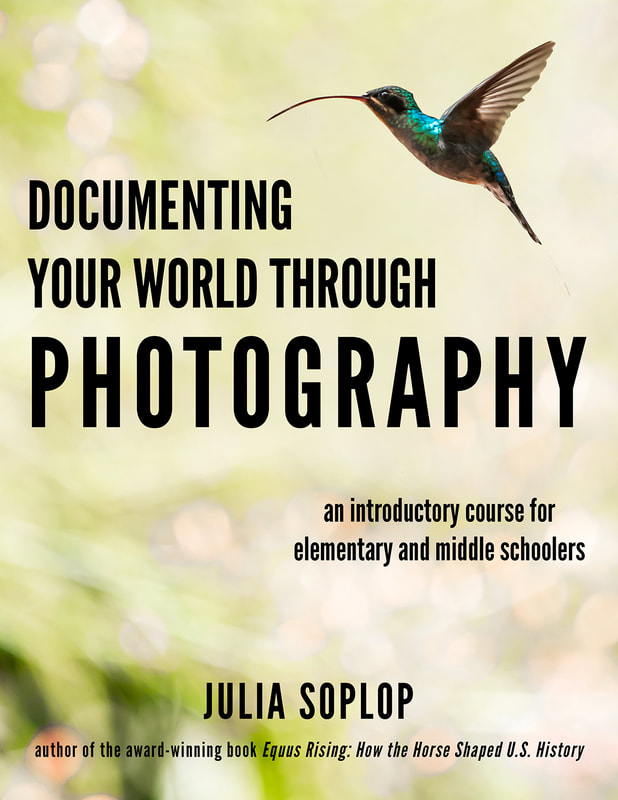
    Fantastic photo curriculum for kids! Documenting Your World Through Photography: An Introductory Course for Elementary and Middle Schoolers. By Julia Soplop of Calm Cradle Photo & Design

    Categories

    All
    Adventures
    Around The House
    Curriculum
    Diy & Events
    Nature
    Pittsboro CH Outdoors
    Portraits
    Shop News
    Writing & Musings

    Design Mom Home Tour by Julia Soplop of Calm Cradle Photo & Design
    Don't miss my Design Mom home tour!

    Popular posts

    DIY crate bookshelf
    Toddler bedroom tour
    Nursery tour
    DIY twin bed
    DIY braided scarf
    DIY coffee bean centerpiece
    Grandma knows best
    Little gallery wall
    DIY yarn wreath ornament
    DIY no-sew tutu
    5-month portraits + b&w tips
    Designing fabric
    DIY felt heart mobile

Grab my FREE SAMPLE of Documenting Your World Through Photography

* indicates required
  • Home
  • Nature prints
  • Curriculum
  • Lifestyle portfolio
    • Newborn & maternity
    • Baby & child
  • Session information
  • Investment
  • Blog
  • About
  • Contact