|
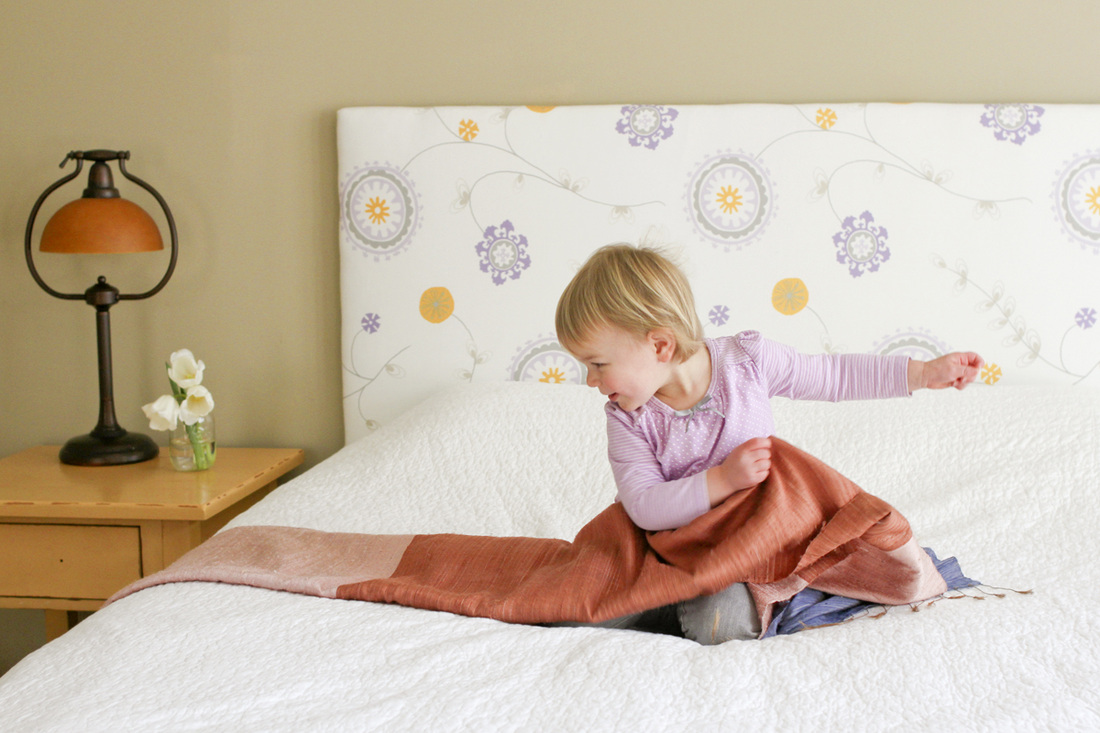
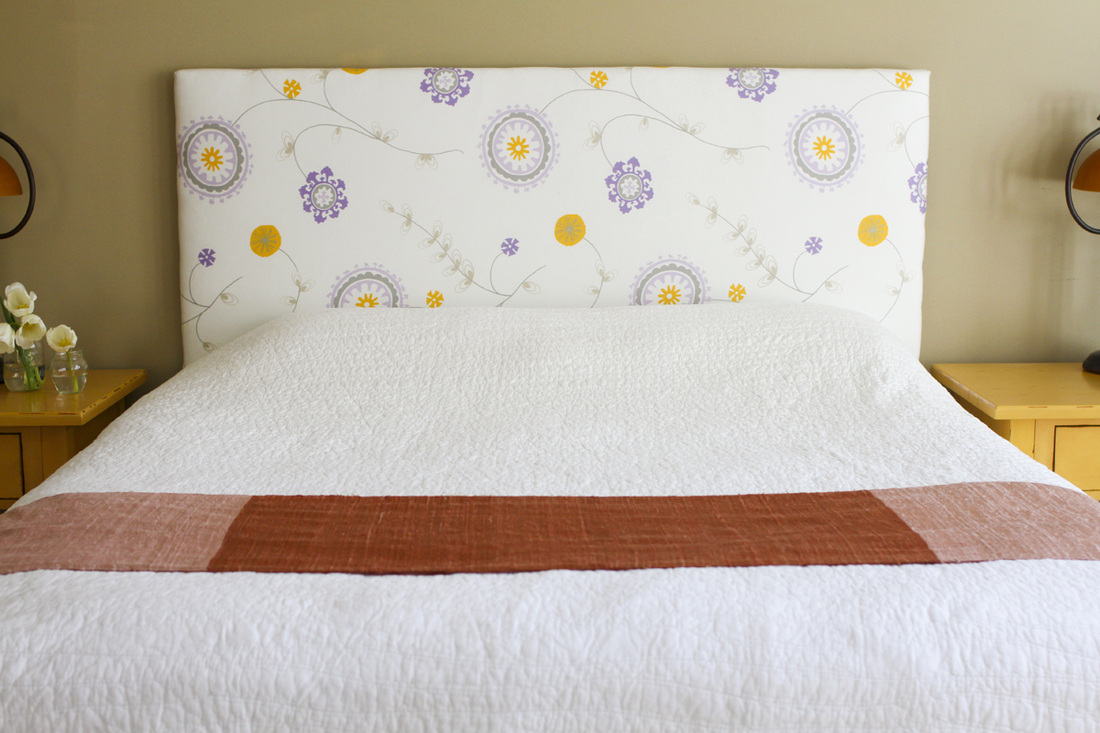
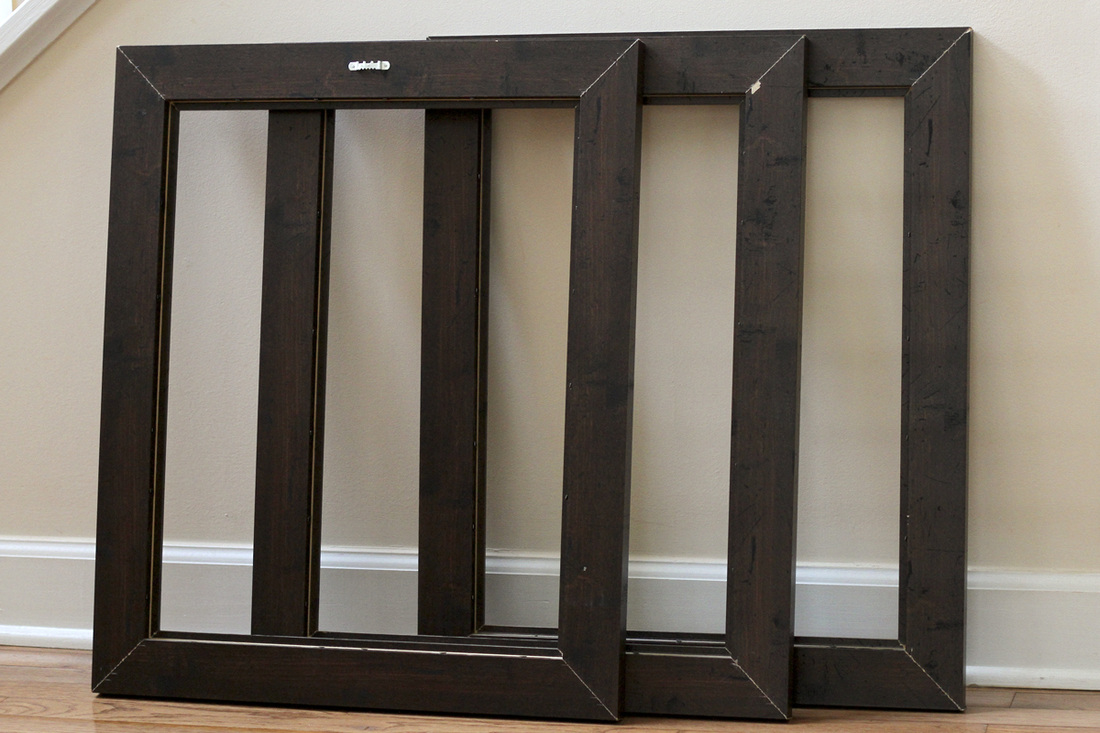
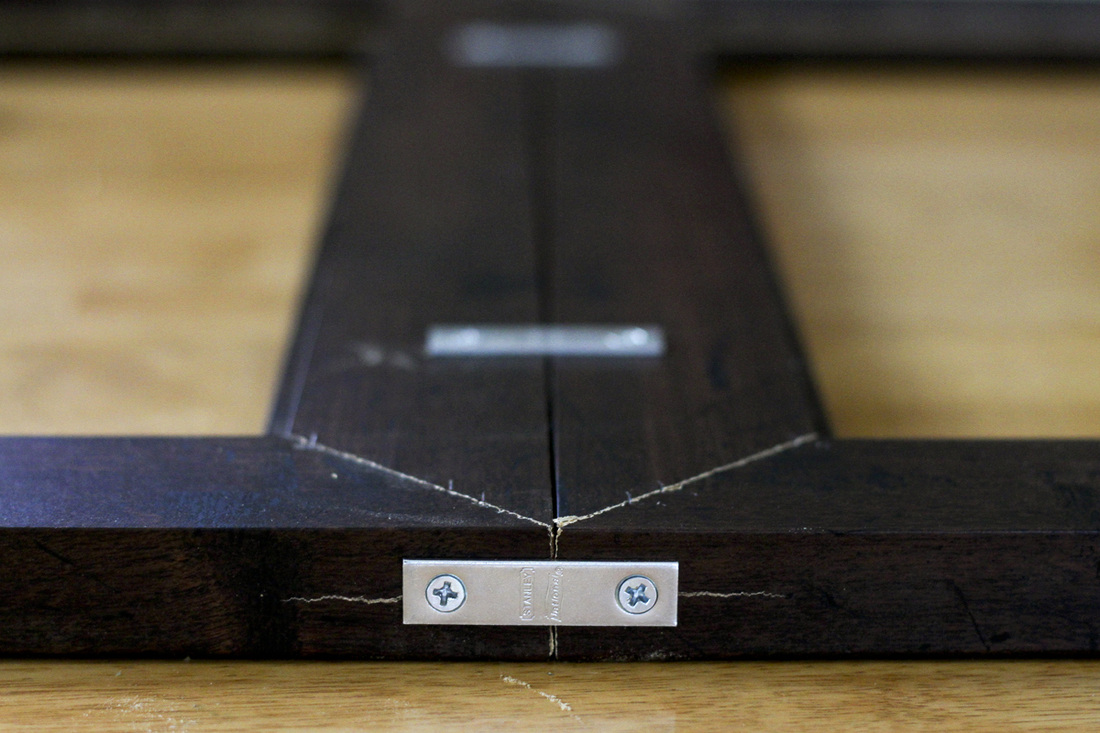
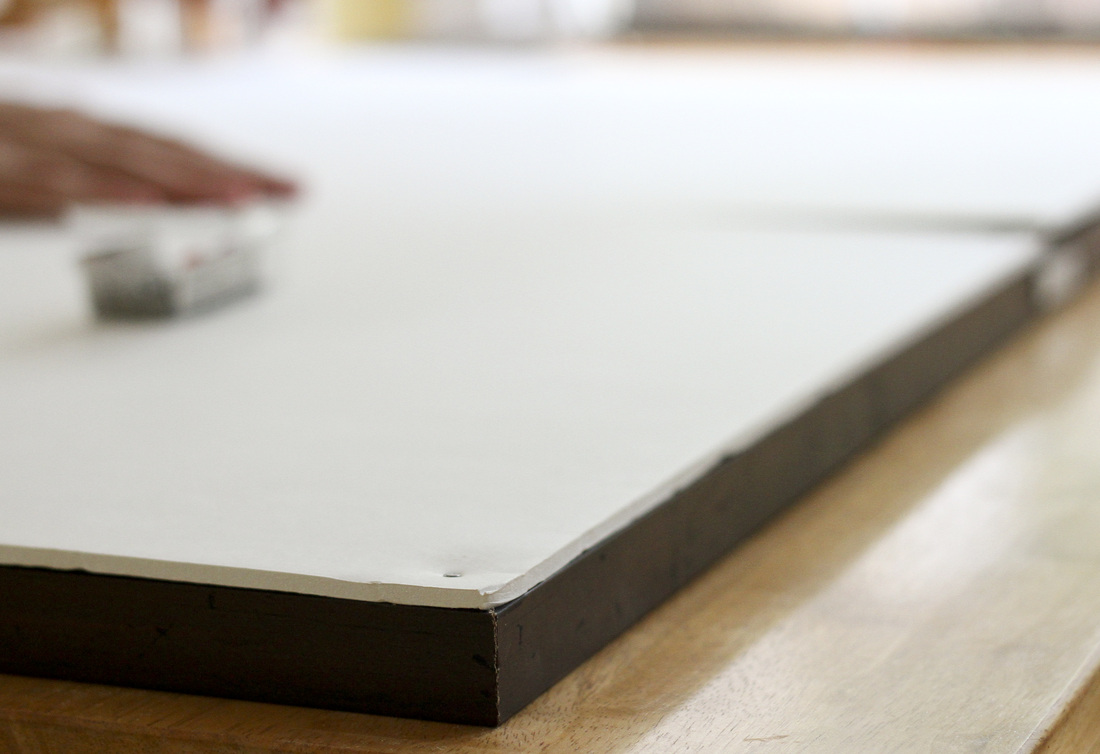
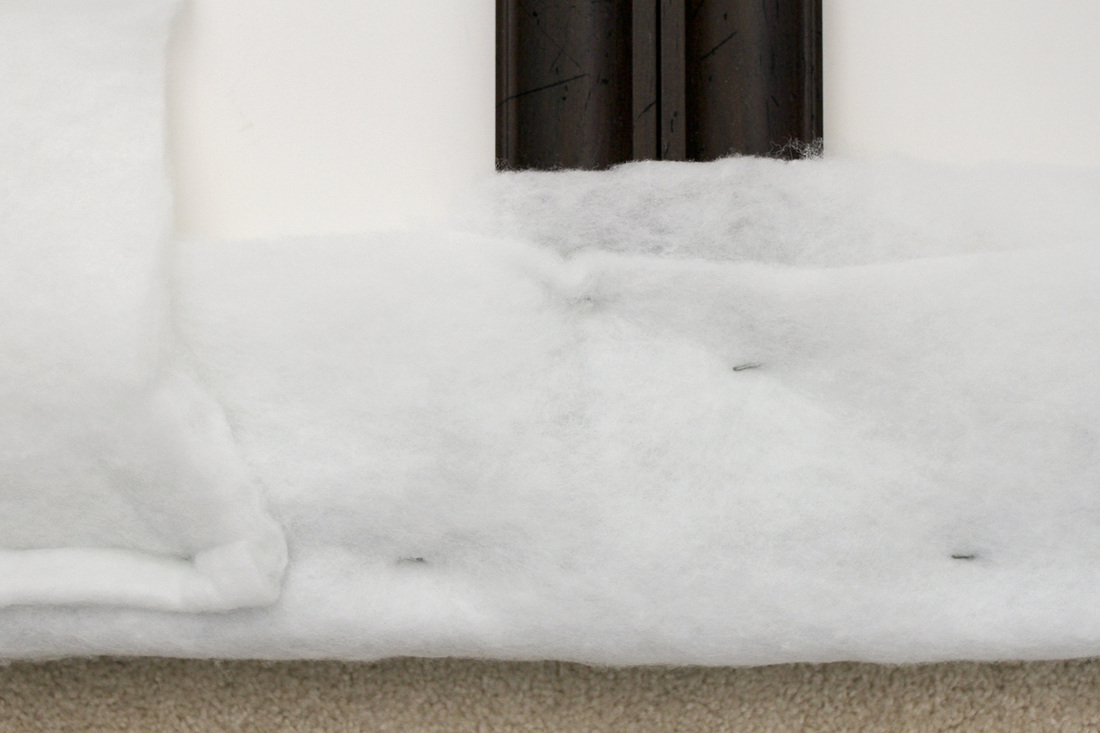
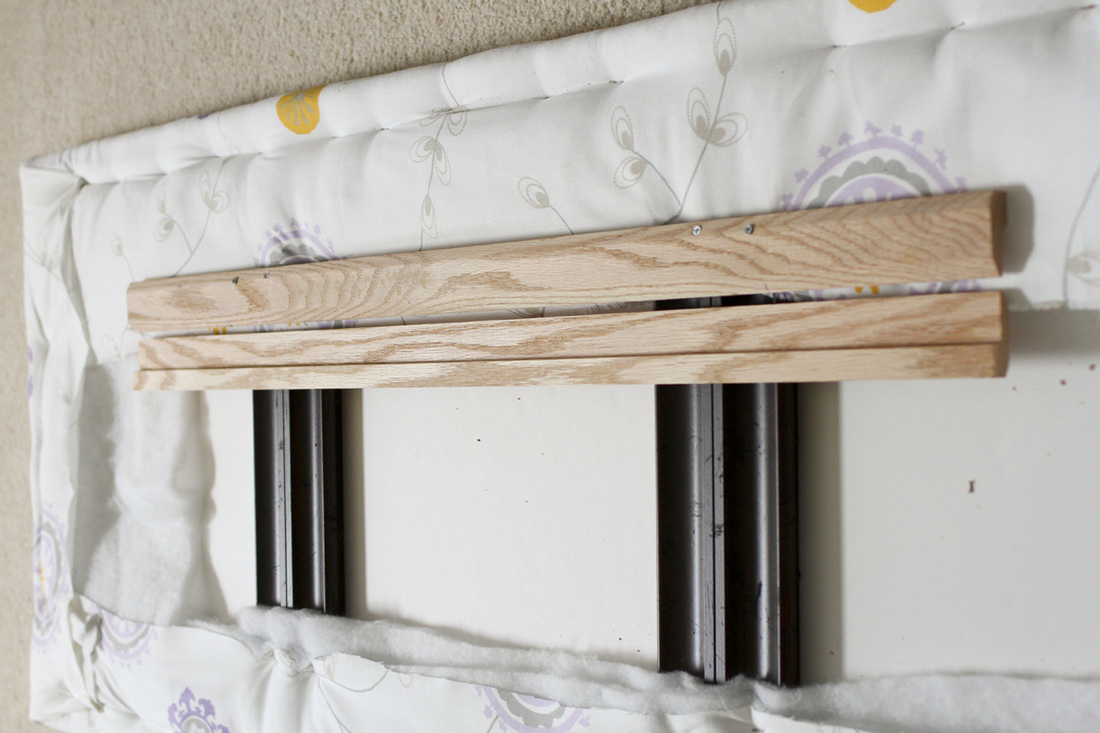
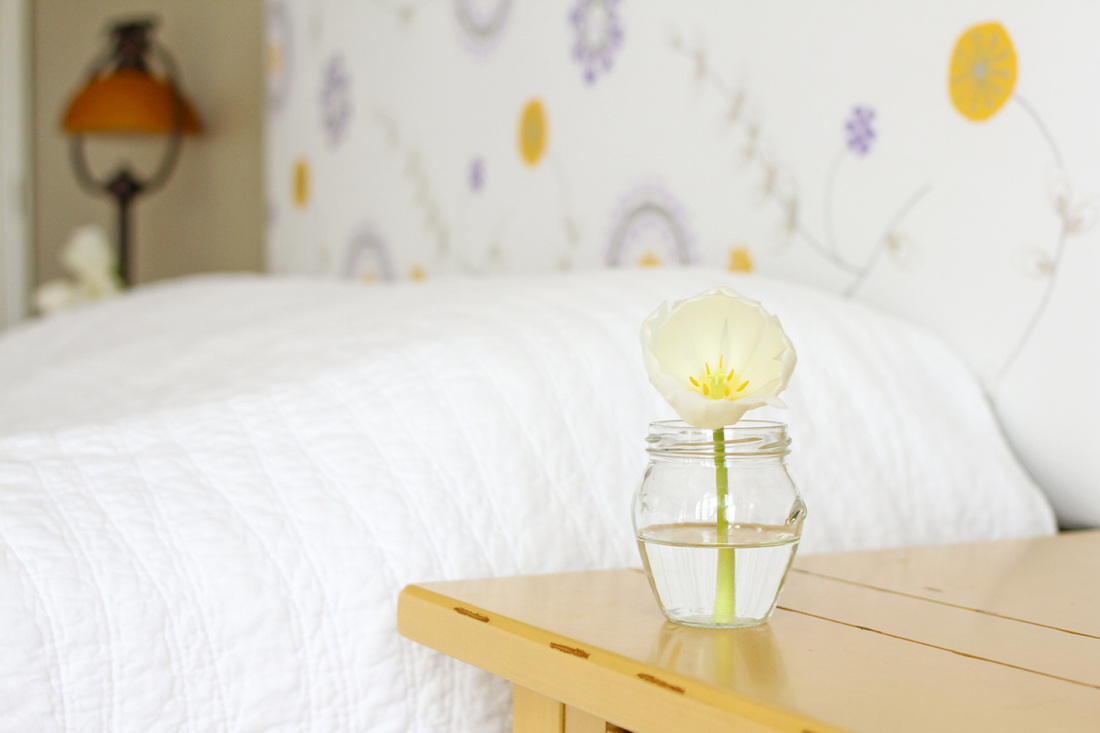
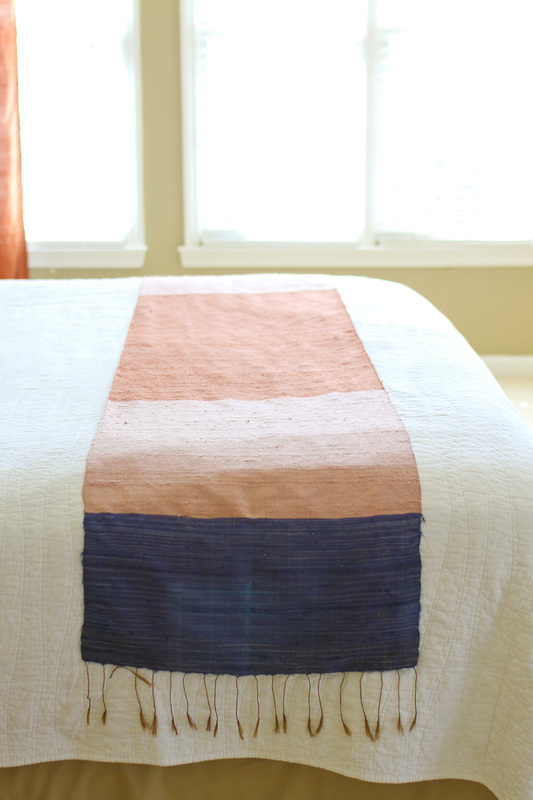
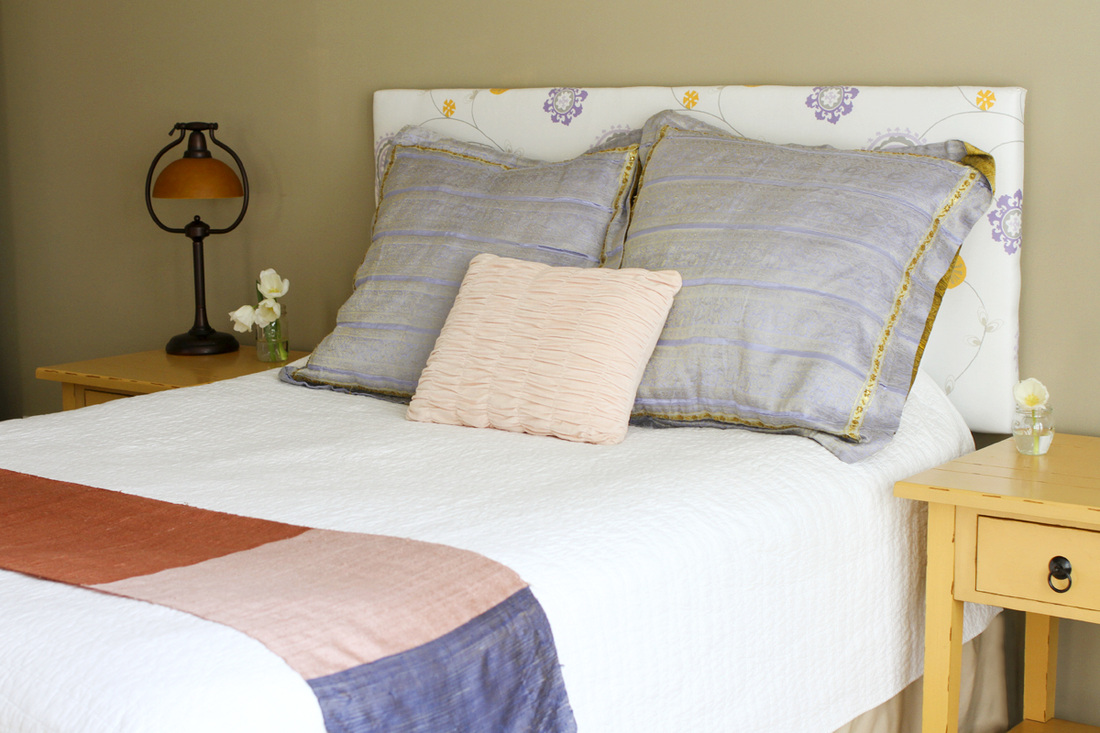
Only five short months after completion, I present to you the DIY headboard we made for our room with upcycled picture frames. It all started like this: You know the drill. You decide to switch out some wall hangings after a few years. Your significant other gets annoyed because you now have perfectly good picture frames kicking around the house unused and you have nowhere to put them since all your closets are packed to the brim a la Monica Geller. On a seemingly unrelated note, you've never found the perfect headboard for your bed. So one day you get creative and realize that if you tack three 20x24 picture frames together, they are the same width as a queen bed (60 inches). Aha! We decided to use the picture frames as a base for the queen headboard, then upholster it with the method we used to make Cricket's DIY twin bed. In a nutshell, here are the basic instructions. Remove and discard the glass and any hardware on the back of the frame used for hanging. If the picture frame is curved on the front side like ours, you'll want the flat back side (see below) to become the front of your headboard. With the front of the frames lying on a flat surface, tack together the backs of the frames with flat braces. You can see we tacked together the sides as well as the tops and bottoms of the frames. To fill in the holes in the frames and make a smooth surface for what will be the front of the headboard, cut foam board or cardboard to cover the entire surface (24 x 60 inches) and tack it on using small nails. Now you've got the foundation finished. Wrap the frame headboard in two layers of cotton batting and staple into place (like we did for the DIY twin bed). Wrap in headboard in fabric and staple. (You can find the inexpensive fabric we used here.) Despite tacking all the frames together, the headboard still wasn't very sturdy. So Jeff and his dad devised this hanging system, which helps hold the frames together. The top piece of wood is attached to each frame and to provide support along back. The bottom piece attaches to the wall. The top piece then slides into the bottom piece to secure the headboard to the wall. Here's the finished product. I'll warn you that it's still not incredibly sturdy. I don't know that the headboard would survive a move and wouldn't recommend it for a child's room if the child might hang on it. But it suits us for now. And I love how the fabric brightens the room. I couldn't resist sharing a close-up of this gorgeous silk scarf my best friend bought for me several years ago in Laos. And here is the final effect in our room (if we ever manage to get the pillows and scarf on the bed). My grandma helped me make the purple and gold pillow cases a decade ago using fabric I bought in India. They've followed me to every place I've lived since. The ruffled pillow is from Urban Outfitters, and the white quilt is from Target.
4 Comments
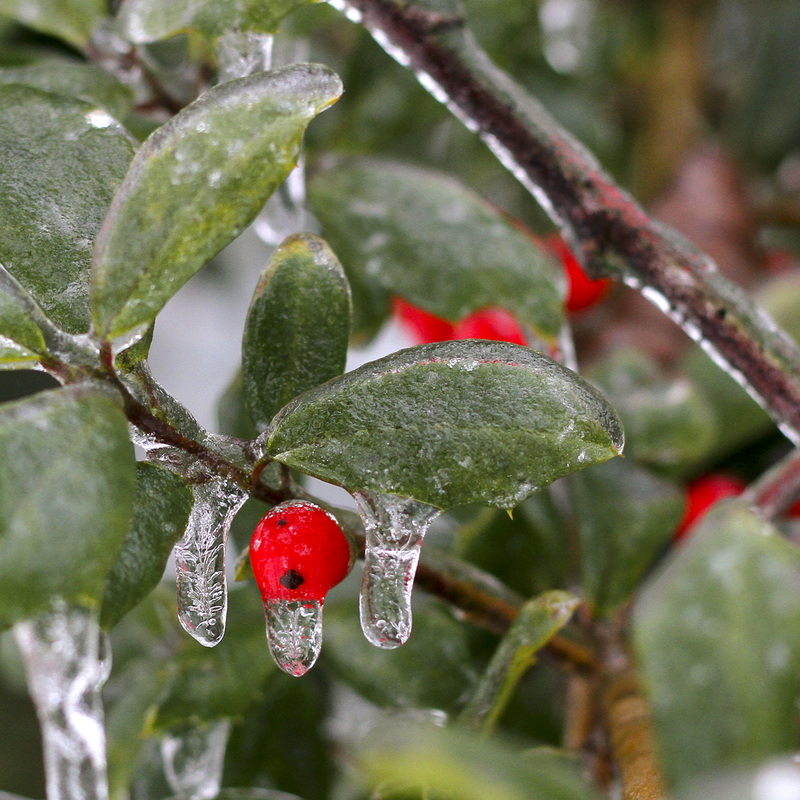
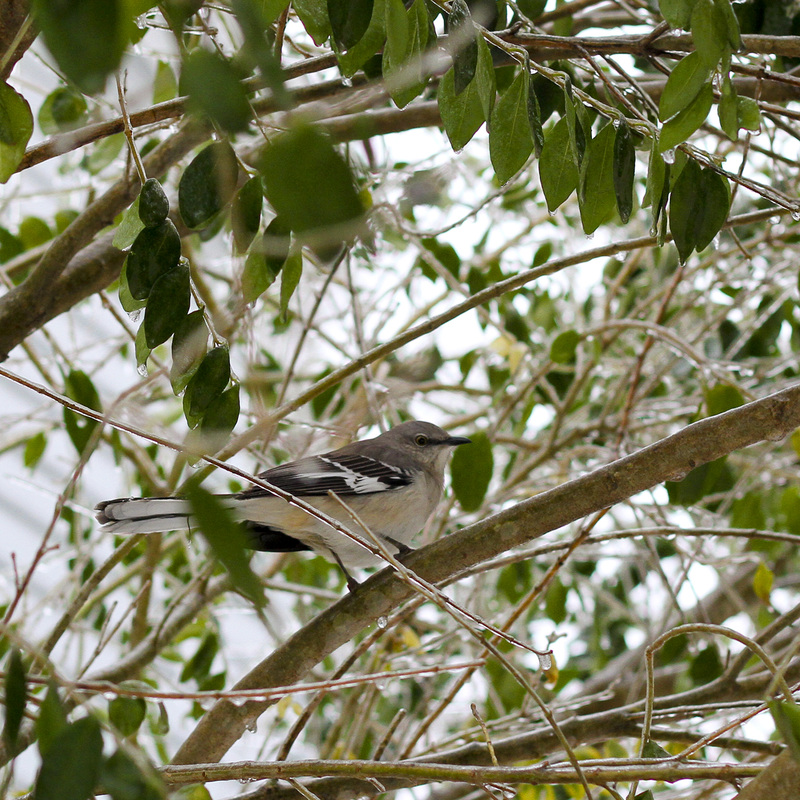
Hello from snow-and-ice-covered North Carolina! I'm documenting our winter scenery and adventures over on Instagram today. Please join me there to see more photos. Click here for more nature photography by Calm Cradle Photo & Design.
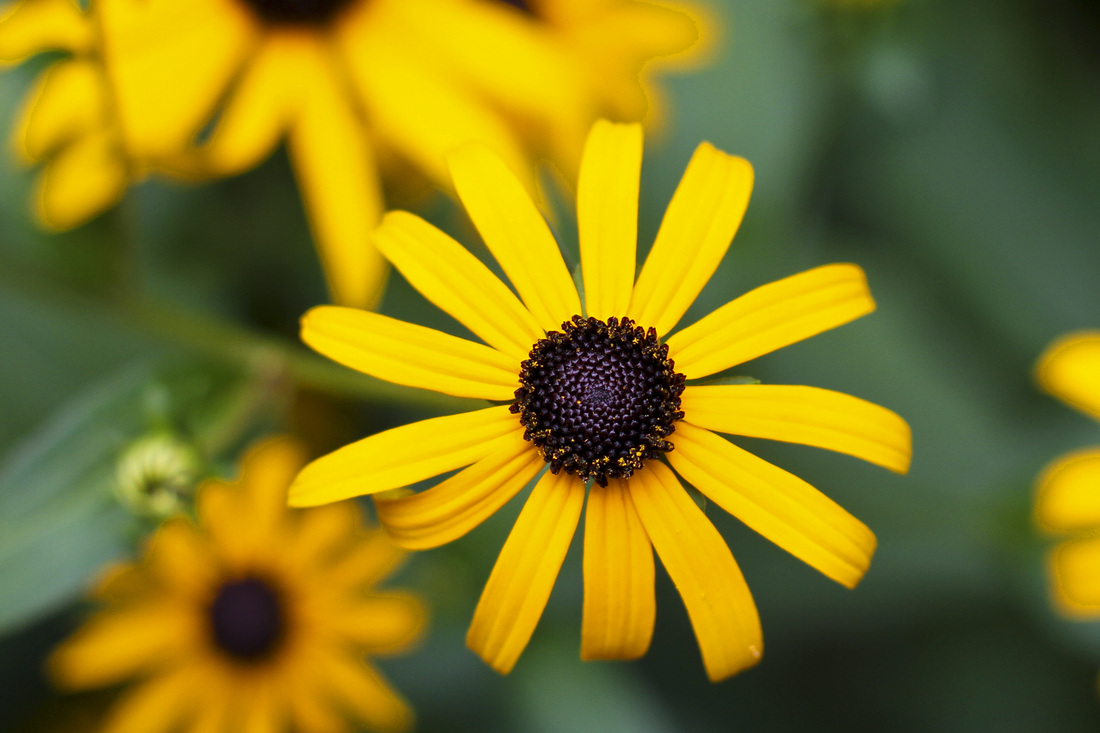
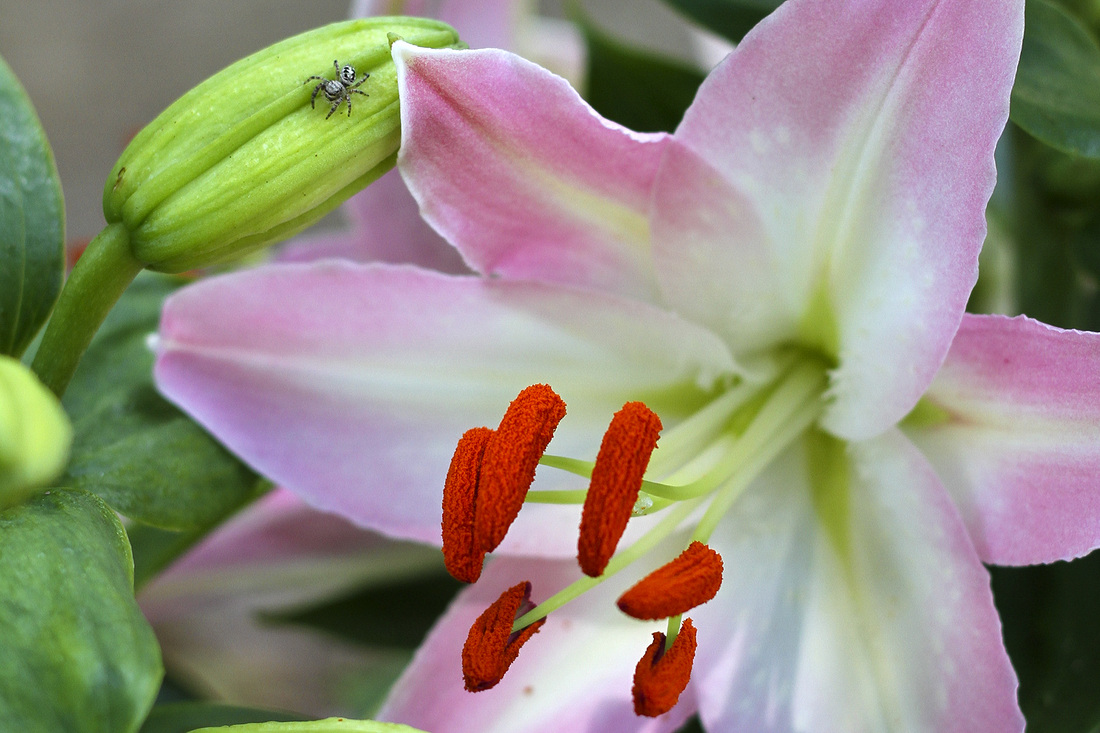
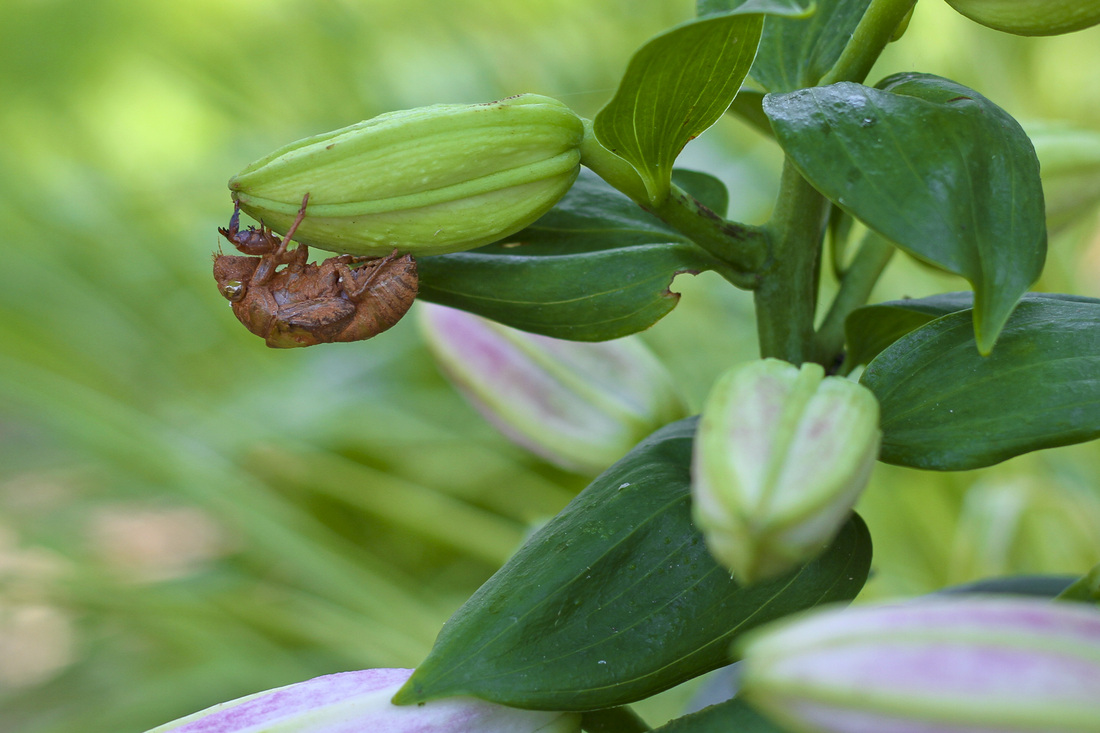
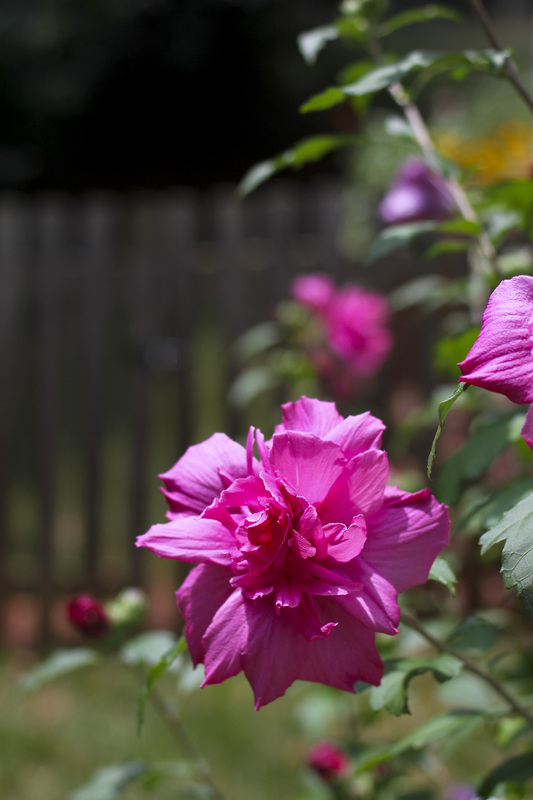
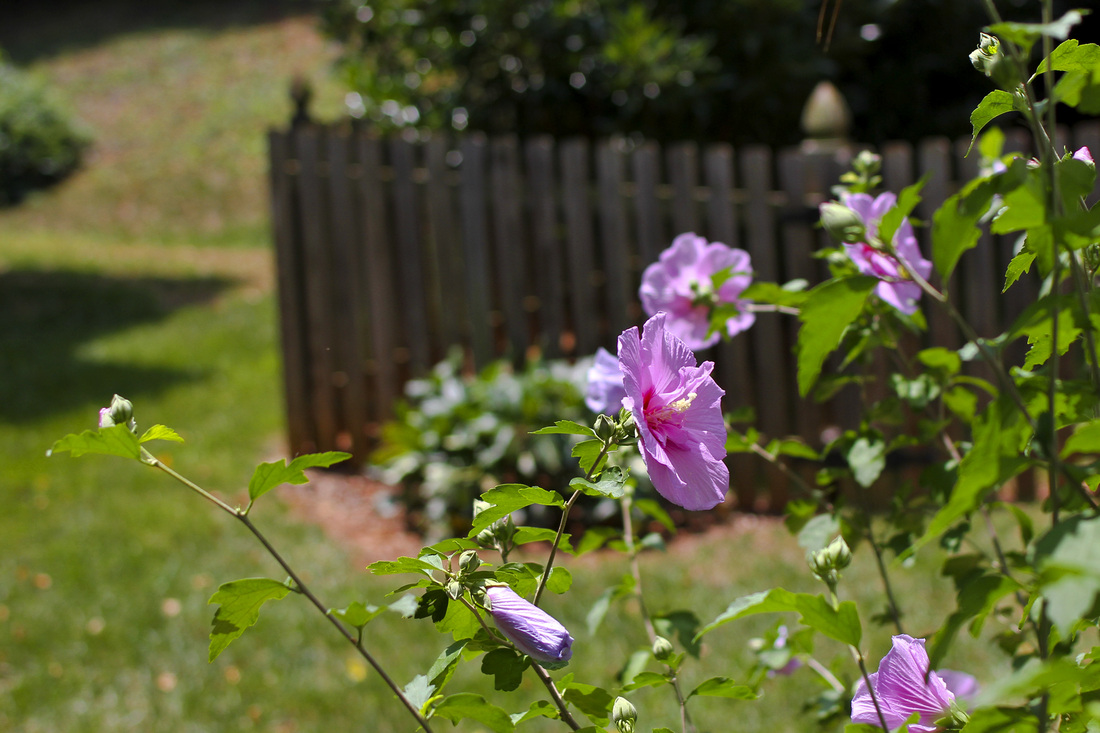
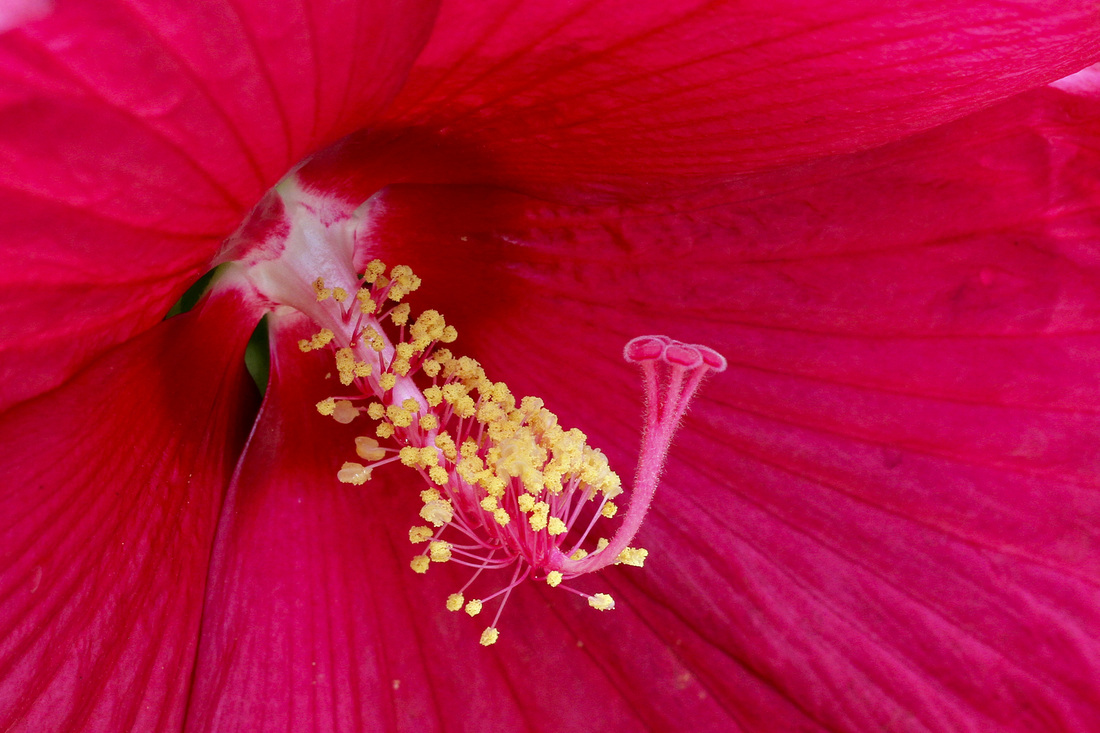
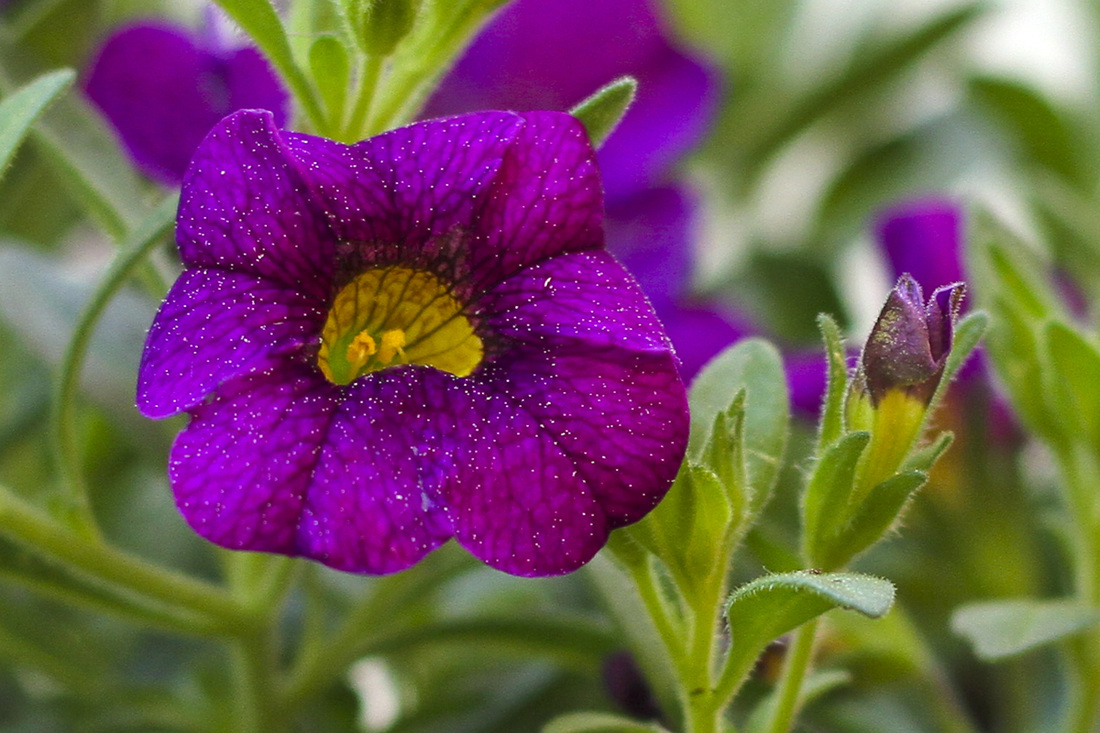
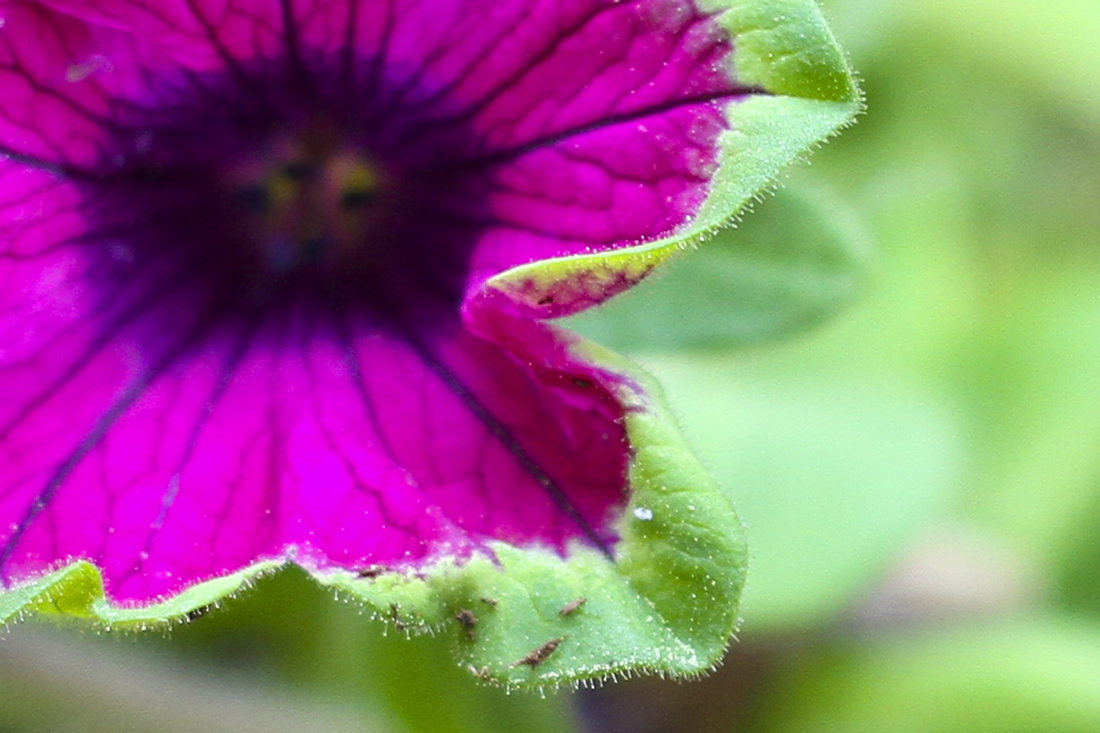
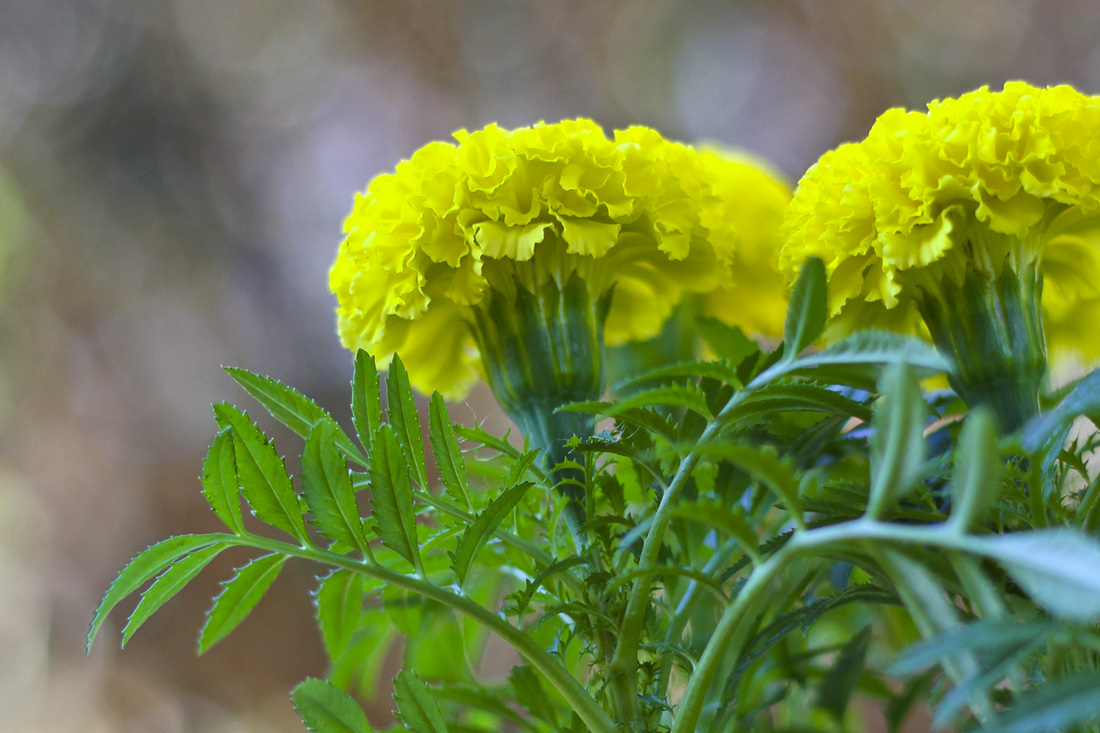
Thanks to our high-security raised beds, I finally have my long-sought-after black-eyed Susan patch! It only took five years to outsmart those cute but conniving little bunnies. Our Asiatic lilies, planted in honor of our niece named Lily, are finally well established and just finishing their stunning blooms. I found a few surprises amidst them when I went out to take some photos. The side of the house you see when you drive into the neighborhood is bursting with color right now. Below are two varieties of hibiscus. (The burst of yellow in the background of the image immediately below is the black-eyed Susan patch.) I hope your gardens are brimming with flowers, too!
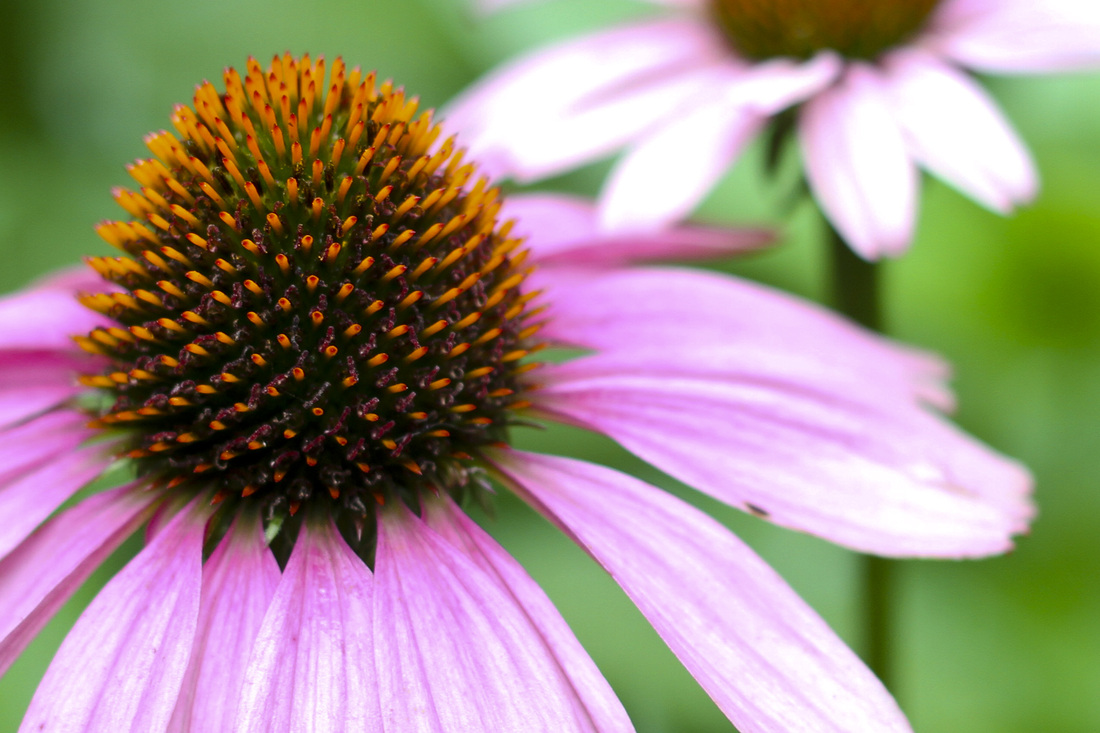
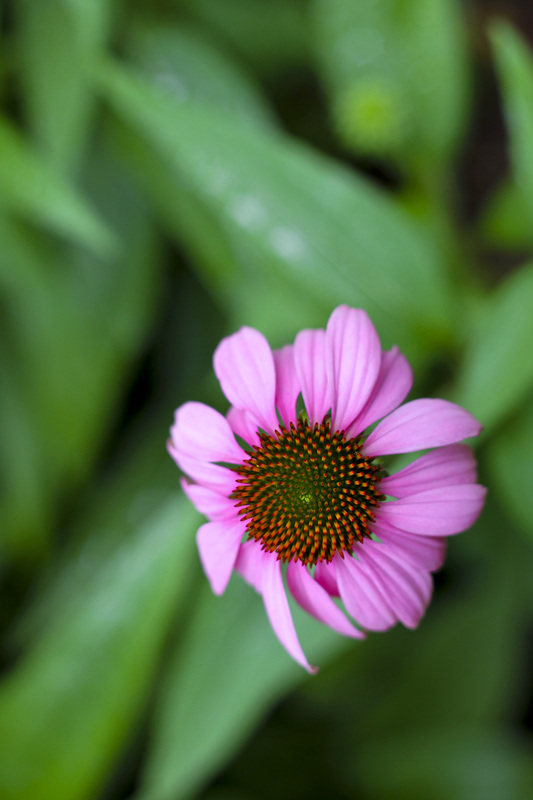
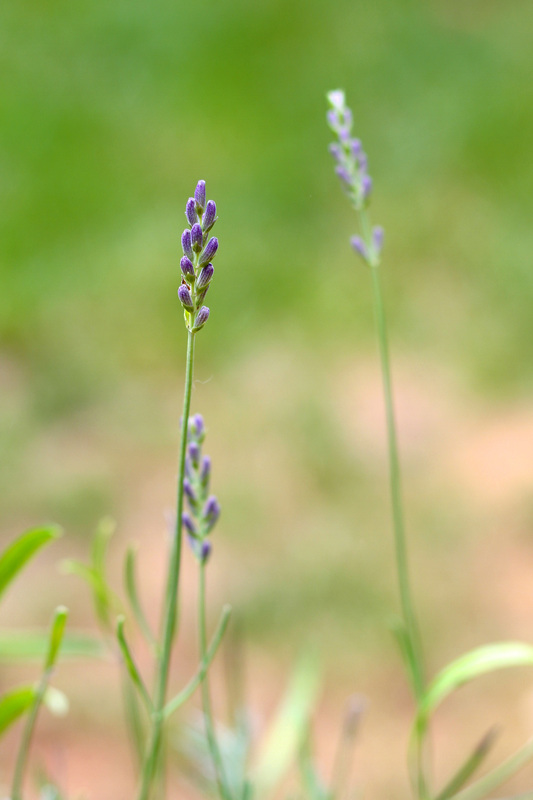
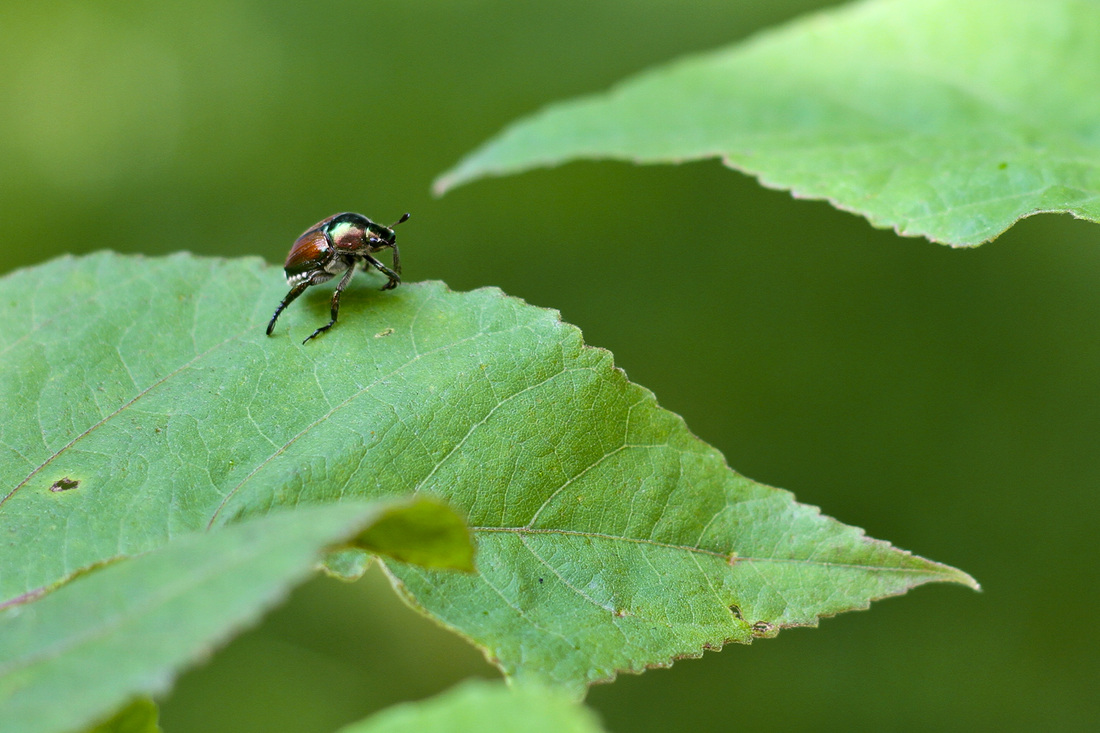
Click here for more posts from the Around the House series. It only took about 13 months, but I've finally managed—on really, really good days when all the stars align—to get the girls to overlap their naps for about an hour. Then I race around trying to finish all the things I started the last time they performed this blessed nap miracle. Nora usually takes a shorter snooze, which means I have my work cut out for me trying to keep her quiet so Cricket can sleep. Lately Nora and I have gotten into the routine of sneaking outside for a few minutes when she firsts wakes up to sniff flowers and find bugs around our little yard. Here are a few things we've had our eyes on lately. Our purple coneflowers are loving the overabundance of rain this season. (It's been pouring for days on end.) They remind me of the garden at my childhood home. Our poor lavender is recuperating in a large pot on the back deck. It turns out lavender plants do not appreciate living next to a downspout or being dug up by a dog or two. Lesson learned. The plate hibiscus is growing so large in the bed around our mailbox that I fear it is actually going to gobble up the mailbox. But that's fine as long as it finishes off the bills in there, too. This shiny little beetle exploring the hibiscus entertained Nora for several minutes...until she attempted to squish it. Are we following each other on Instagram? You can find me here.
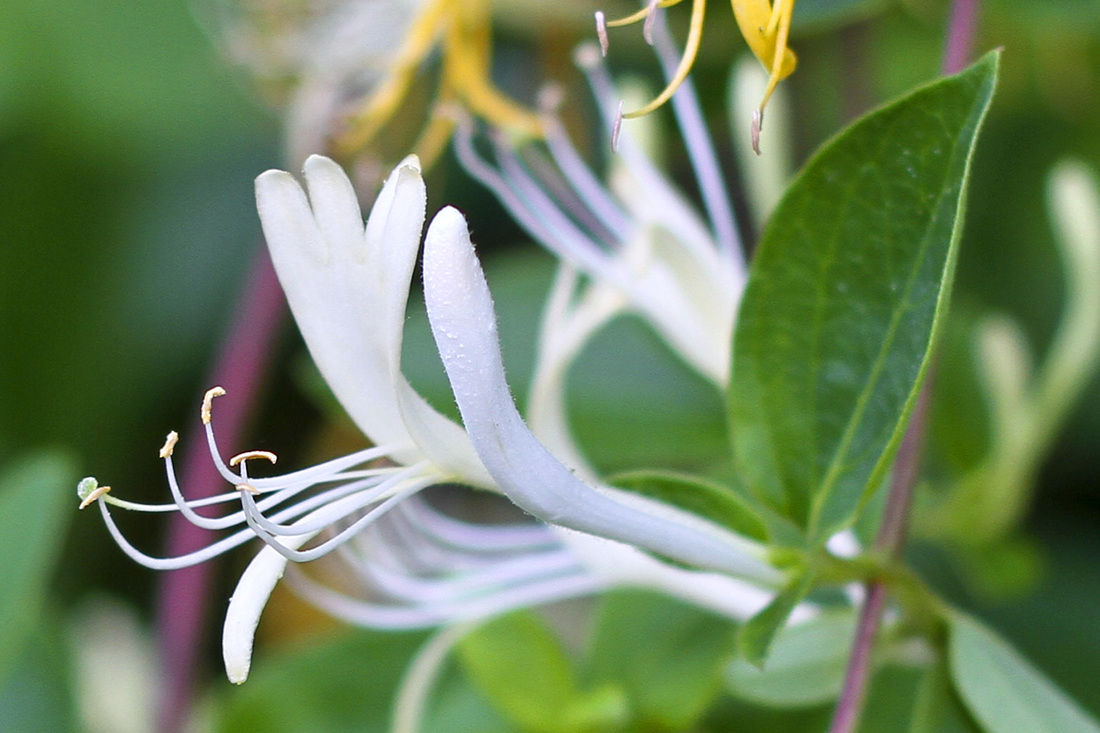
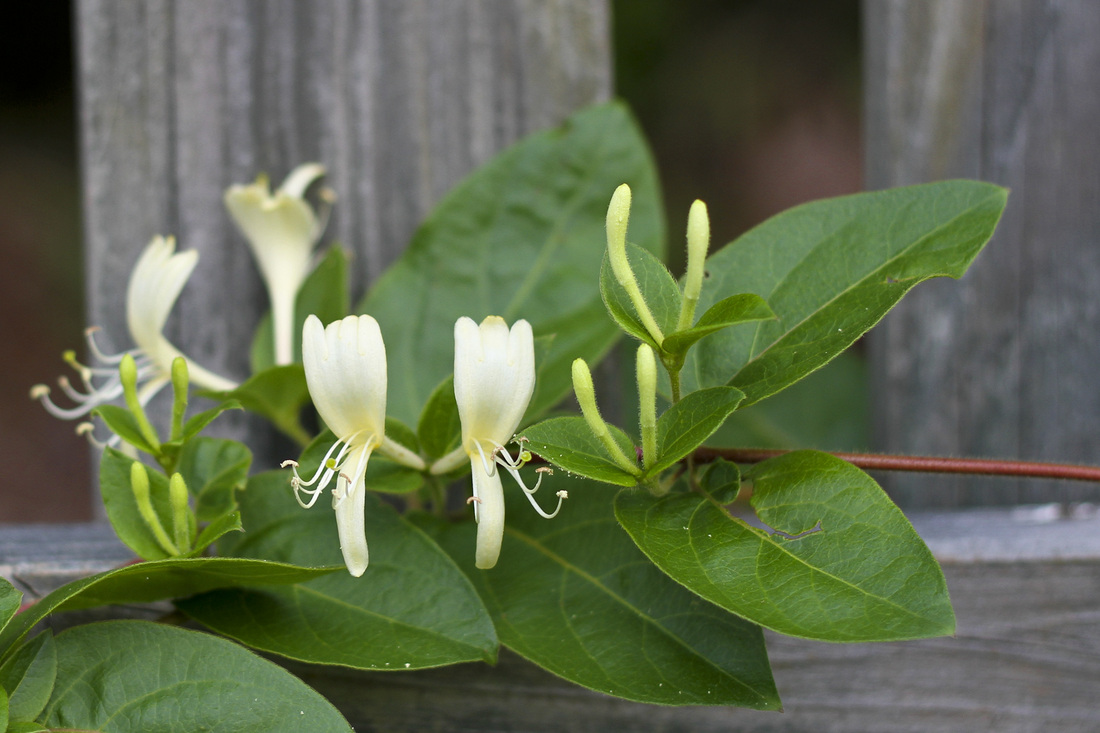
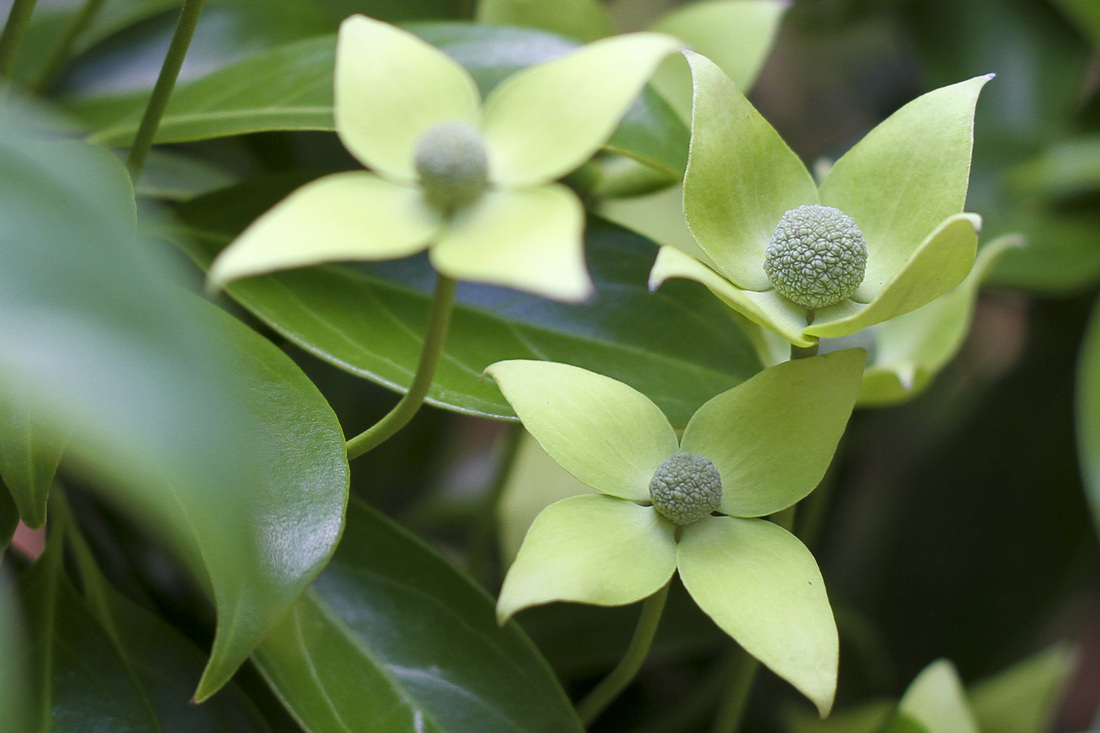
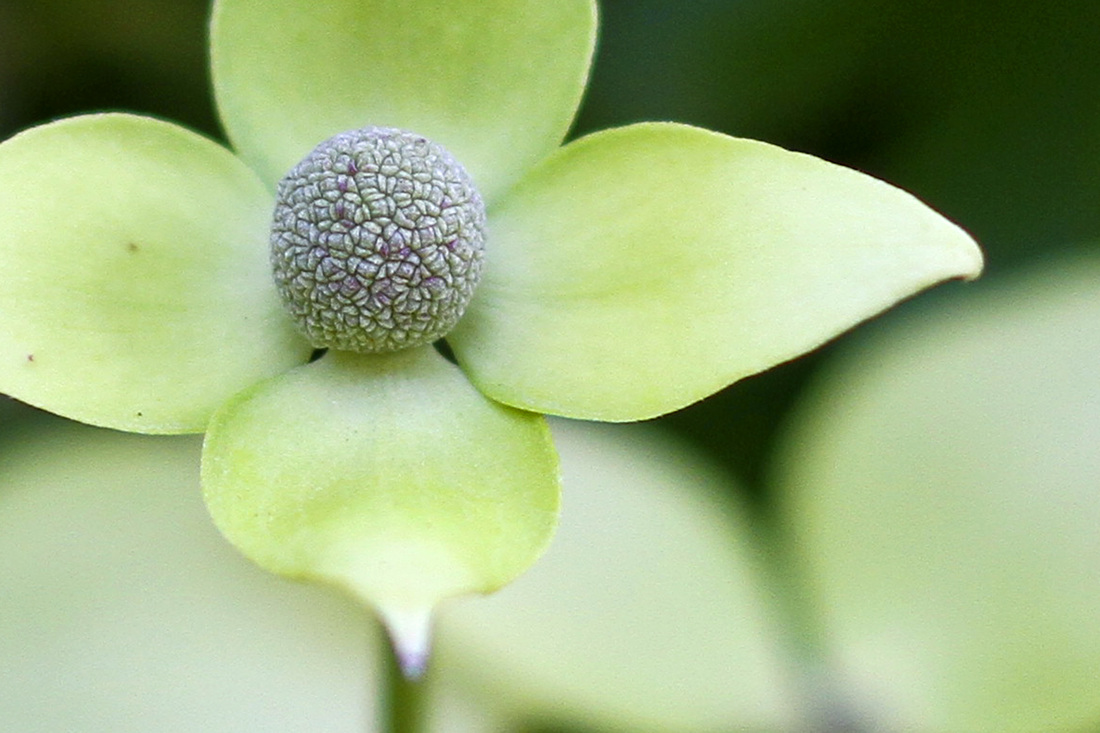
Perfect summer weather—and the fancy wading pool Jeff brought home—have drawn us into the backyard every day lately. Our plants are exploding after heavy rains during the first half of May, making it feel like we live in the tropics. Deliciously scented honeysuckle has blanketed the back fence. The small dogwood we planted outside the kitchen a few years ago is covered in twice as many blooms as it had last year. And if you look closely, you may even spot some wildlife. Click here to check out more from posts from Around the house.
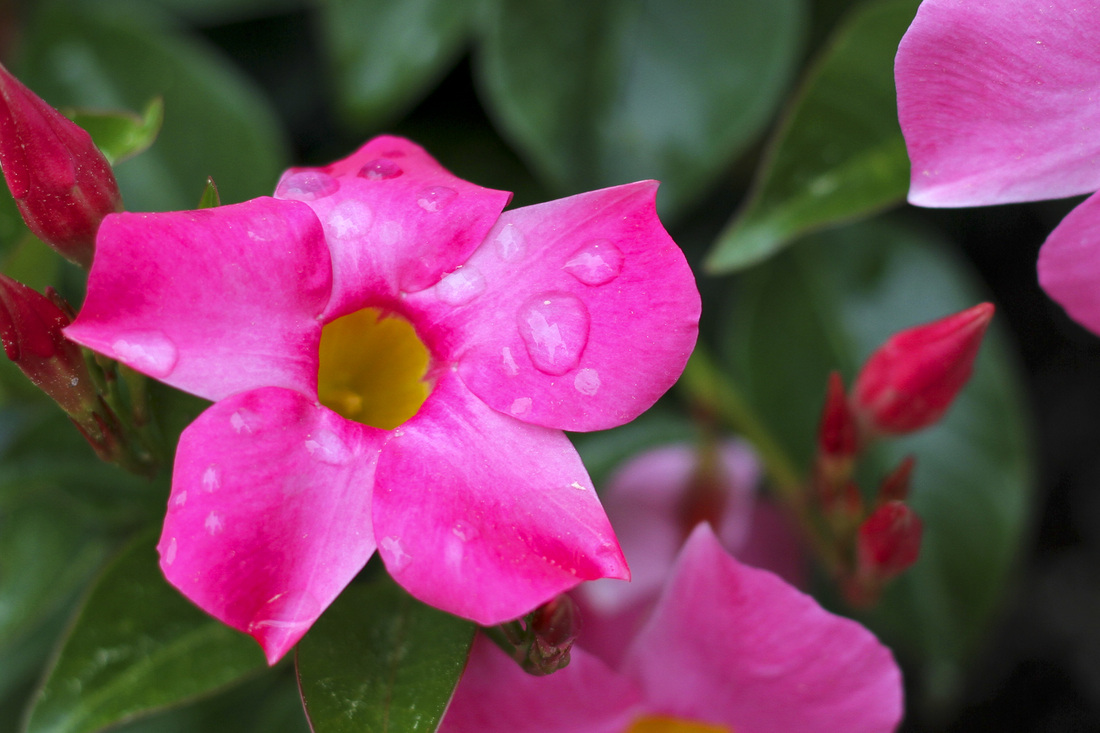
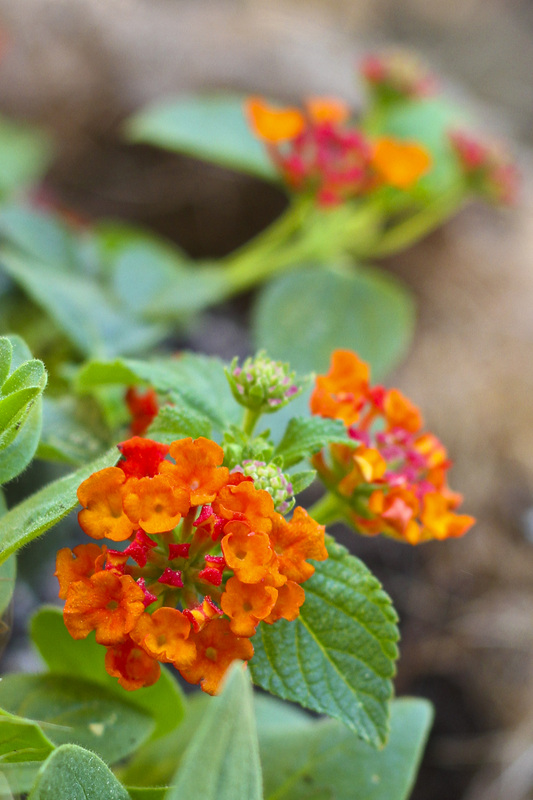
Happy May Day! As kids, we used to roll cones out of paper, fill them with flowers and leave them on our neighbors' doorsteps on May Day. I'm not sure where that tradition came from, but no one outside the neighborhood seems to know what I'm talking about when I mention it! Do you have May Day traditions? Maybe next year we'll get our act together to deliver flowers to our neighbors, but this year I'm sharing them electronically. Here are a few blooms from around our yard. Enjoy! P.S. Despite the photos, I'm actually posting from Denver....where we are in the mid!
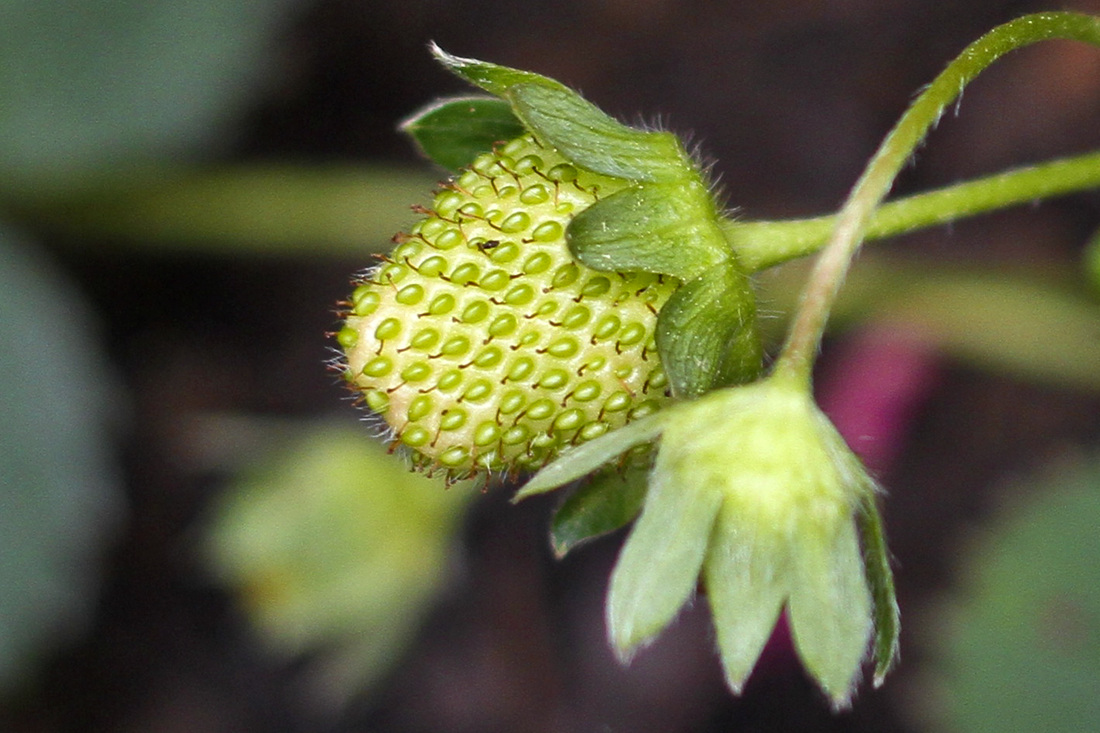
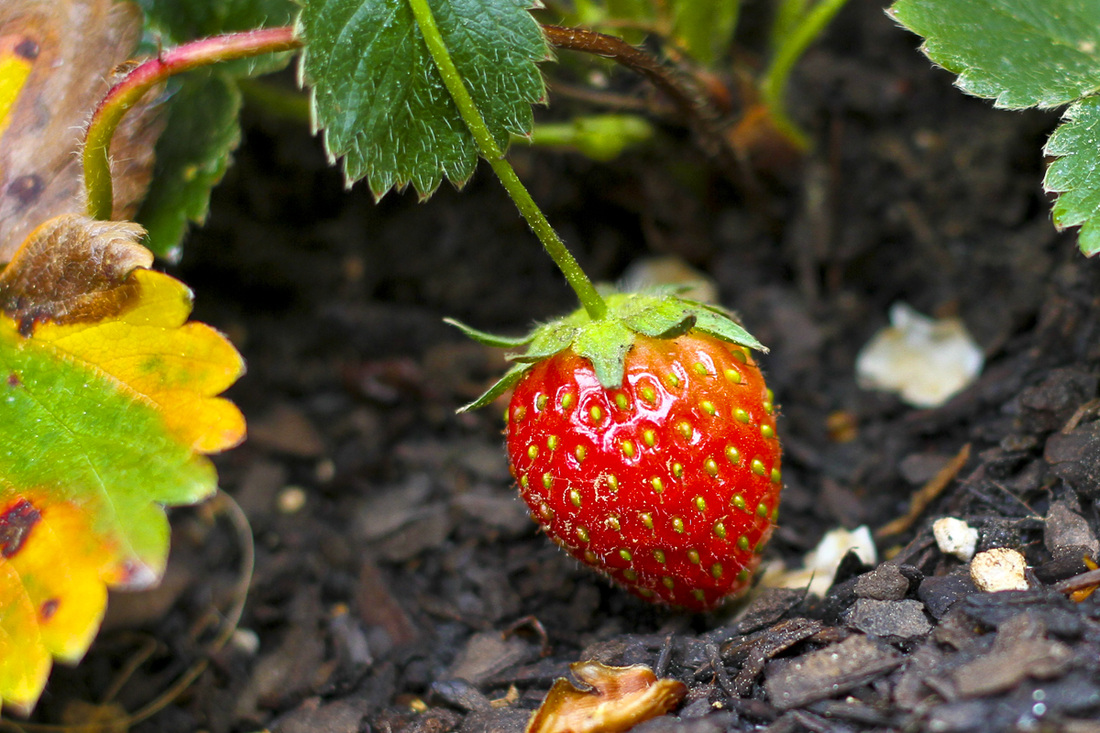
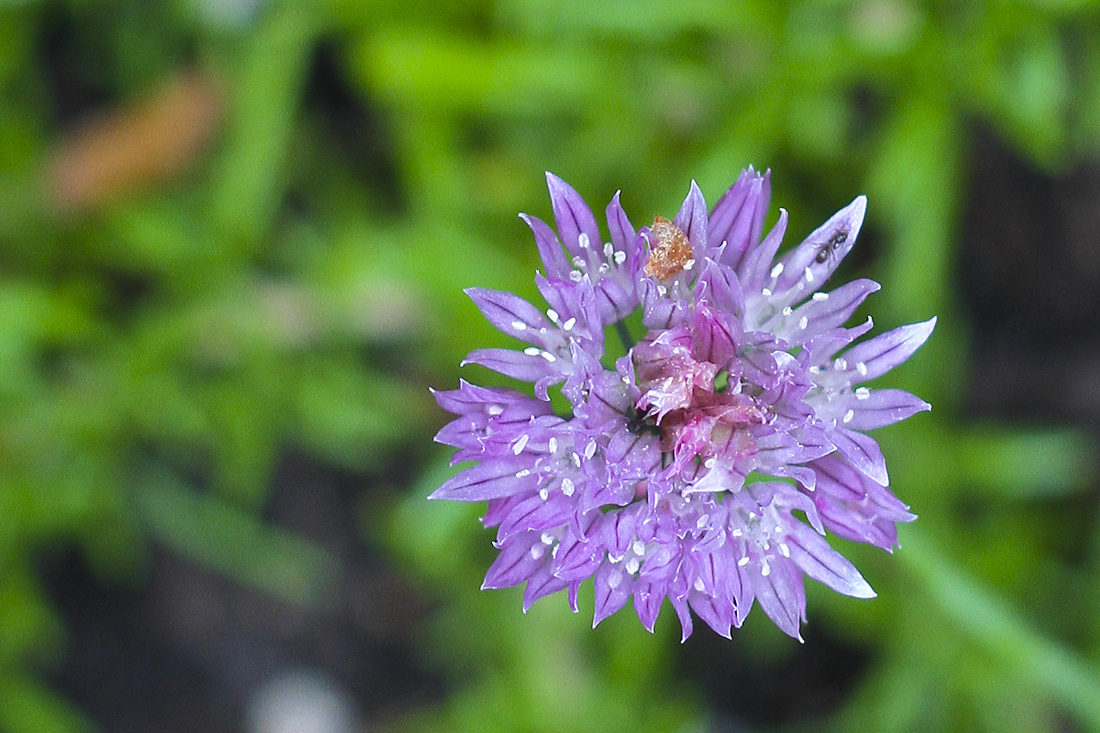
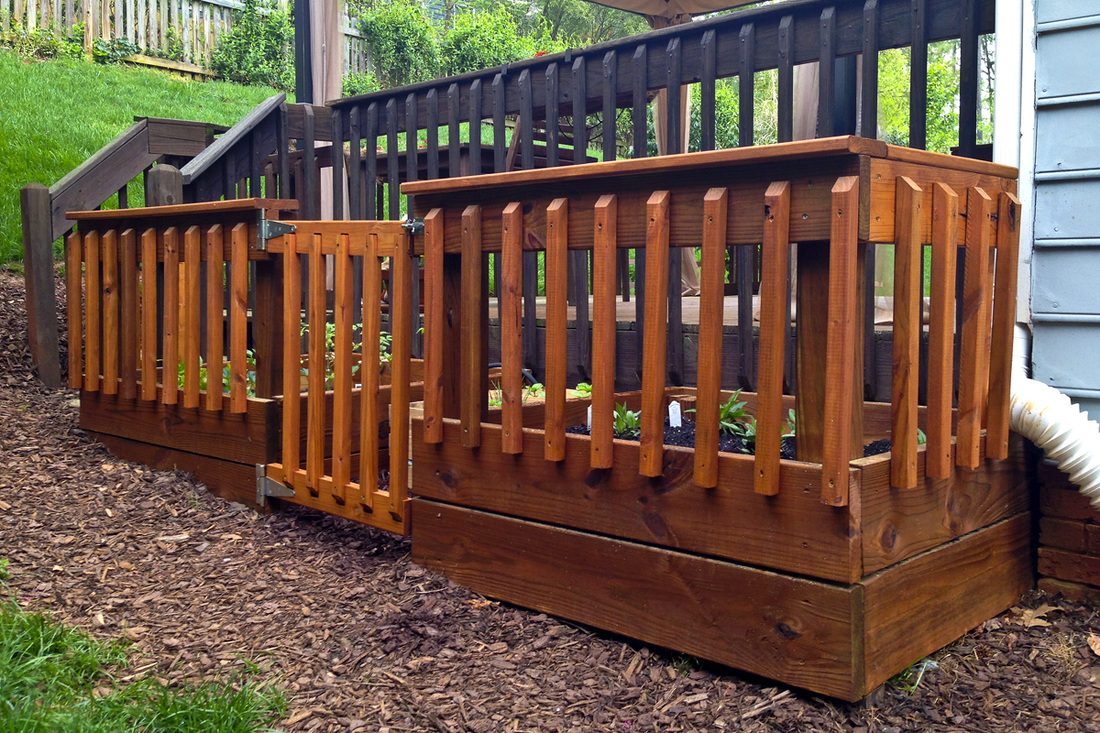
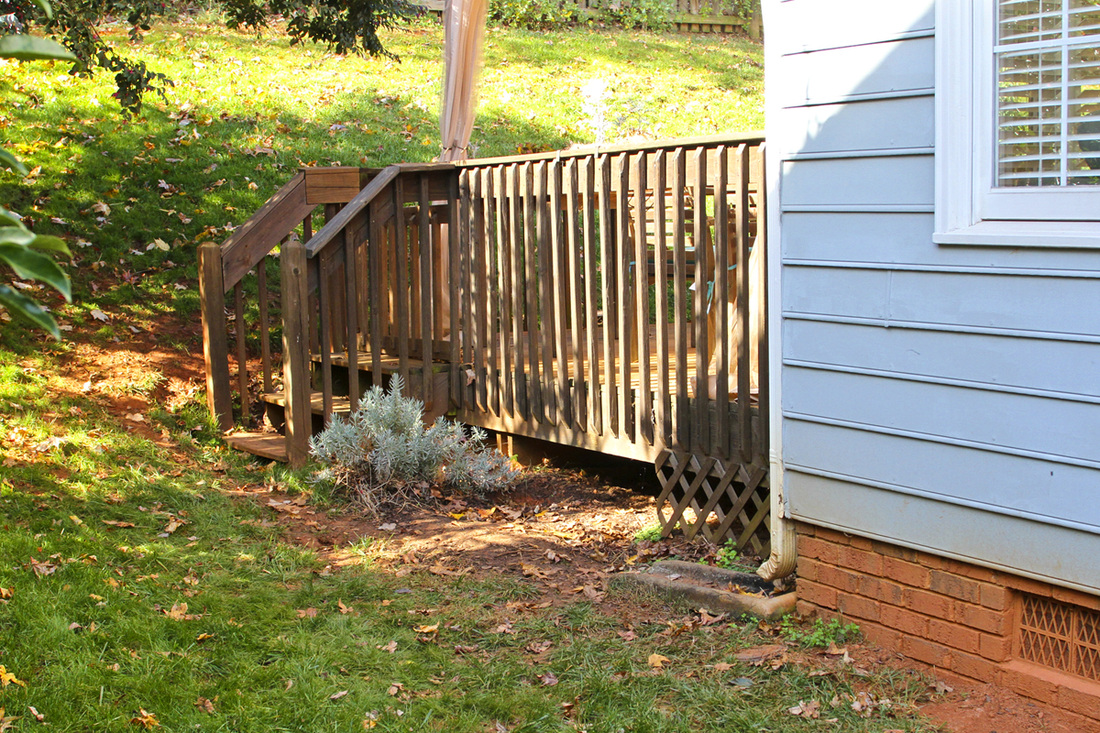
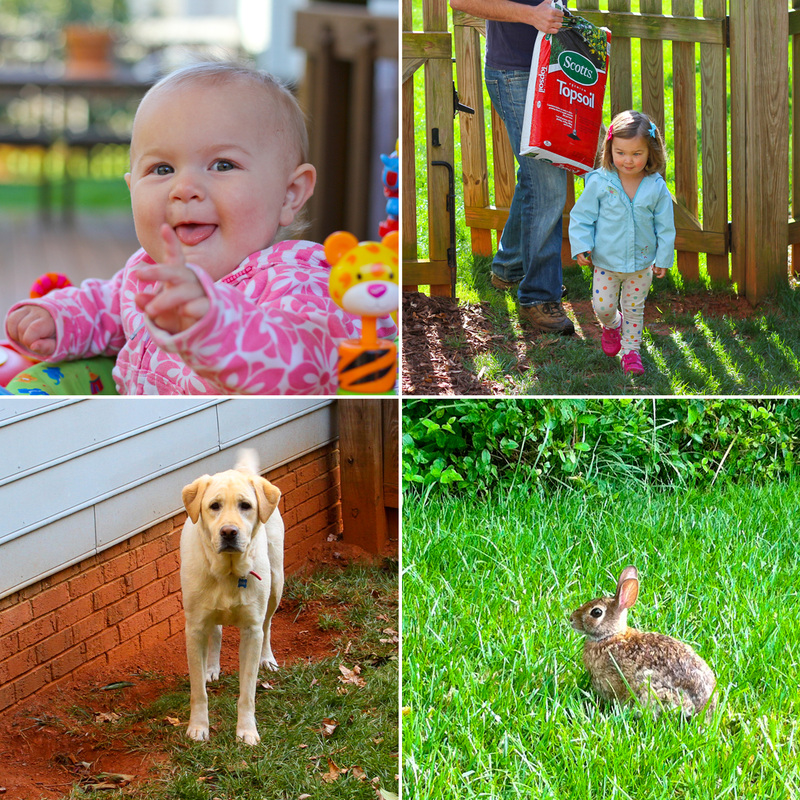
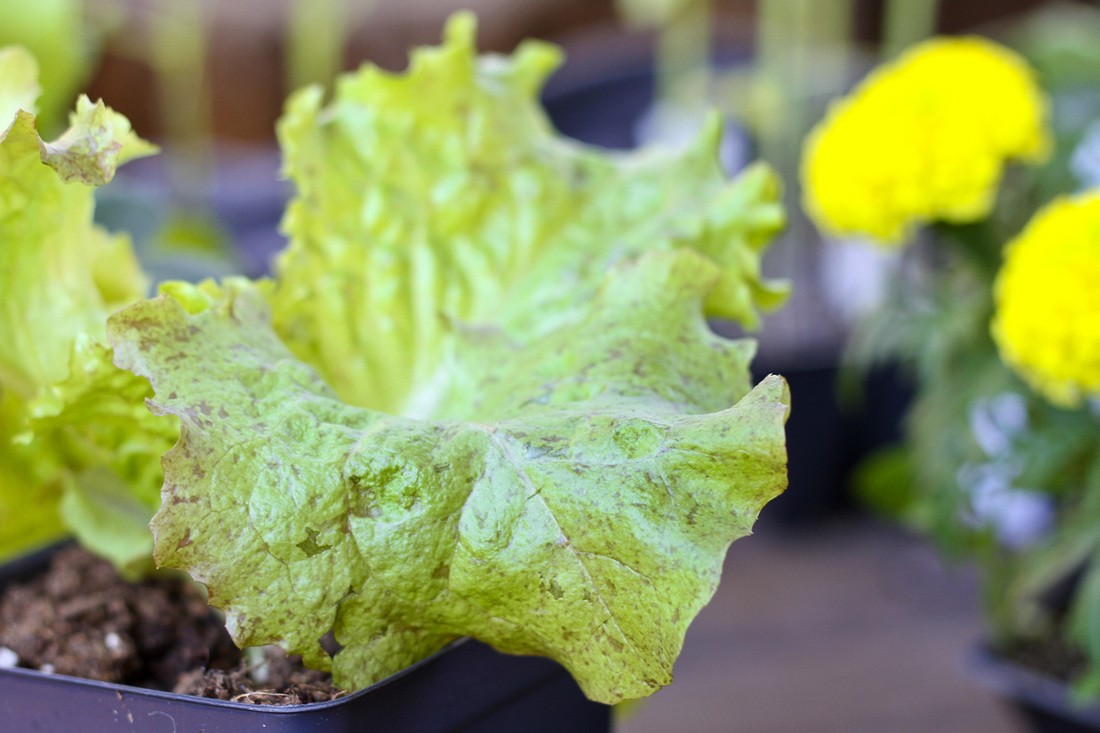
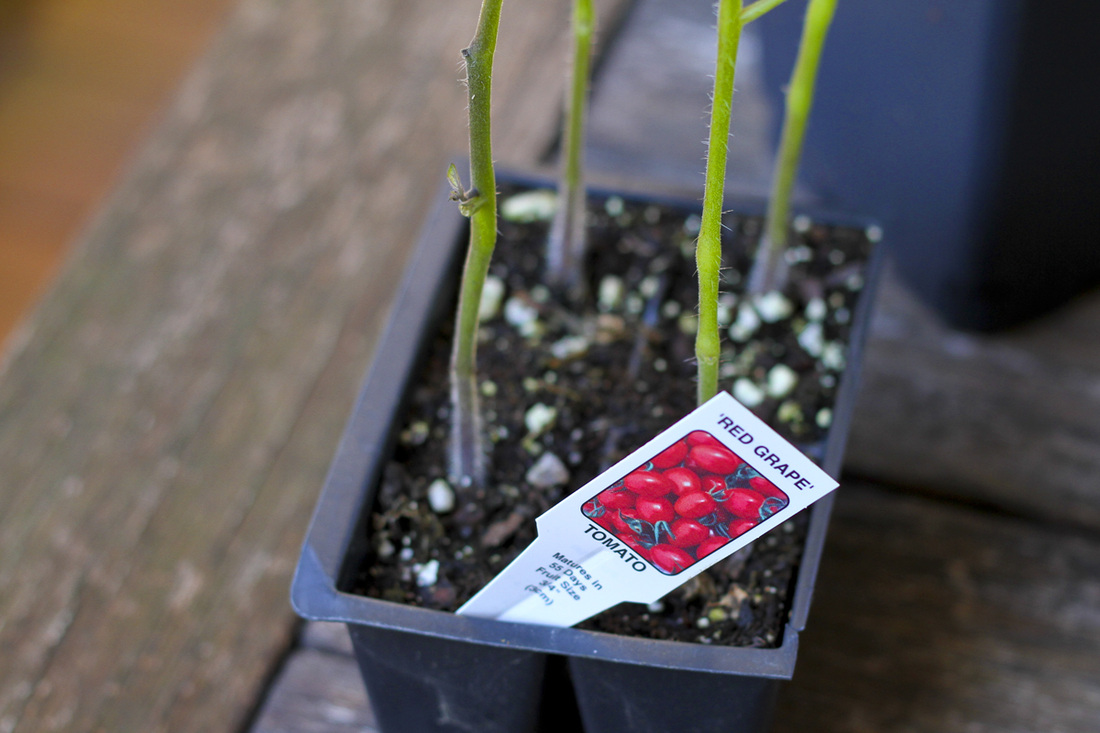
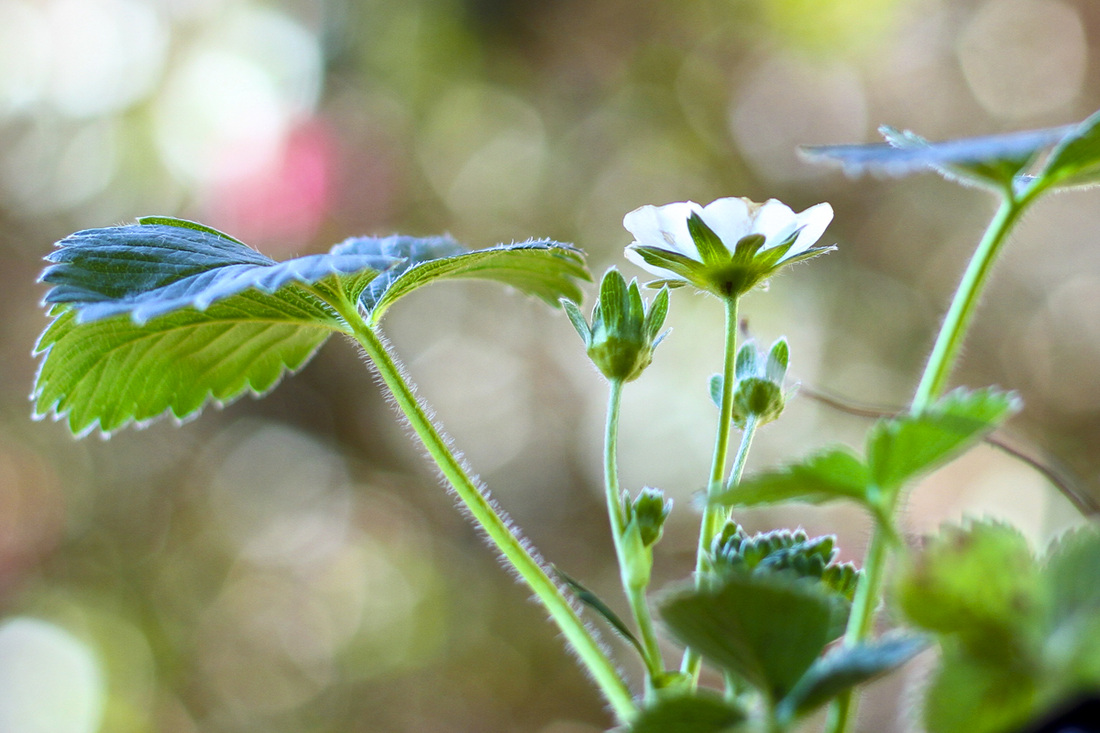
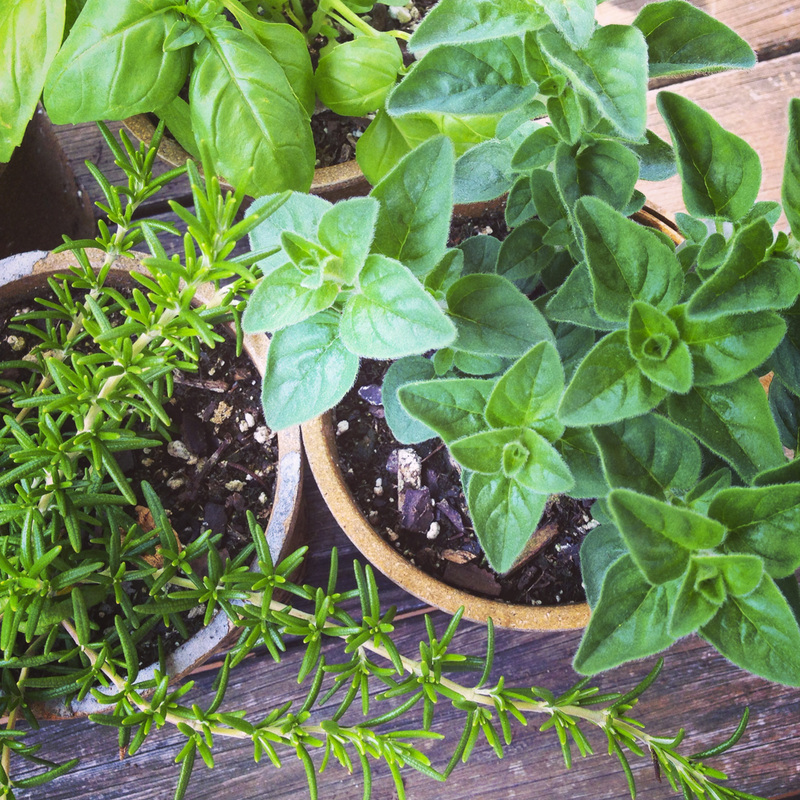
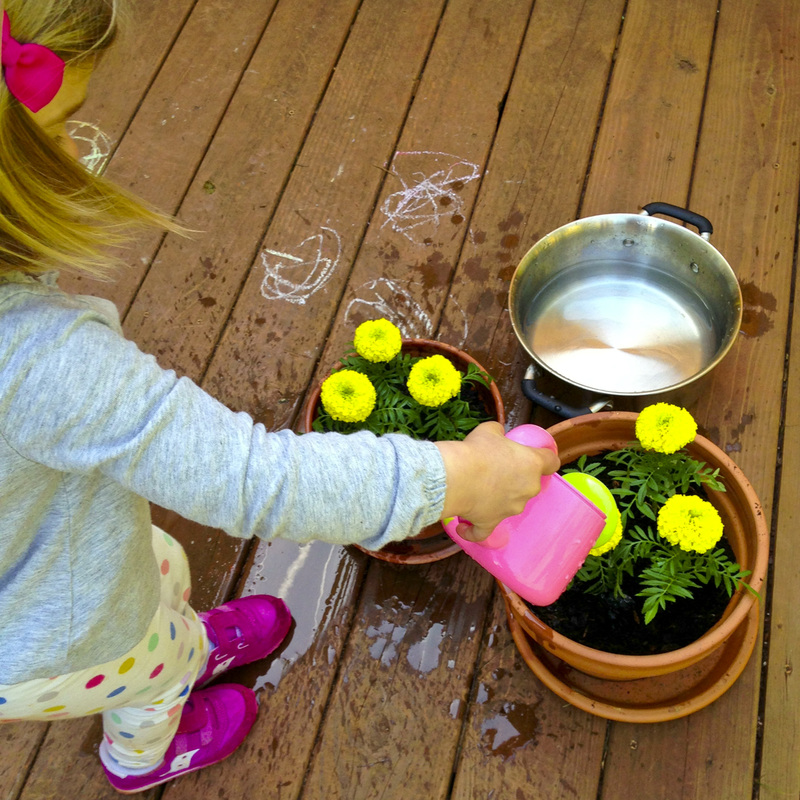
I never knew I would be so enthusiastic about things like rosemary and lettuce. But here I am, two weeks after planting our new raised gardens beds, and they are all I want to talk about. Did I mention I made rosemary olive oil bread this weekend from our very own rosemary? Or that we've already enjoyed two salads from our two little lettuce plants? Or that I made pizza using our basil and oregano? Because that all happened in the last week. But let me start at the beginning. We had an ugly swath of yard along the side of the house and deck, which for the last five years had the sole purpose of producing massive quantities of mud in which the dogs liked to dig and roll around. We'd considered planting a garden in that area and had even made a few feeble attempts at sunflowers and lavender. But the predators of an unguarded garden were just too much for the poor plants to bear. Sure, the predators below look like the most innocent creatures to walk the earth. But beware. In their presence, no garden could possibly survive. Last fall, we decided it was time to create a vegetable and cut-flower garden in that muddy spot. Our only chance of success was to build high-security beds; we went with raised beds and a fence (with mesh to come) to keep the plants safe and happy. In November, Jeff and his dad built the beds. A few weeks ago, Jeff added the rail, and we readied the beds for planting. Then came the fun part of selecting our produce and flowers for the 4x4 plots at the farmers market and a few local nurseries. We chose things we eat a lot: two varieties of lettuce, two varieties of tomatoes (Cricket would put away an entire pint of grape tomatoes in one sitting if I let her), bell peppers and strawberries. For the flowers, we went with black-eyed Susans and purple coneflowers, which my mom always had in our yard growing up, and zinnias. We also filled two crates with soil to create an herb garden of basil, oregano, chives and rosemary. To encourage at least one of the natural predators in our yard to engage in productive activities instead of garden destruction, we let her select her own flowers to plant and water on the deck. She chose these lovely yellow marigolds and is quite proud of them. So far, so good. But we've got a long summer ahead... I would tell you more about our garden project, but I'm too busy gorging on eggs baked with our chives. I will, however, post updates as the growing season progresses—if I remember to take photos before eating everything.
One of my 2013 resolutions for this blog is to offer more ideas on incorporating artwork into your home. Many of these ideas will come from things I’ve done around my own house. I’m kicking off this resolution today by posting about using a series of artwork to cover a large wall.
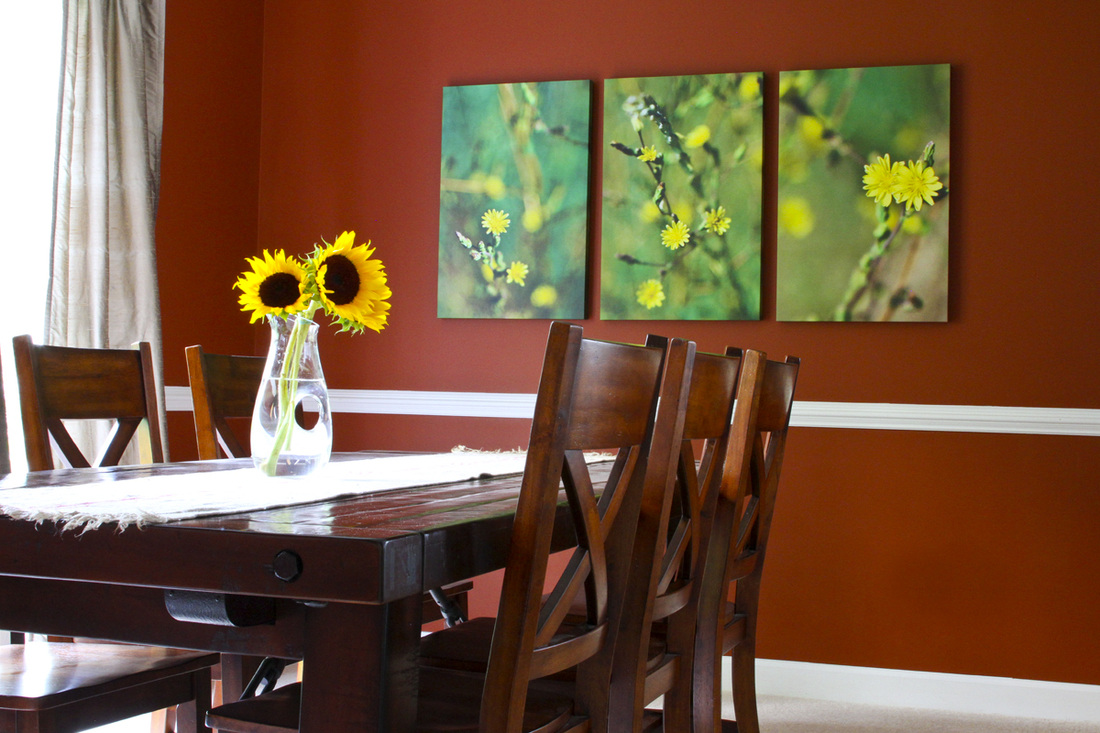
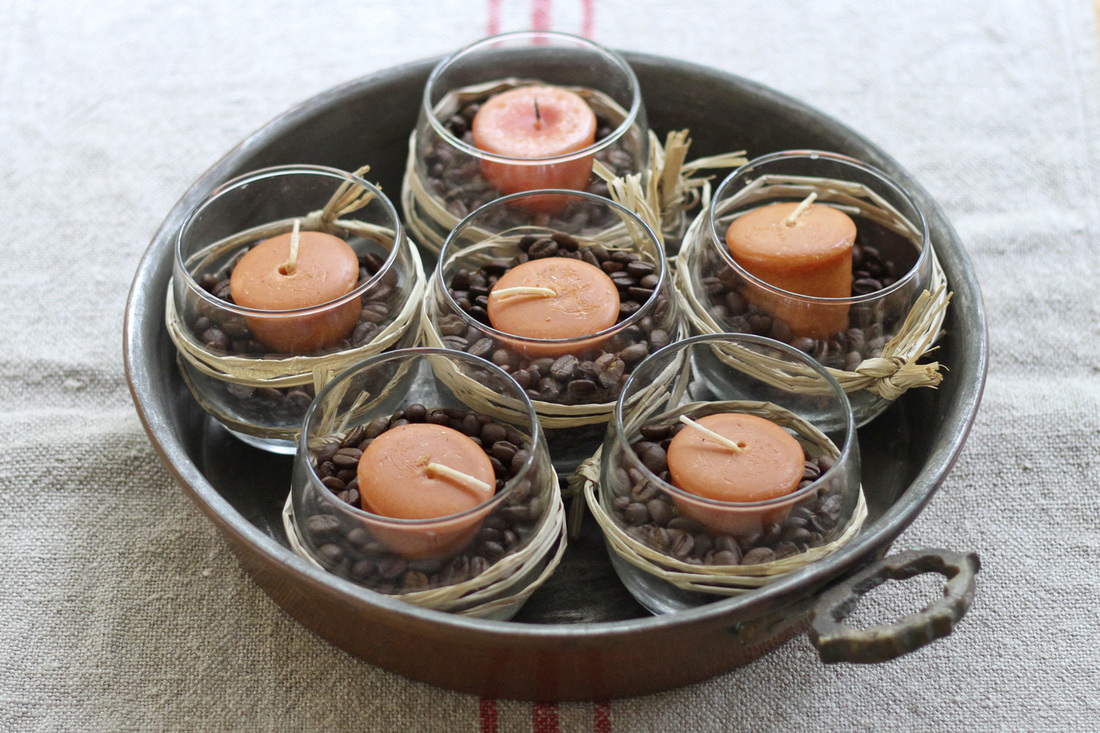
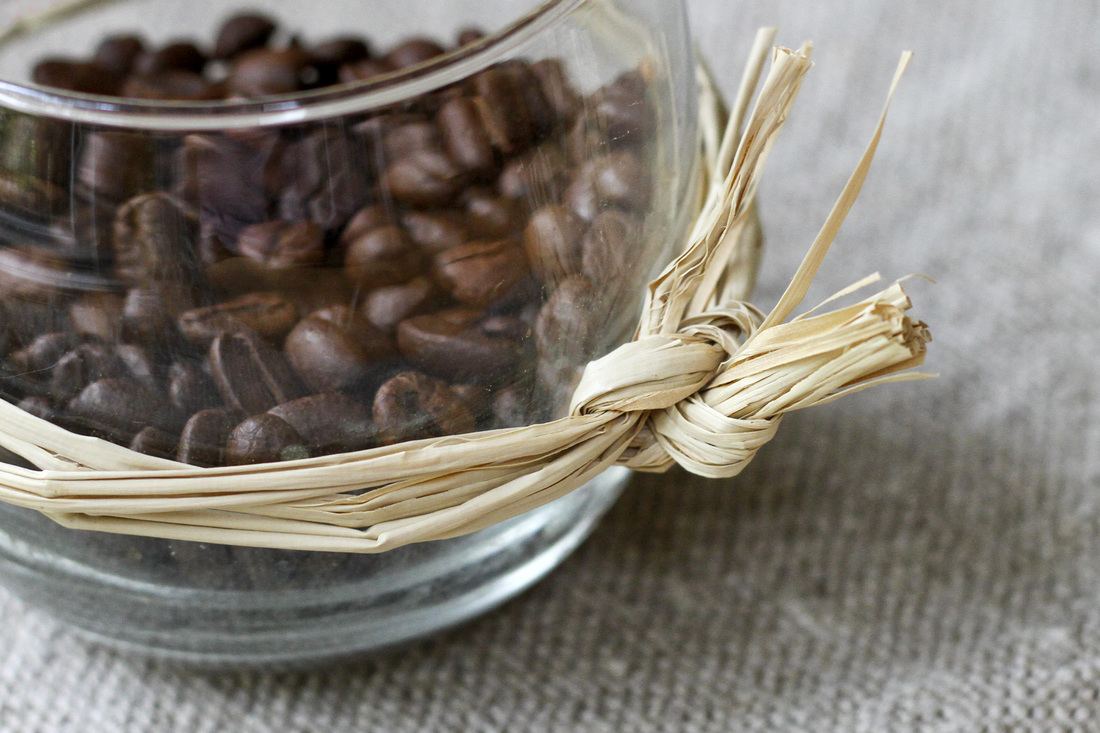
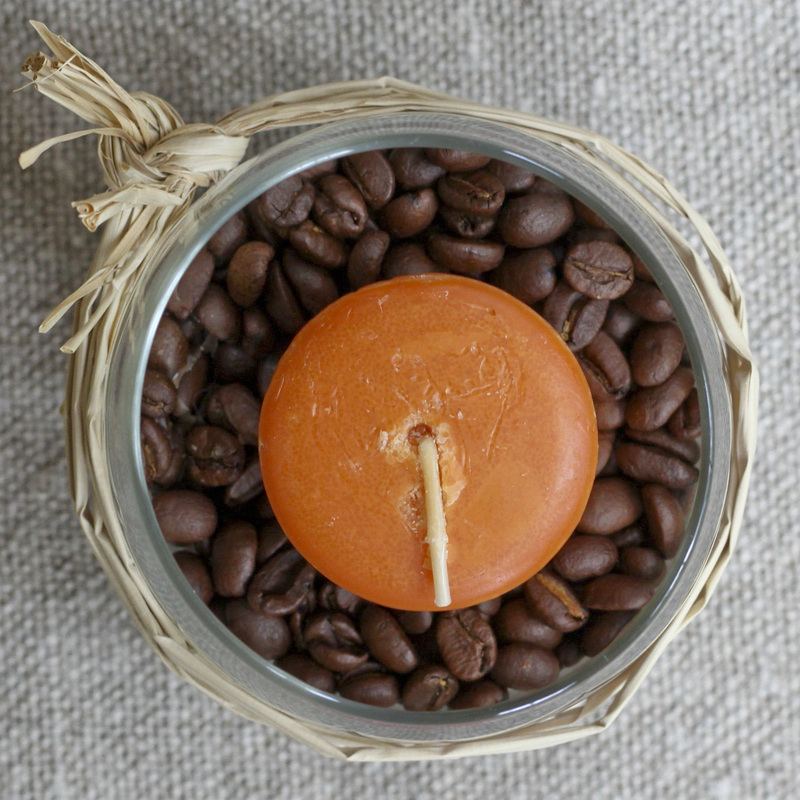
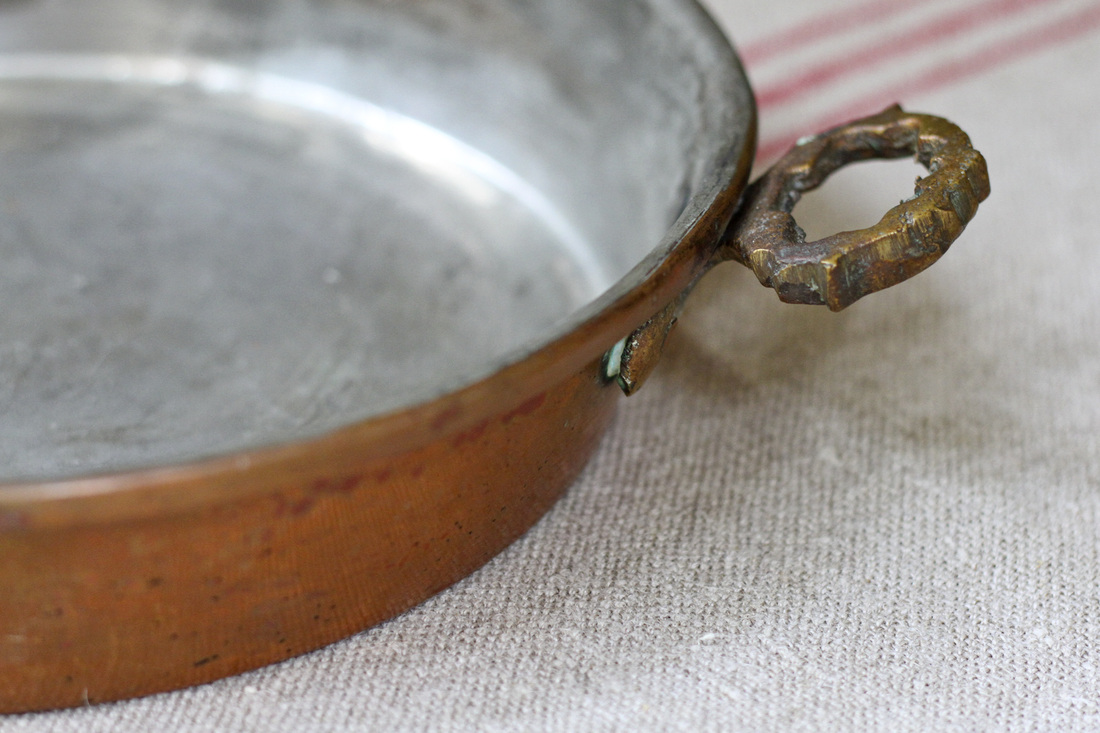
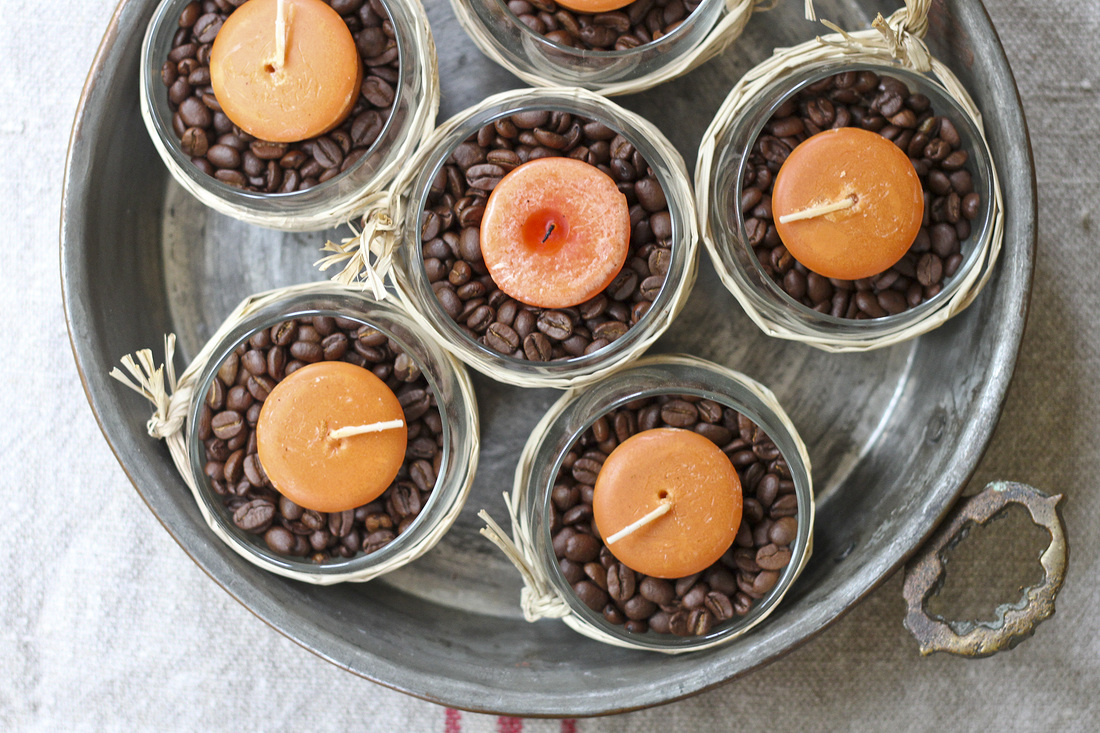
Series can be useful when you have a considerable space to fill but one large piece of art feels either physically imposing or conceptually underwhelming. Technically, of course, two or more objects constitute a series, but there is something about the magic number three that is visually satisfying. I tend to think of successful series as falling under—but not limited to—one of the following categories: a subject/object captured from multiple perspectives (example: Golden by the lake), a subject captured from the same perspective over time (example: Baby giant tortoises acting tough); different perspectives of one geographical/physical space or abstract idea (examples: Dillon bold and Telluride), tied together by complementary colors or design elements. We have one wall in our dining room (above), which you can see at the far end of the house the moment you walk in the front door. This wall sat blank for the first three and a half years we lived here; filling such a high-profile space with just the right thing seemed impossible. Eventually—after spending a significant amount of time seeing that boring, blank wall out of the corner of my eye—I concluded that whatever I hung on the wall had to meet the following specifications: it had to be a series of three pieces (one large piece seemed like it would overwhelm our small dining room); it had to be nature photography that appeared somewhat abstract (to complement our other wall art); and it had to include a color that tied at least one of the tones of the living room (preferably grass green) into the dining room. When we left to spend the summer of 2010 in Colorado, I decided I wouldn’t come home until I had that series in hand. After a few false starts, I came across the flowers in the above series (Golden by the lake) near Lake Dillon and knew I had found what I’d been looking for all along. I took a lot of photos of the same flowers from different perspectives, then played around with cropping and arranging the images until I found a combination of three that balanced each other. I printed the photos on 20x30-inch canvas. And you know what? I receive more compliments on this series than just about anything else in the house. And I love when it catches my eye. (An aside on photo canvases: I absolutely love them and would like to offer them as a regular feature in my shop but haven’t had time to update my website. If you’re interested in canvas prints, send me a note and I’ll send you pricing information.) Want to view the Golden by the lake photos separately? Left, center, right. Interested in building your own series from my photos? Check out how to order it here. And here are more posts from Around the house. We used to sprinkle display-type items around the house: a few vases arranged on an end table, a decorative bowl on the coffee table, a pretty candle by the edge of the tub. Now the surfaces in our home can be divided into two categories: empty (to protect our belongings from the curious and clumsy hands of the toddler); or piled high with diapers, spit-up rags and toys. But I'm vowing to add a third category this holiday season: tidied and topped with something simple and pretty. As a start, I dug out this little fall centerpiece I pulled together a few years ago, inspired by Martha Stewart. I love the mix of colors, textures and scents—the rustic imperfection. It's also self-contained, easily embellished and low-profile, so you can talk to your companion across the dinner table without interference. Want to give it a try? Let me break it down. You'll need a few bags of coffee beans, five or more round glass vases, raffia, a votive candle for each vase (I chose pumpkin spice, which is the only candle scent I can stomach) and a round or square pan or tray. Aside from the coffee beans, you should be able to find the supplies at Michael's or A.C. Moore. Fill the vases with coffee beans. Wind the raffia around each vase several times and knot. Nestle a candle into each vase. Locate the awesome copper pan your in-laws gave you—a memento from the years they lived in Iran. Don't have one? Any round or square pan or tray should do. Try to use something with interesting texture. Place the vases into the pan and voila: you've got a simple fall centerpiece. Now you just have to find a tidy surface to display it... Need some gift ideas? Check out these simple DIY projects: embellished Christmas stocking, no-sew tutu, photo plaque, heirloom display and gift tags. You can also view my holiday discounts and nature photo shop.
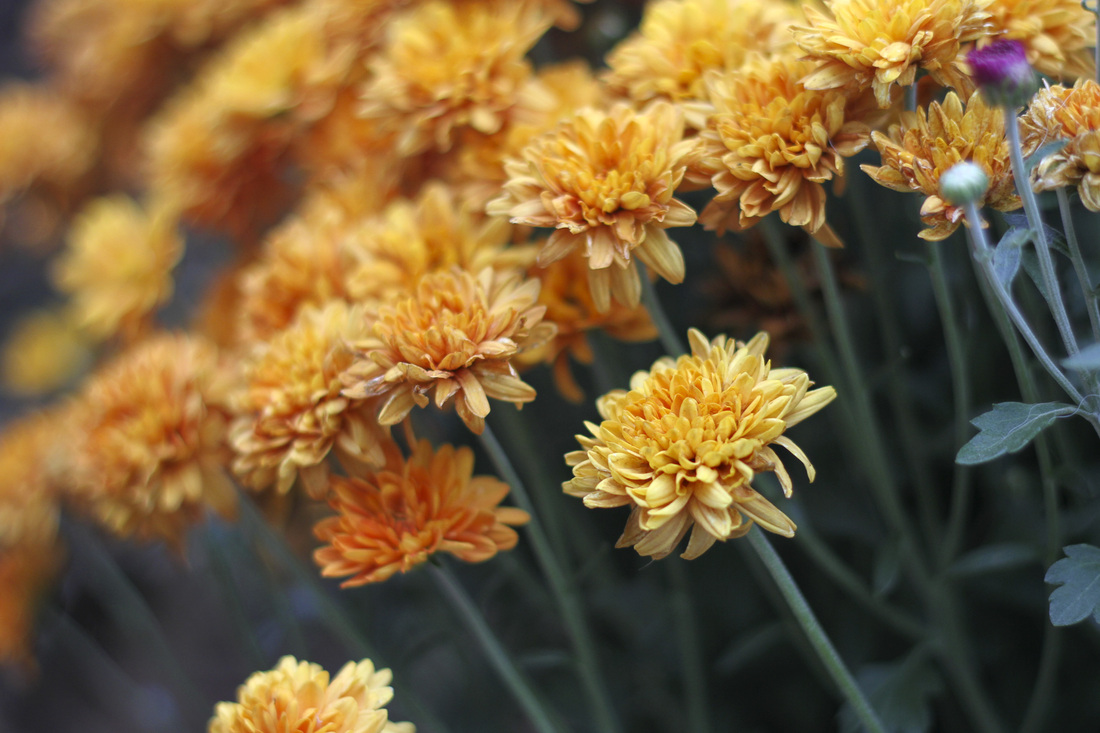
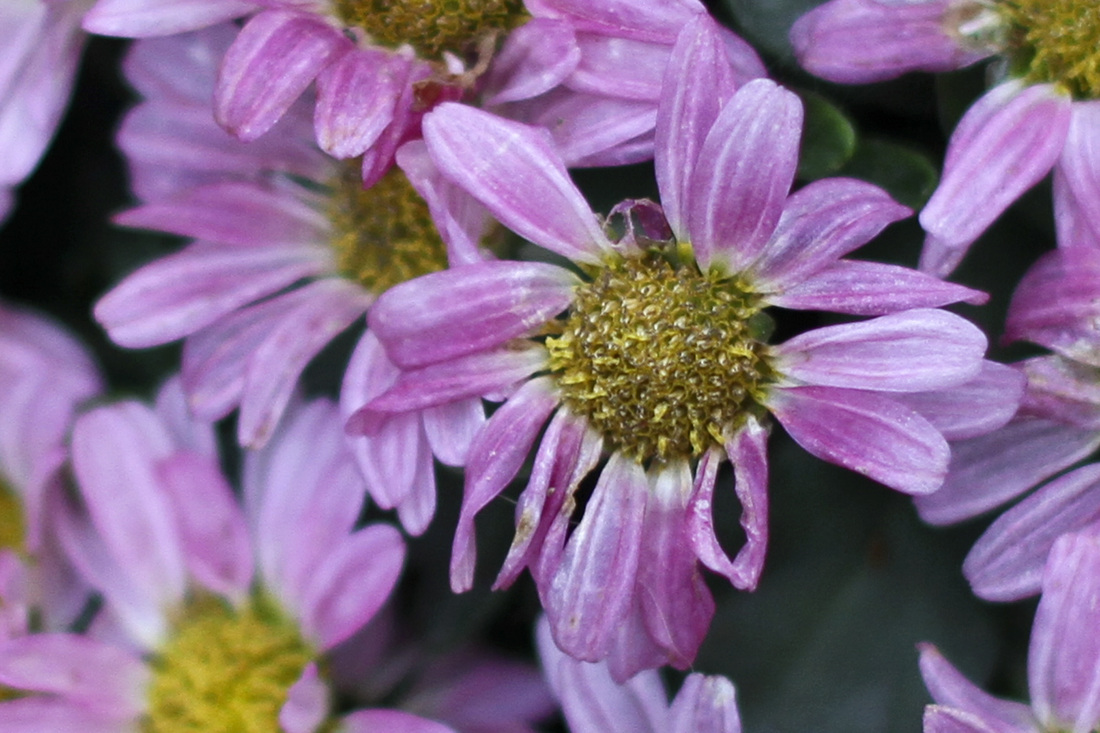
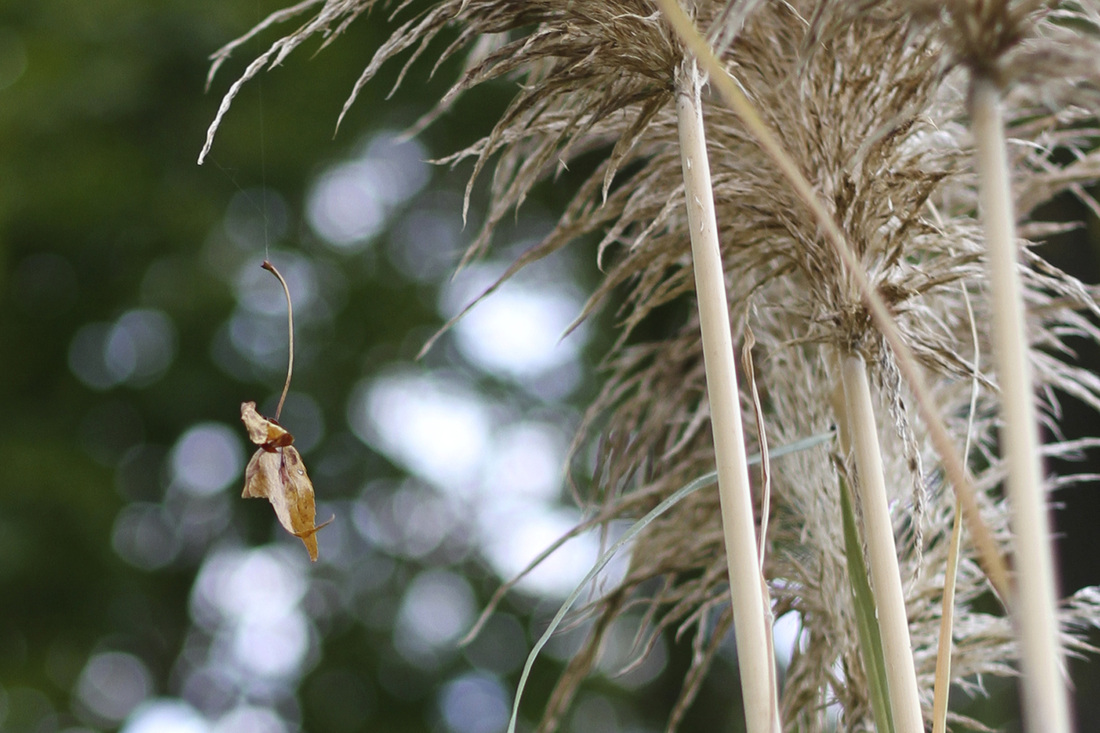
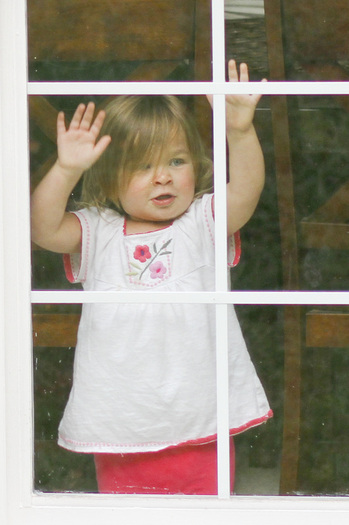
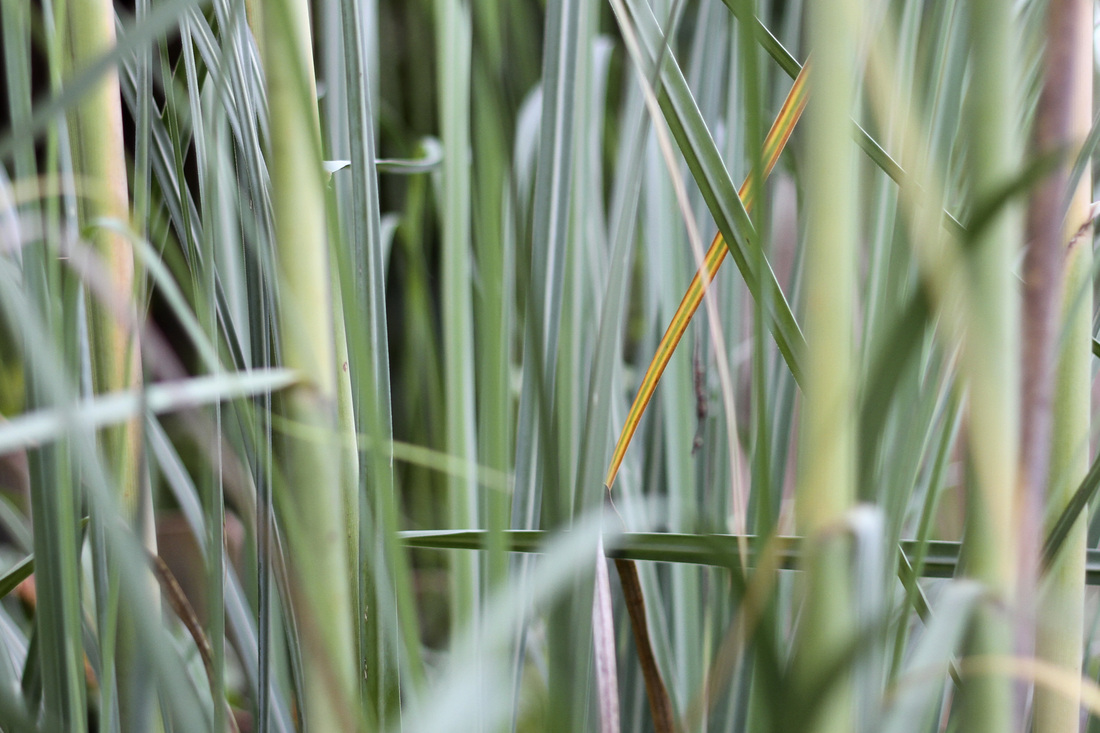
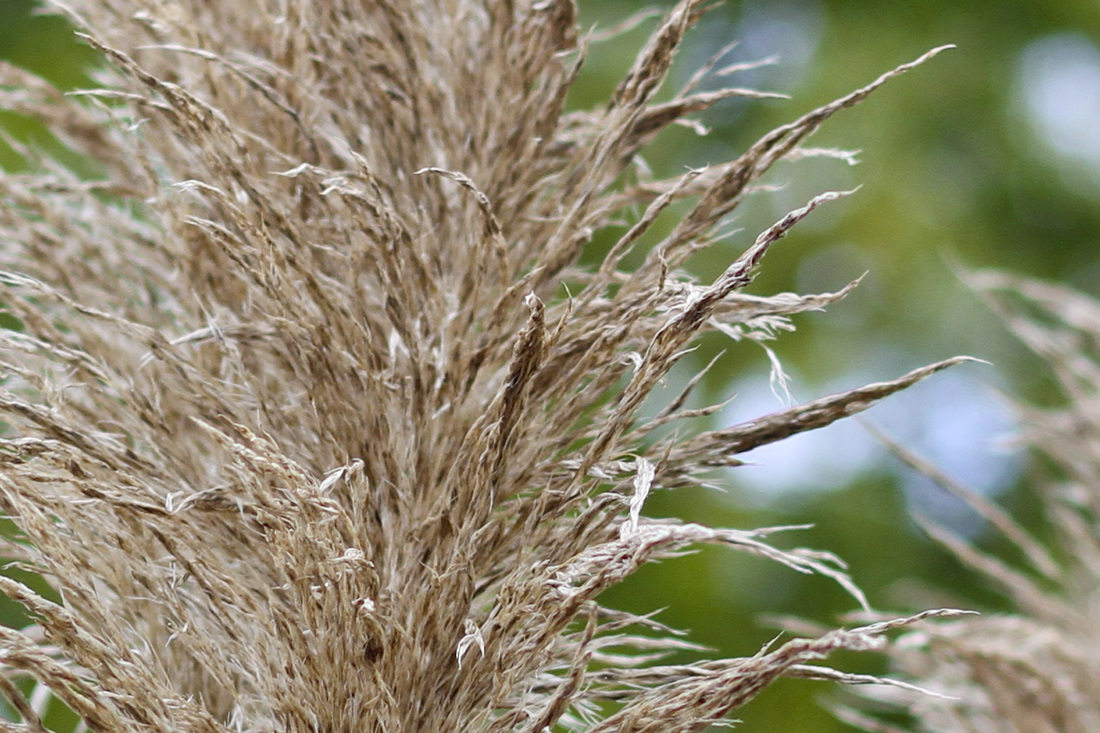
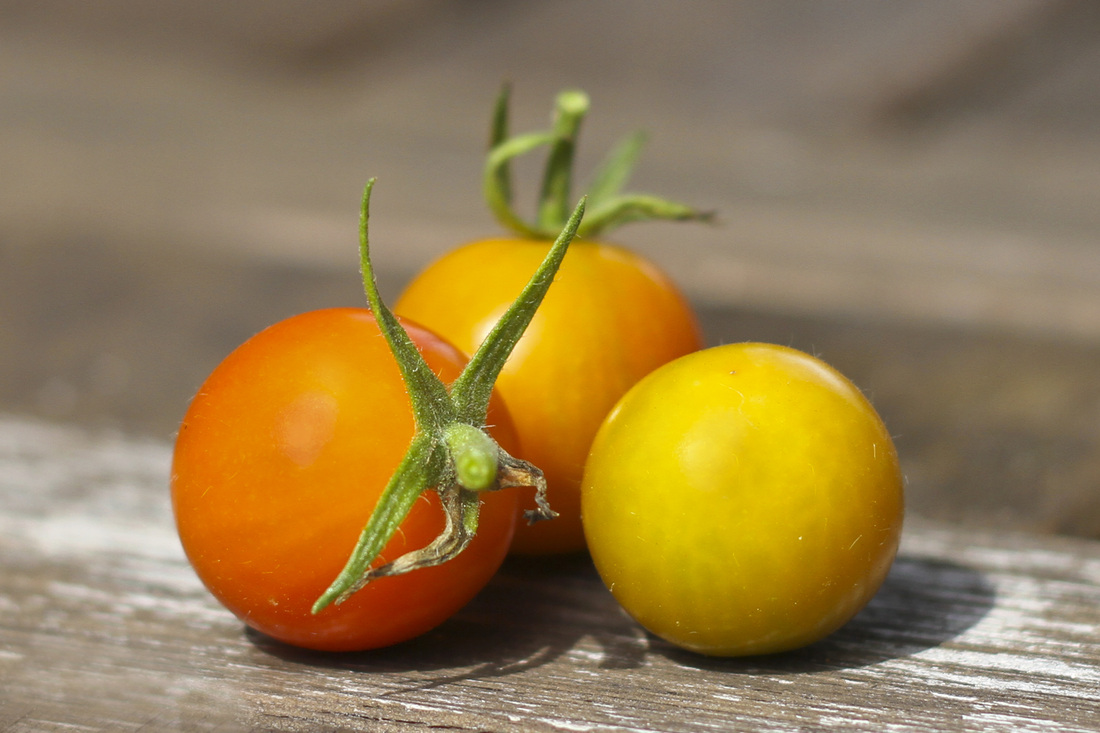
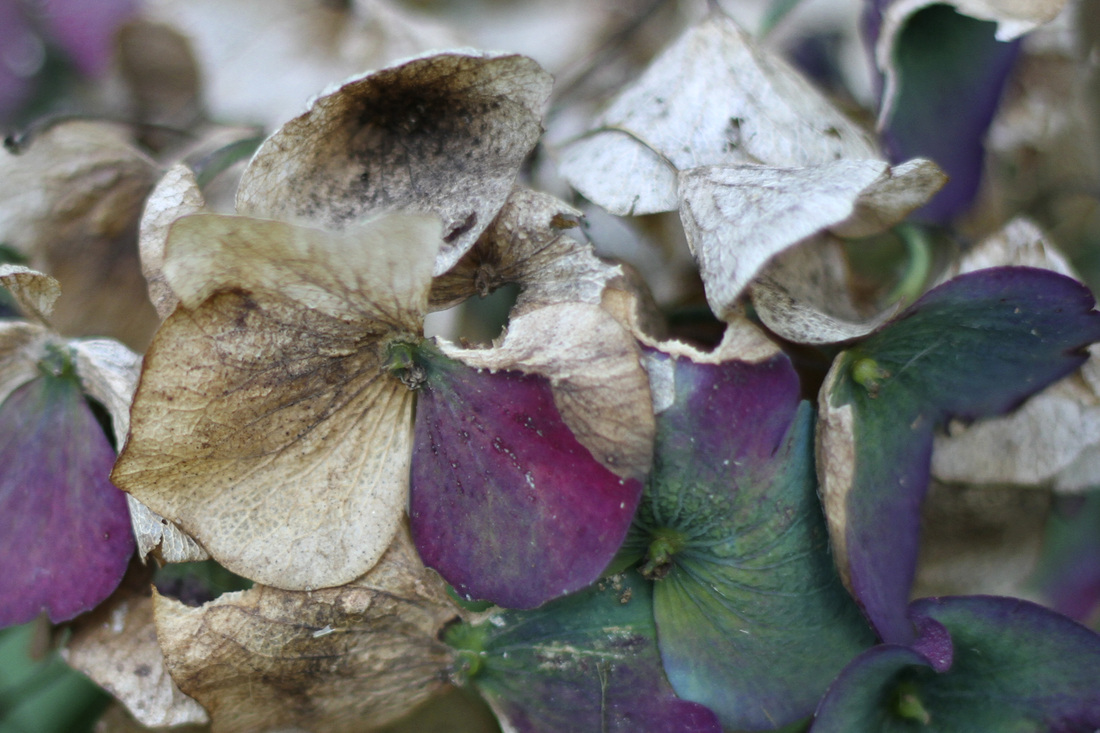
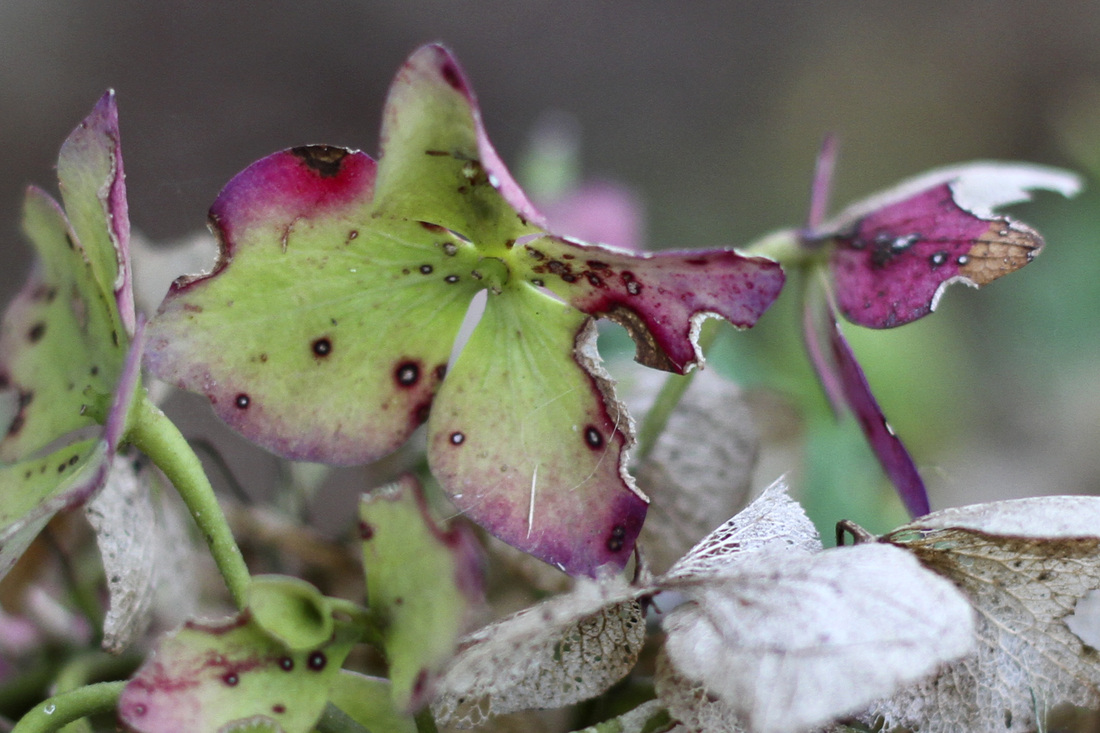
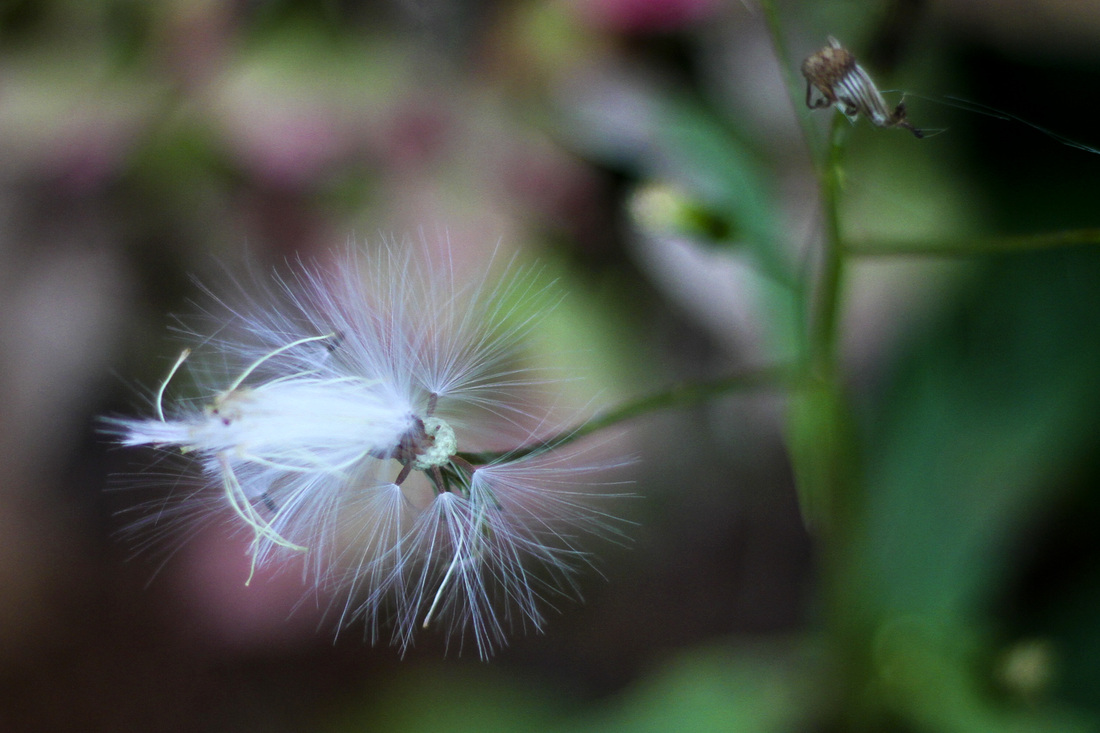
Fall is finally settling in on us in North Carolina. It's chilly and rainy and the colors outside are beginning to fade and mellow. (Except for the grass, which is neon green this time of year.) As I sit here sipping spicy Good Earth tea and nibbling a donut-muffin from one of my favorite local bakeries, Scratch, it seems like a nice moment to share with you some of the cozy tones and textures appearing in our yard. When I first moved down here, the concept of planting another round of flowers in the fall was foreign to me. Wouldn't the snow just cover them up in a few weeks? Oh, wait...there wouldn't be snow in a few weeks...Now I love when mum season rolls around—all those burnt oranges and burgundies and yellows and lavenders spilling from our gardens and our neighbors'. Several years ago, we planted pampas grass in a far corner of our backyard. The grass eventually took hold and began to grow, though considerably slower than we'd envisioned. Then a few weeks ago, we returned from a trip, looked out the window and gasped. Our pampas grass had grown several feet and sprouted amazing tassels while we were away! [Aside: As I was photographing the grass, I heard someone pounding on the window from inside the house. Cricket, who had been playing with Dad and Nora, could no longer be contained and was desperate to join me in the yard. How could I not oblige?] Okay, back to that grass. I love this view of one yellowy-orange blade peaking through. And here is some of our fall bounty of cherry tomatoes. (I posted here about growing our first tomato plant.) We learned this year that it's kind of silly to have one tomato plant. I suppose everyone else already knows this. We get one or two tomatoes at a time, which is fun for Cricket—the biggest tomato lover in history—but not enough to do much with. To remedy this situation, we're prepping a garden plot this fall that will be large enough for several tomato plants, among other things. More to come on that project in a few weeks... Remember our vibrant hydrangeas? They've slowly withered and crumbled into these fabulously muted shades. This seed pod was poking out of the hydrangeas. Happy pumpkin hunting!
P.S. In my next post, I'll be sharing an easy fall DIY centerpiece. |
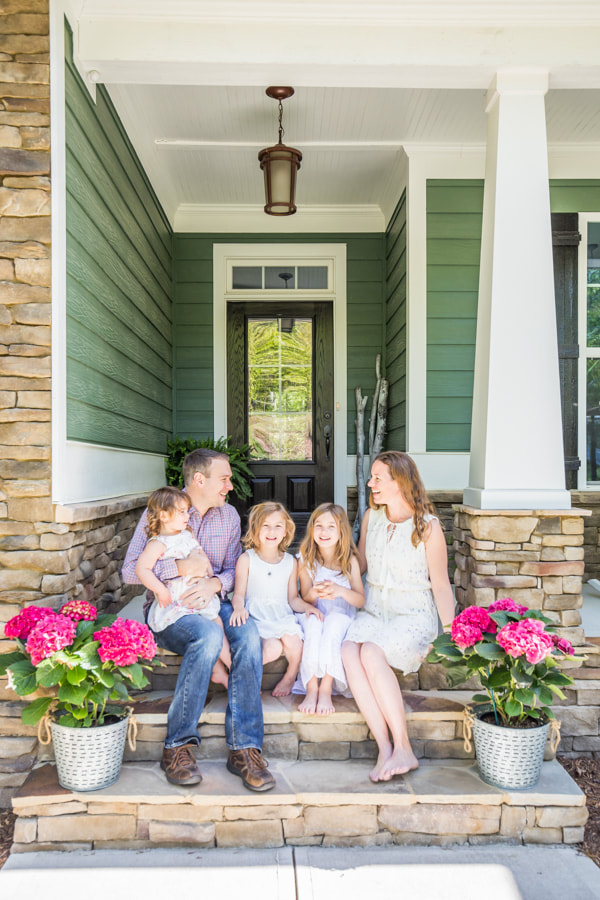
My new book is out! Click to learn more about it.Hello thereI'm Julia Soplop, writer and photographer. I believe there is something profound in bearing witness to moments of joy and pain in others’ lives. My husband, three girls and I live outside of Chapel Hill, NC. You can read more about me here.
Snag my new photo curriculum for kids!Categories
All
Popular posts |

