|
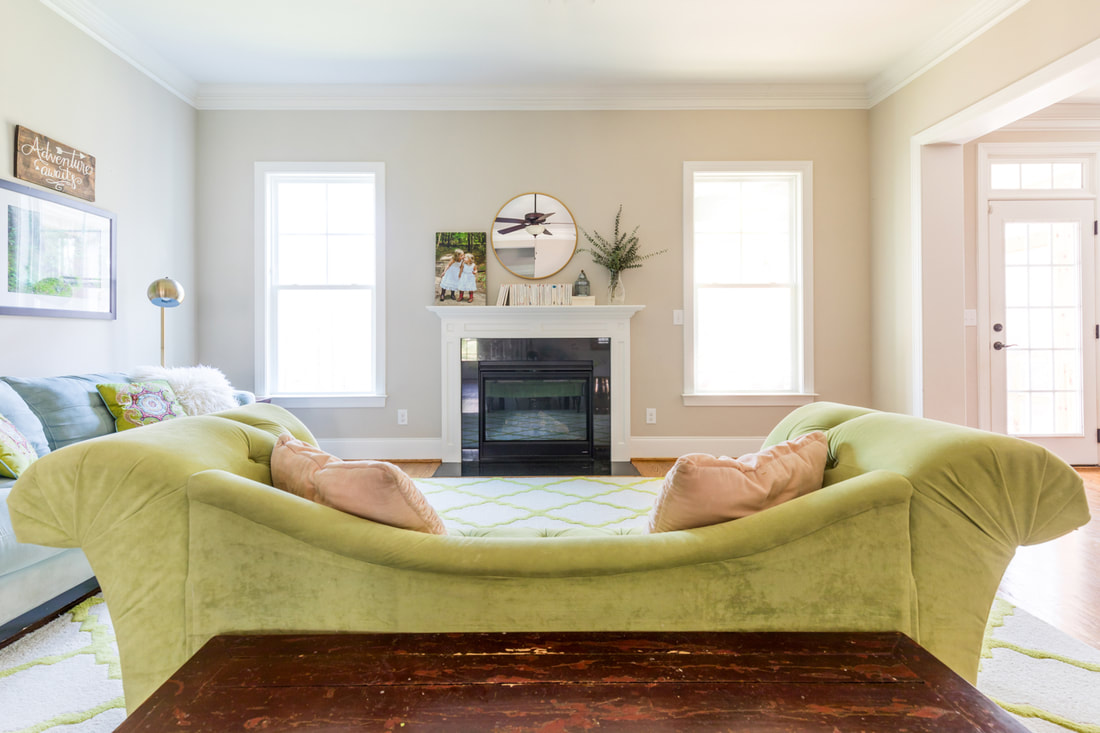
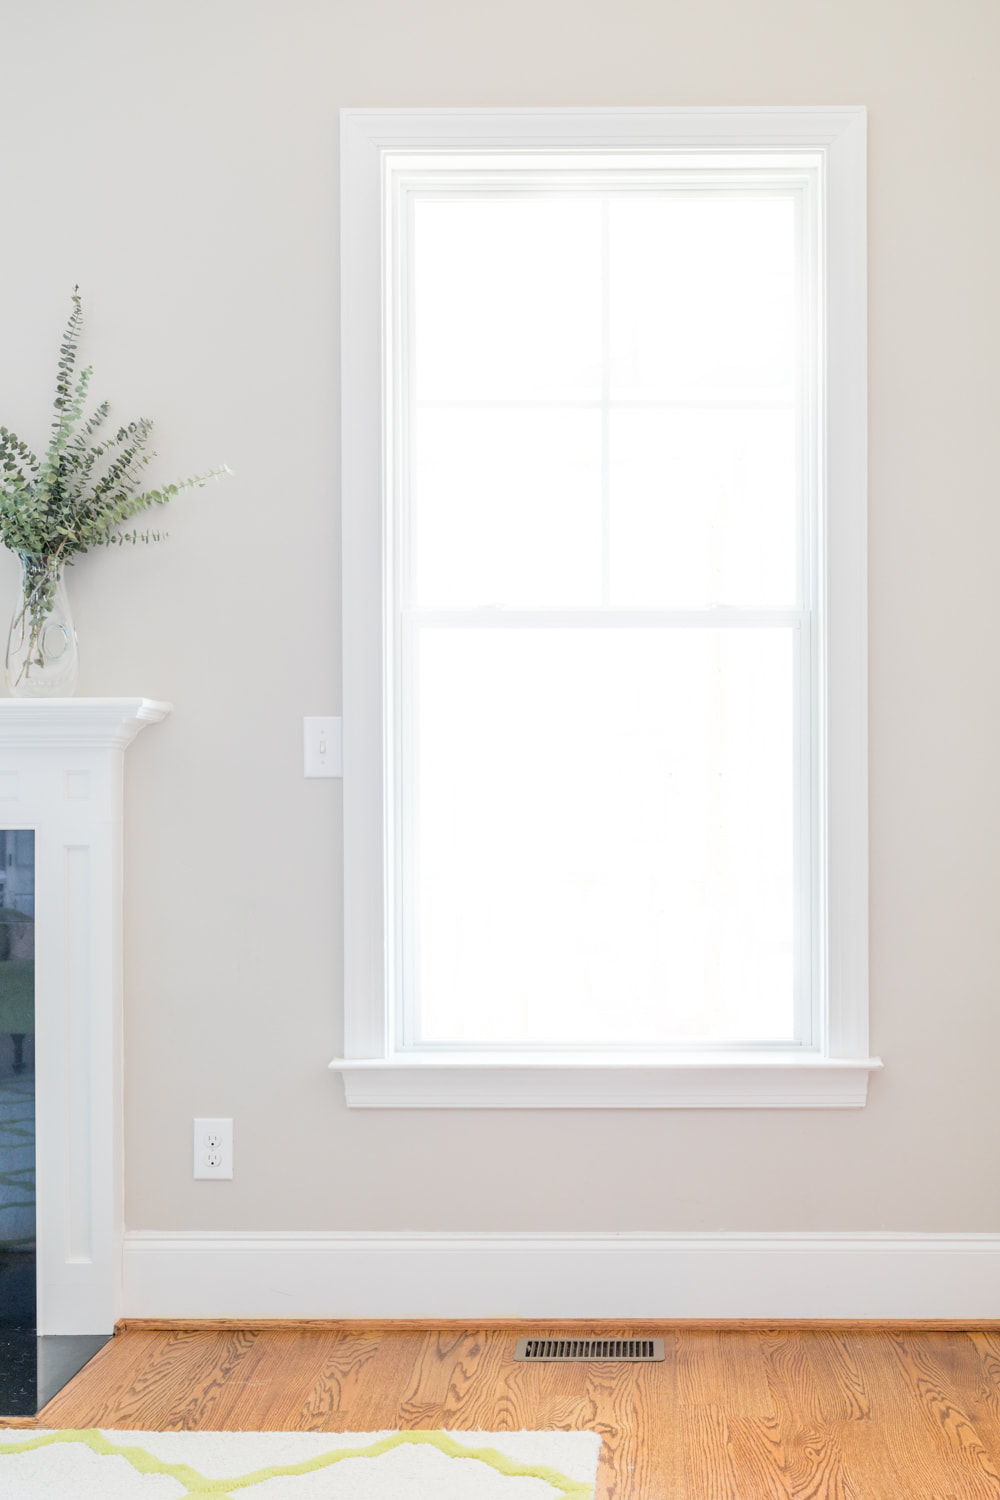
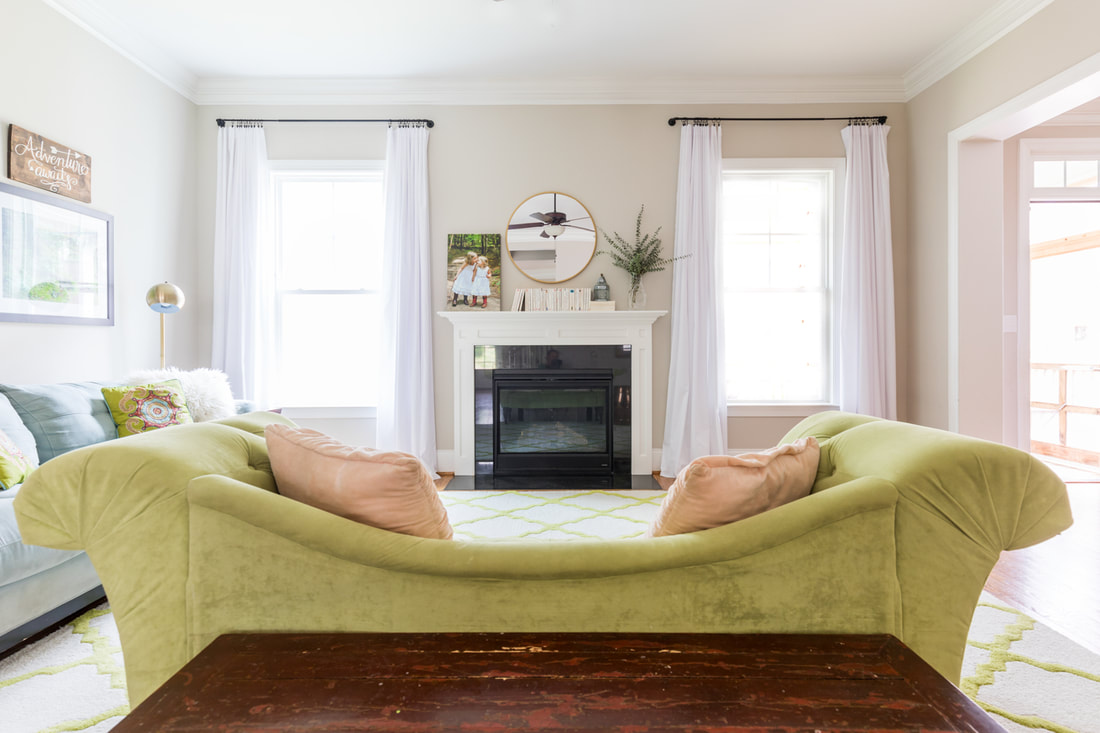
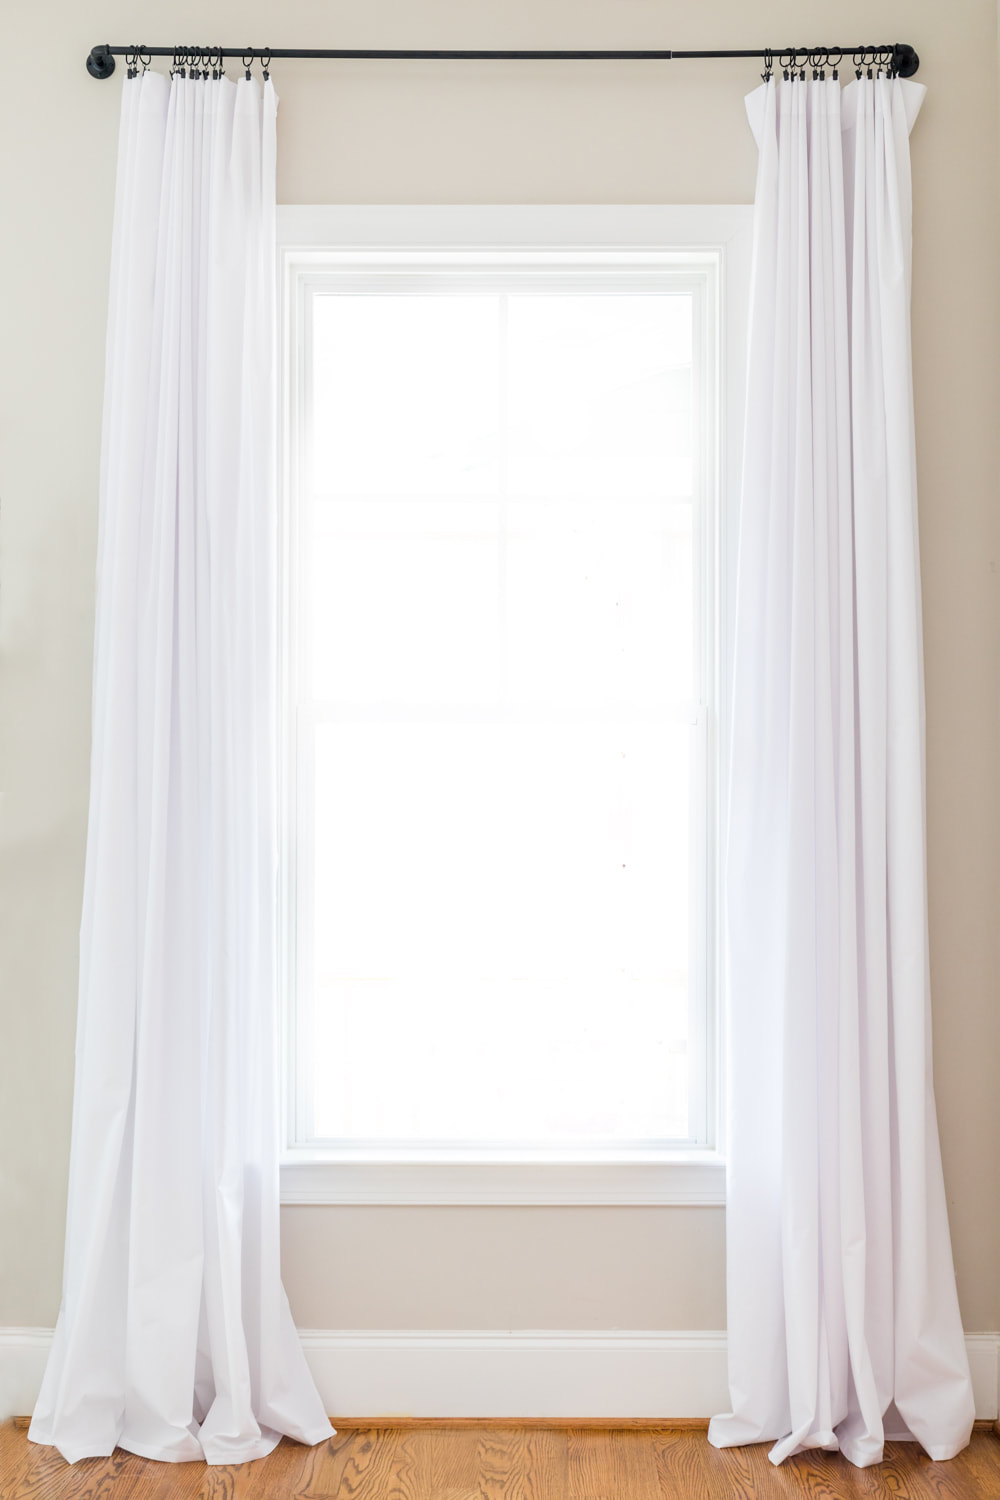
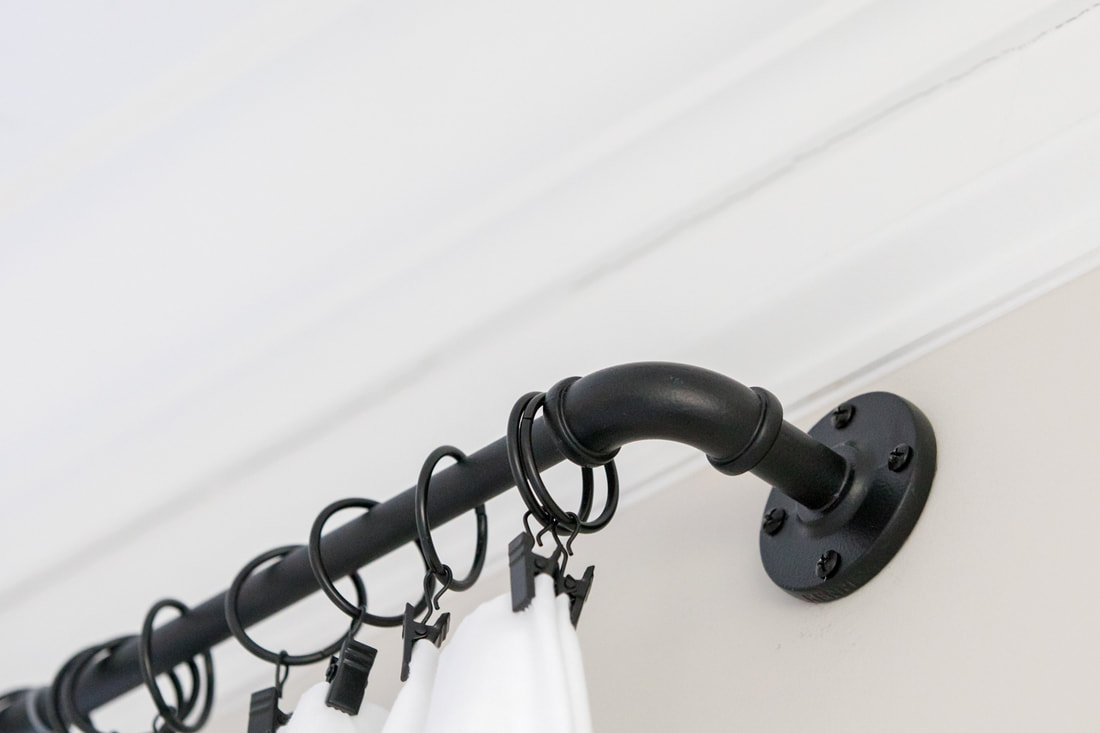
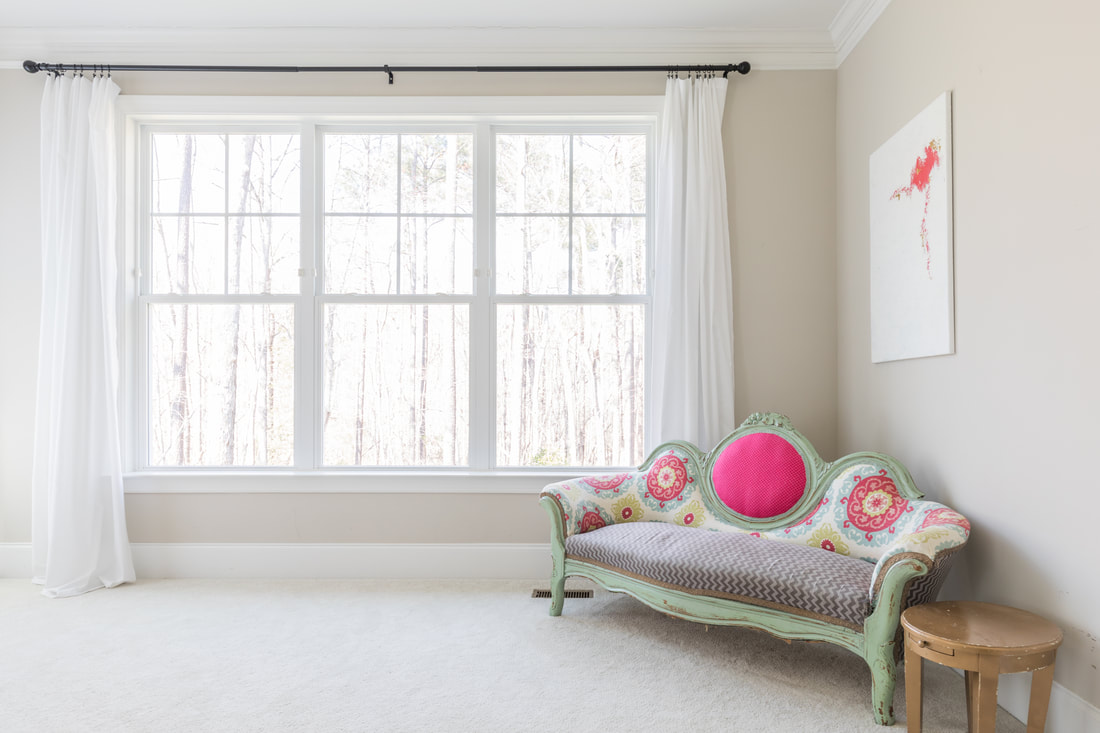
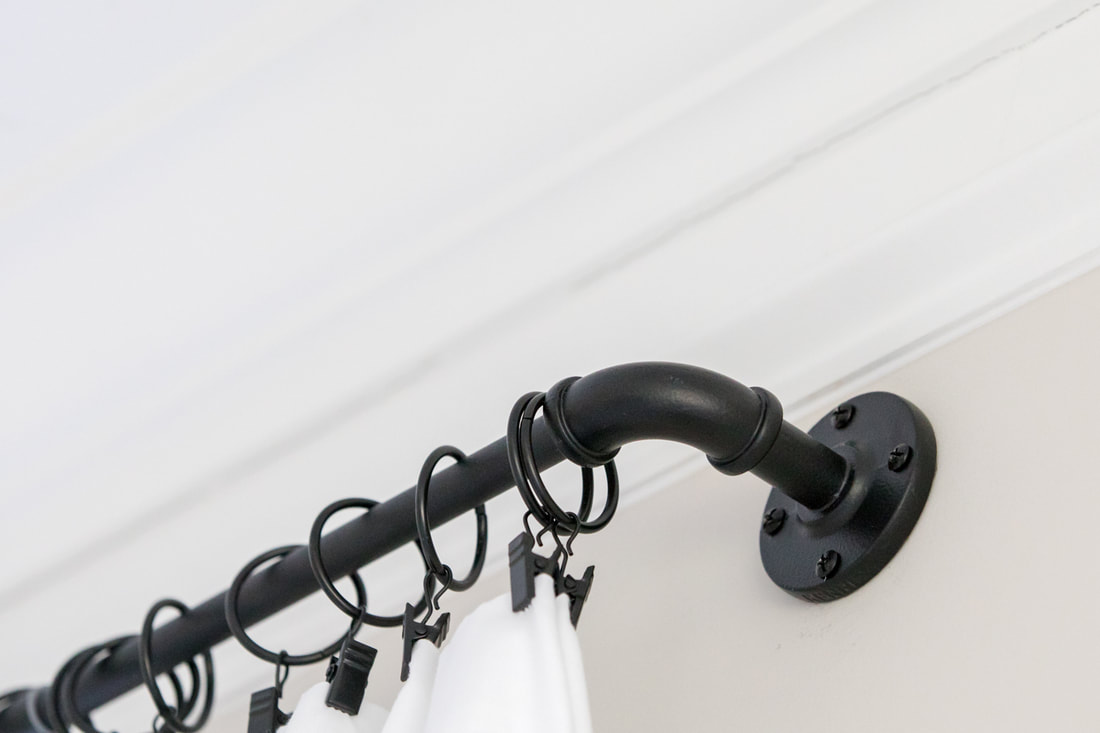
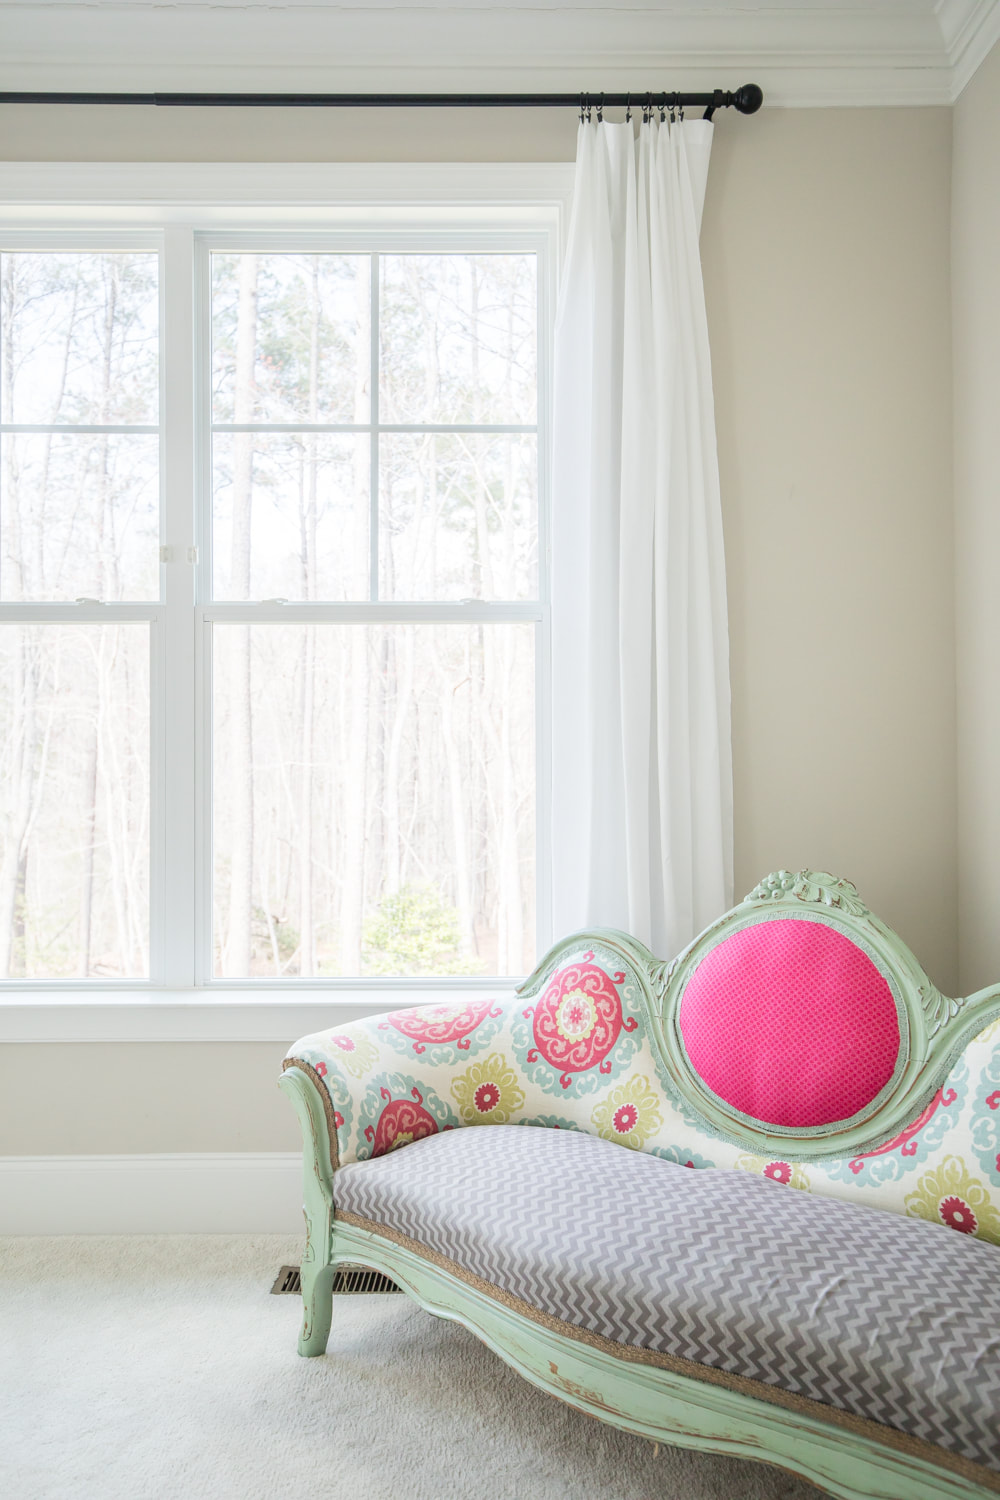
No, this blog isn't just about curtains anymore. But after the response to my previous post about $7 curtain panels, I couldn't help sharing one more variation. At 10 feet, our living room ceiling is slightly higher than our bedroom ceiling. I wanted to find longer panels than the ones I used in the bedroom to add height and brightness to the north-facing living room. (I was also dying to hide the insane number of outlets and switches surrounding the fireplace.) Here are the before photos of our living room: The secret is these curtains aren't actually curtains; they're these XL queen sheets. I paired them with this rod and these clips. The full window treatment cost under $50 per window!
(Note the sheets were listed as 110 inches long, but once I washed and dried them on low, I measured them to find they were 107 inches.) You can find my tips for hanging curtains for maximum impact here. I wanted to add height to this room by hanging the rods close to the ceiling but didn't want to hide the pretty, thick moulding. By hanging them a few inches below the moulding, both the interesting rods and the moulding are still visible. These curtain panels and hardware are an affordable way to complete any room. Let me know if you try them out!
3 Comments
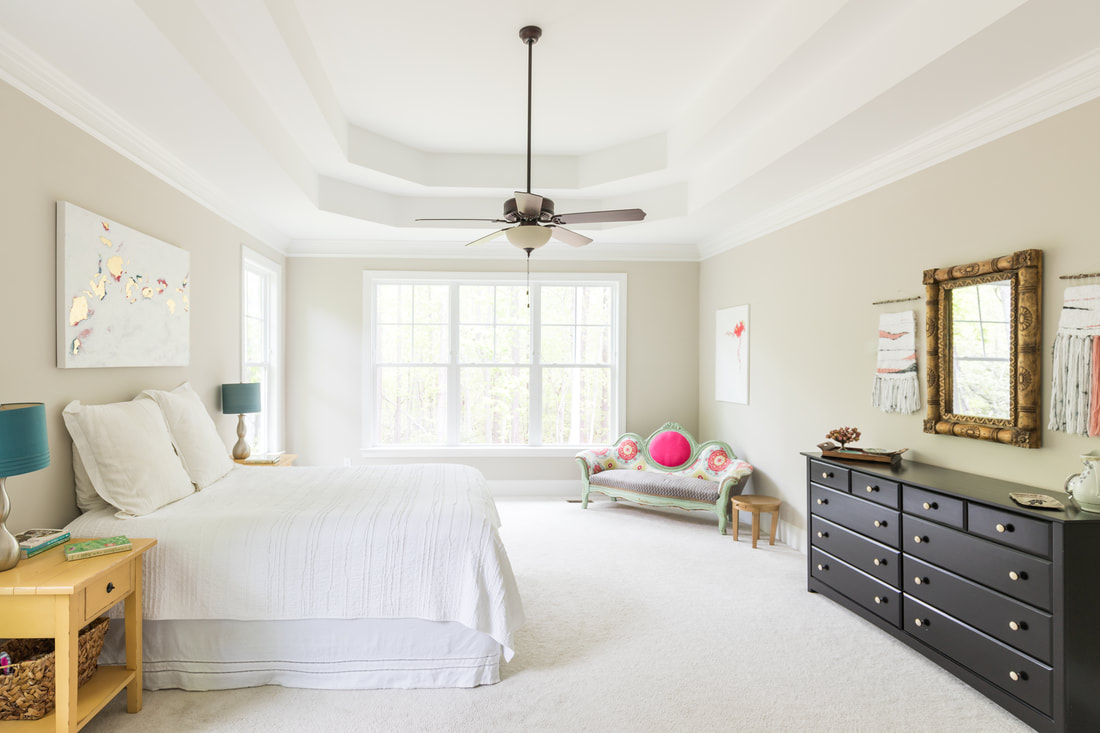
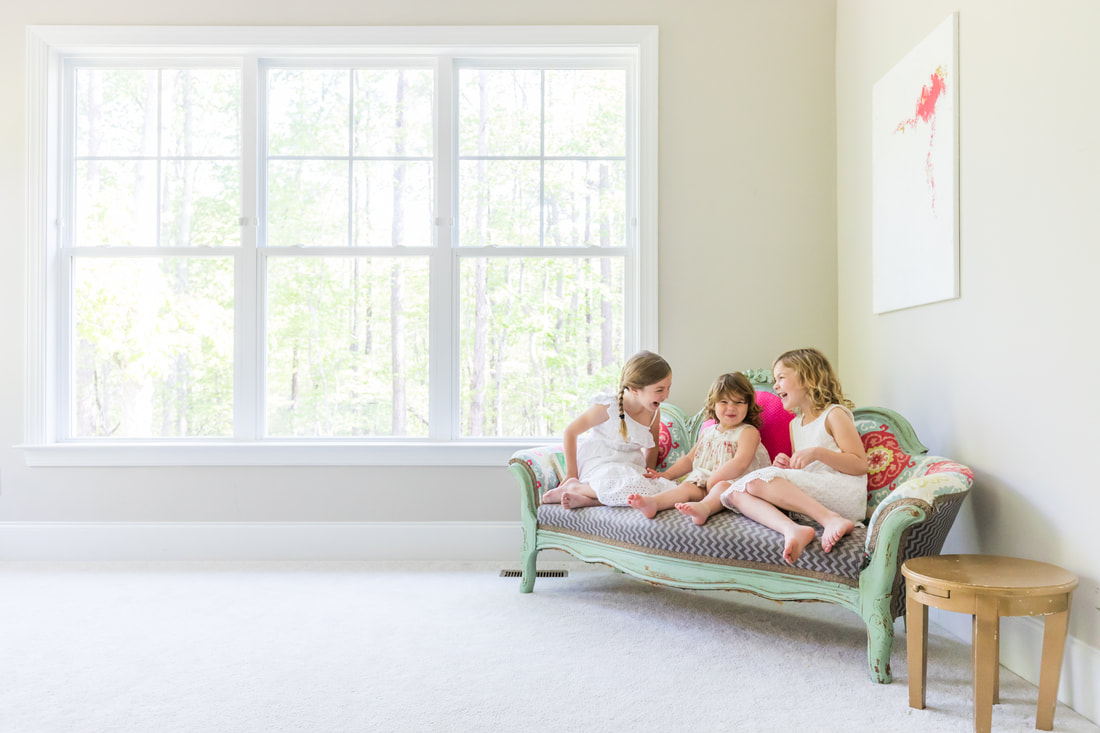
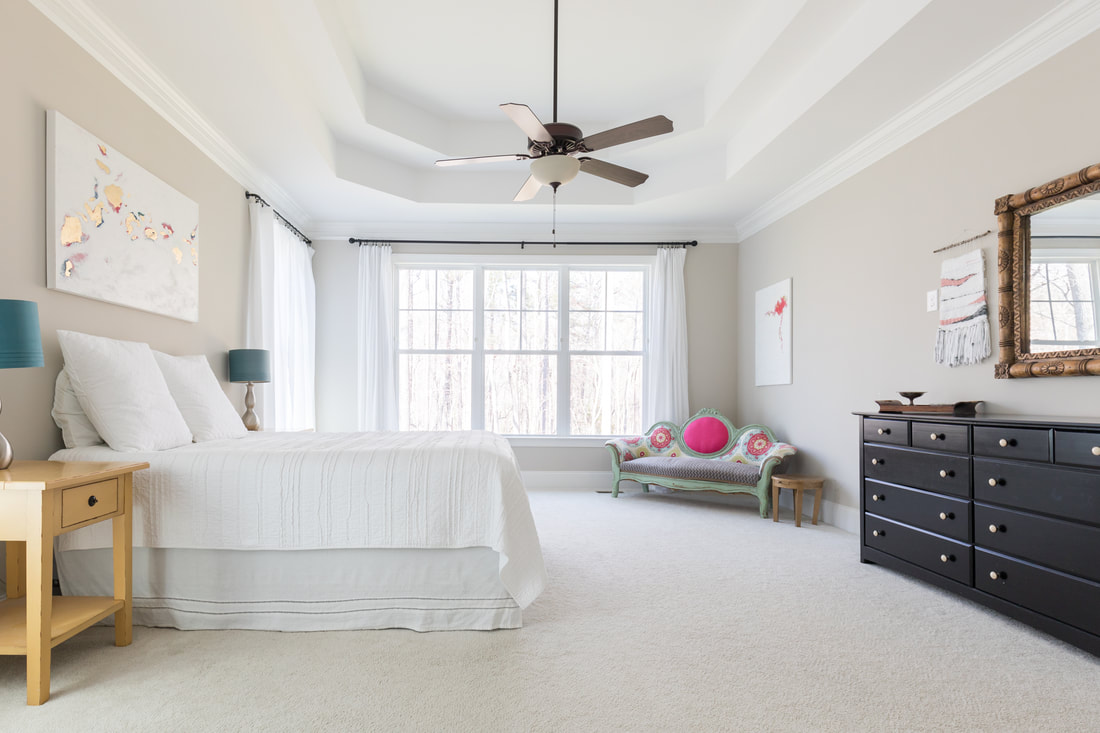
I'm not ashamed to admit I have a nearly pathological inability to pay for things I could make myself or find elsewhere for less. Even so, I'm almost embarrassed to share this find. Why? Because I sort of want to use these glamorous curtains to trick people who come to our house into thinking I've moved passed my pathological ways. Alas, my condition also makes me feel the need to share my decor secrets with others who suffer from the same affliction. So I'm laying bare my taste for $7 curtains for all to see. Here are the before photos of our bedroom sans curtains. (These photos appeared in my Design Mom home tour last spring. Still swooning over that experience.) Here's the room with my $7 curtain panels. Now the dirty little secret is...they aren't actually curtain panels at all. They're these extra-long twin sheets, which come in a pack of six. Their weight is somewhere between a sheer and a traditional drape, so they’re perfect if you want a light, airy curtain but not if you need substantial privacy or black-out shades. (No sweet models on the sofa this time.) For the wide window, I paired them with this classic curtain rod. For the single windows next to the bed, I used this curtain rod. (I especially love this one and will be using it for living room curtains, too.) While the curtain rods are thin enough to slip through the top seam of the curtain, I chose to attach them using these clips both for aesthetics and to make it easier to slide the panels. TIPS FOR HANGING CURTAINS FOR MAXIMUM EFFECT
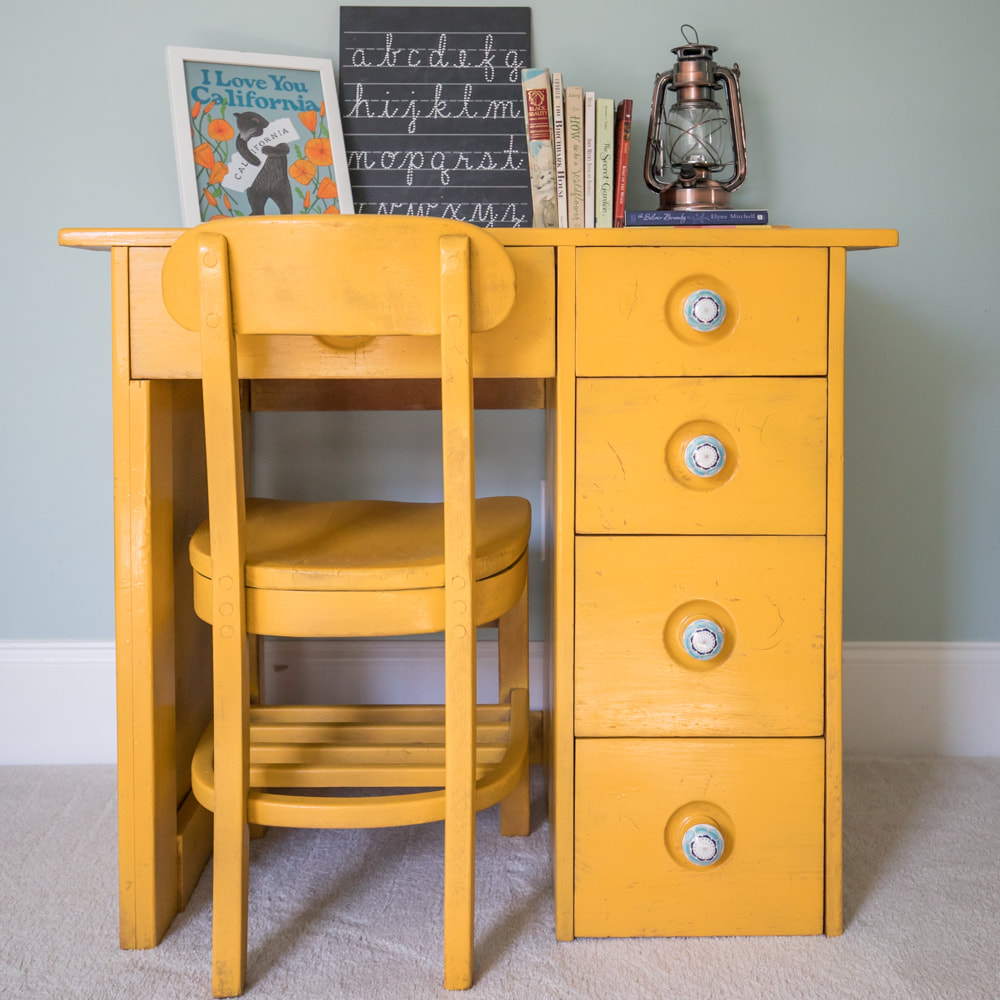
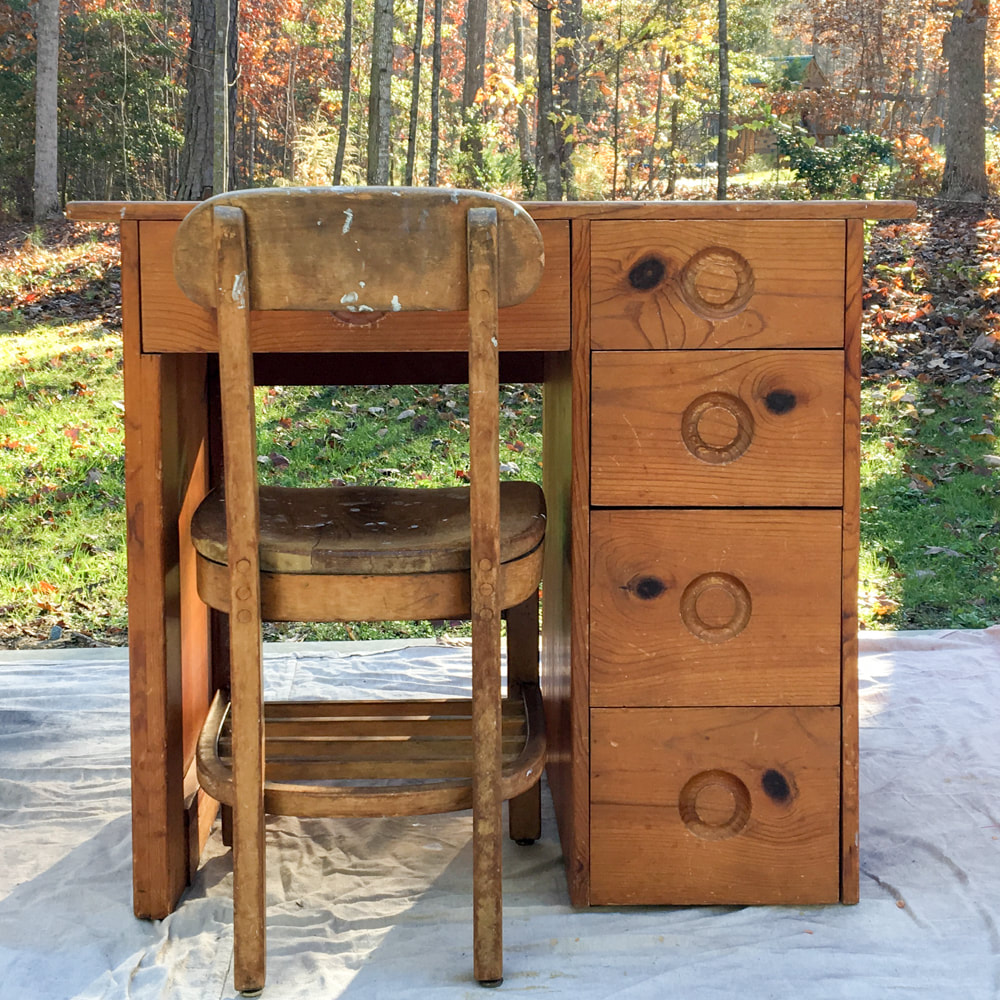
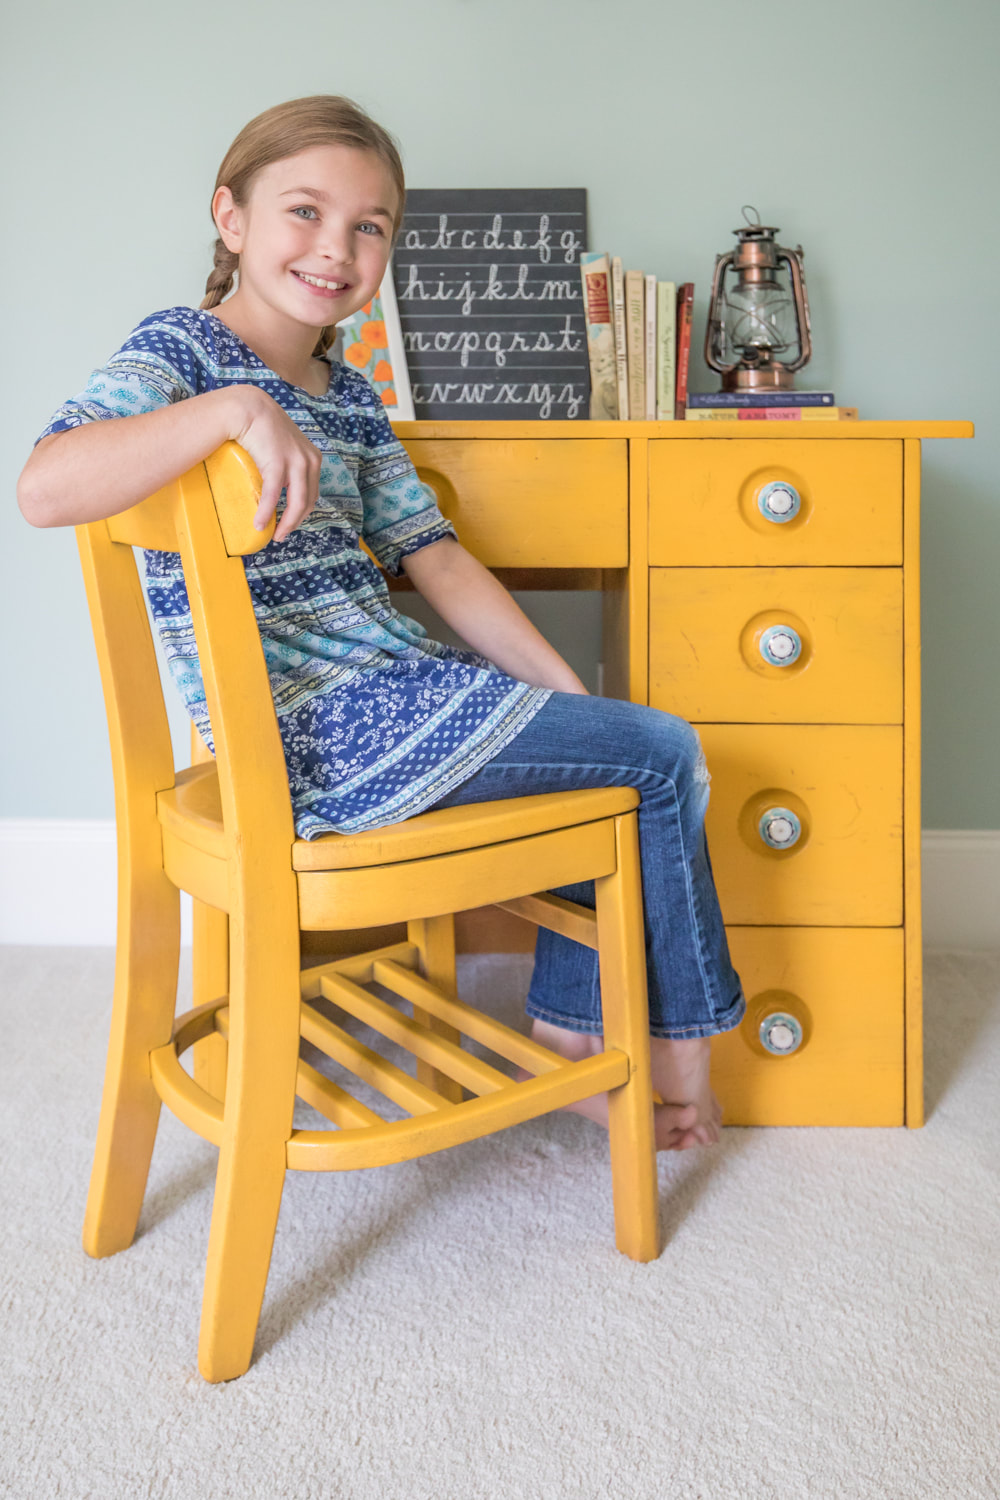
When our dear friend, Alice, was moving out of the area years ago, she gifted us with her childhood desk. Her wood-working aunt had made it for her, and she was ready to pass it along for another child to love. Cricket became the recipient of the desk when we moved into this house three years ago.
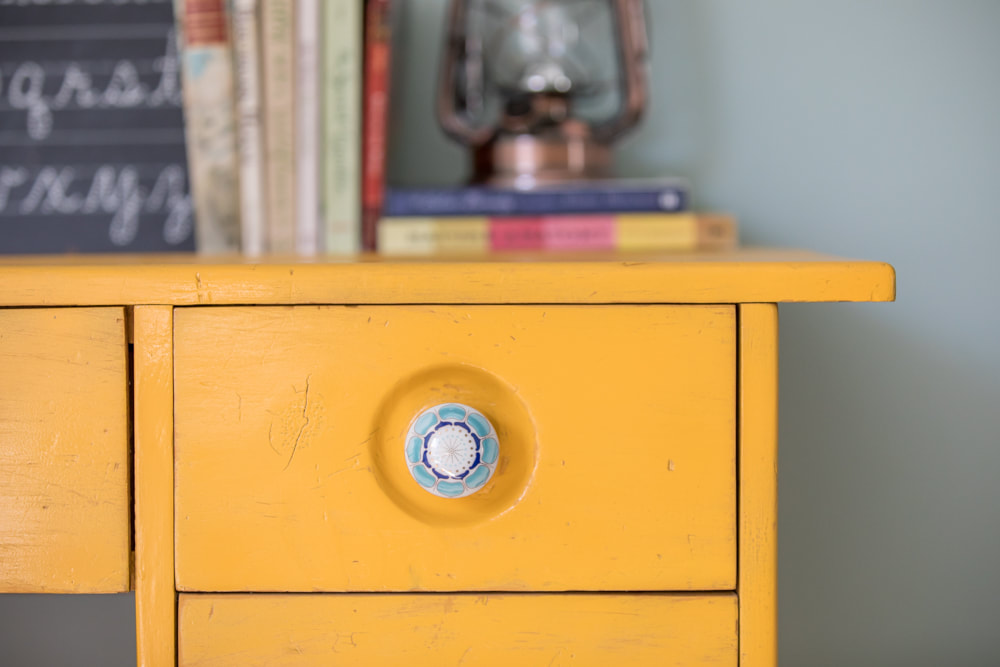
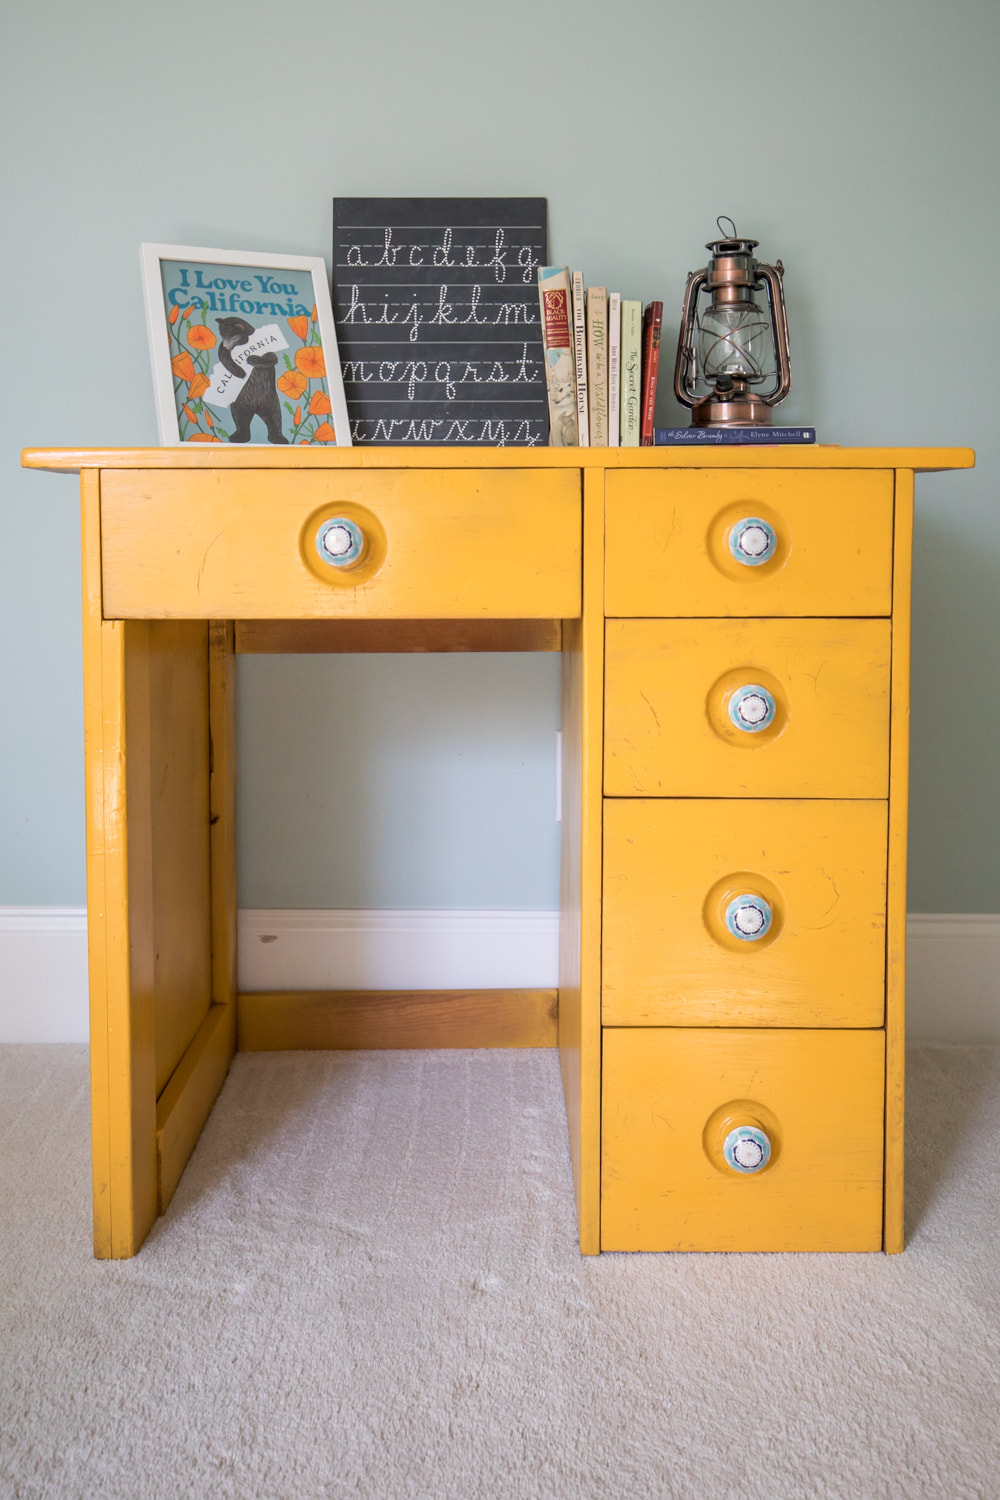
The desk was due for a refinishing, and it seemed like a fun birthday present for Cricket to make the project happen this month. She chose this marigold spray paint to match a sunflower photo from a favorite hiking trail in Colorado that hangs on another wall in her room. I surprised her with these Anthropologie knobs. To prepare the desk and chair for spraying, I just did a quick sanding. I wanted to preserve some of the wood grain and dents to retain the history and vintage feel, so I didn't worry about smoothing the surfaces or spraying more than a few coats of paint. (I escaped without de-glossing, because the finish was so worn.) Cricket couldn't be happier with how it turned out. I hope she'll be able to pass it down to her kids one day.
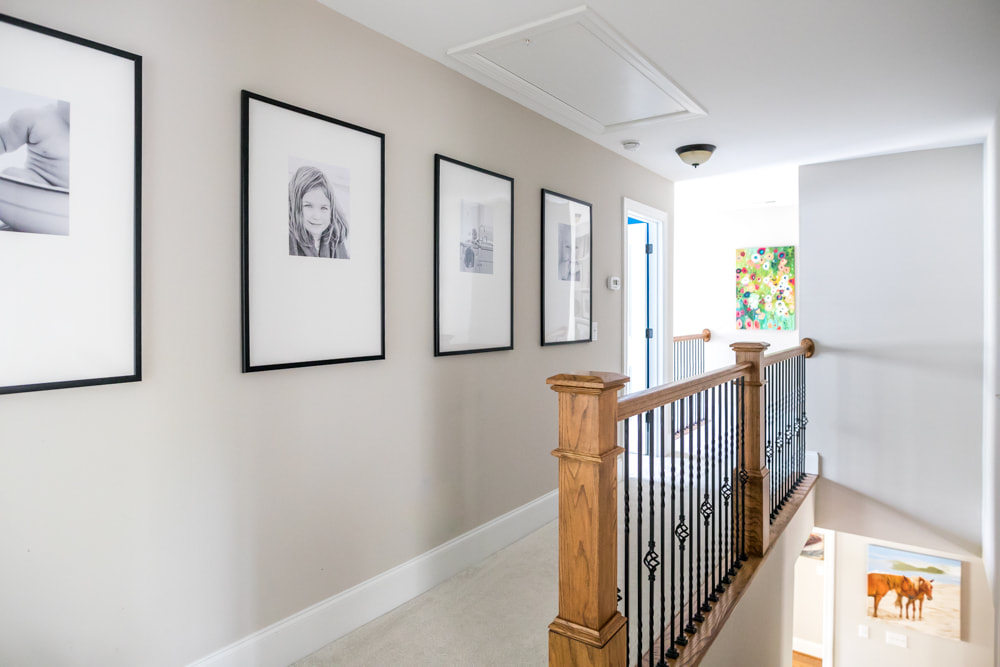
Remember that time long ago (in May) when Design Mom featured my home tour? I'm still pinching myself in disbelief that it ever happened. And I'm still getting a lot of questions about the frames lining our upstairs hallway from one of the photos that appeared in the post.
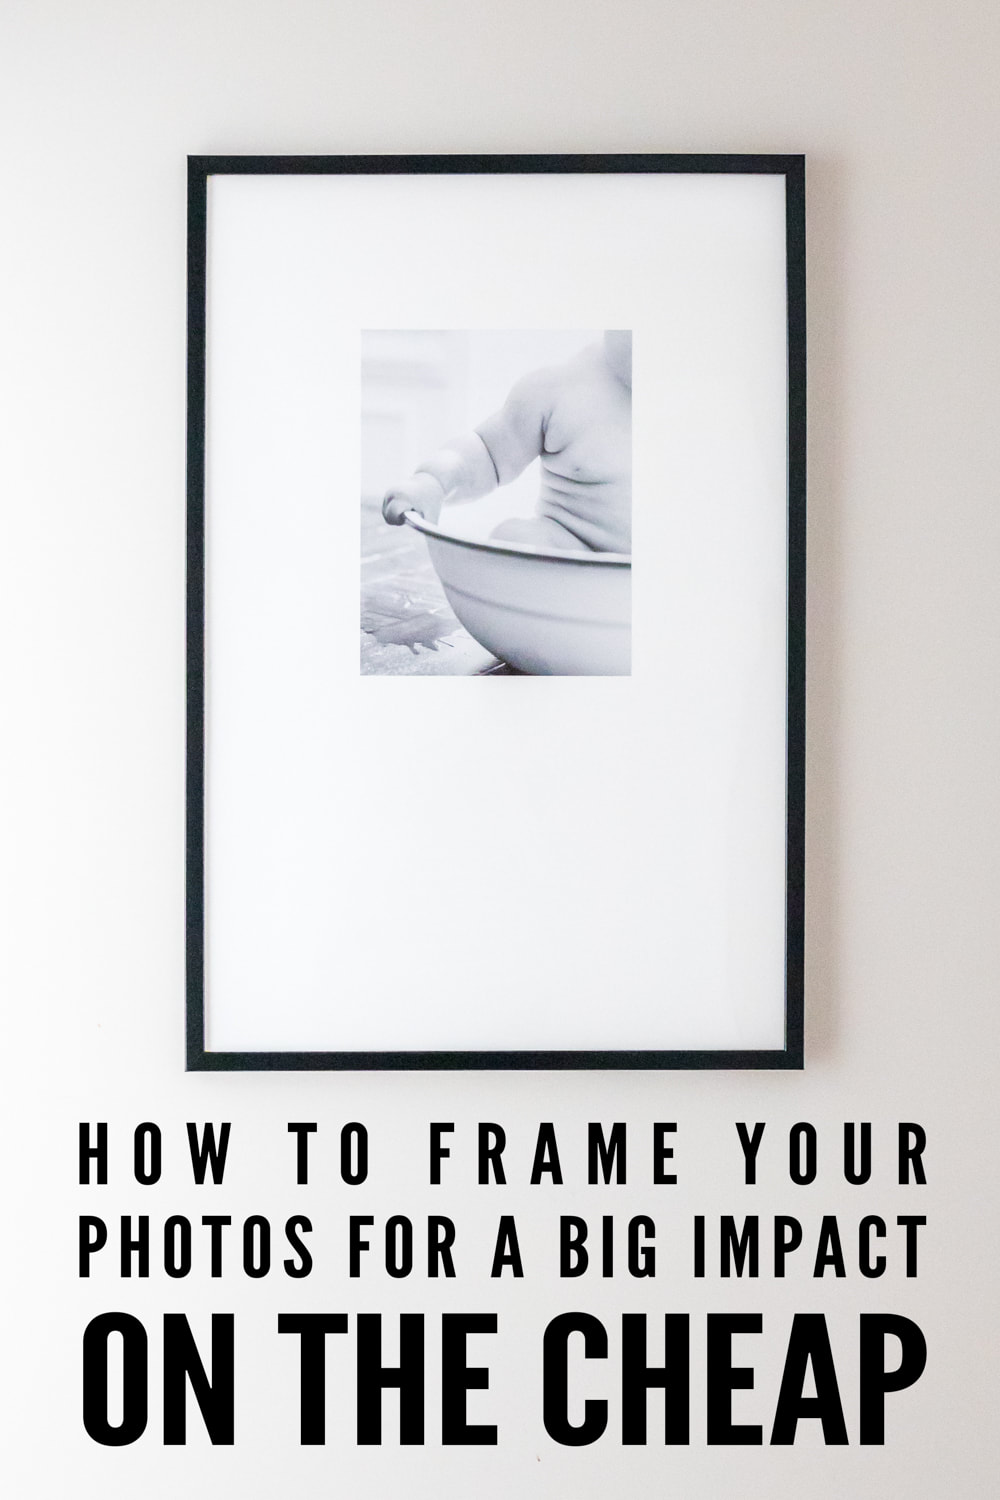
So I'm going to let you in on a little secret, which isn't actually a secret if you know me: I'm a cheapskate. I don't care about brands. I don't buy an expensive version of something when I can buy an inexpensive version. And I don't mind rolling up my sleeves and making something if it means it will fit my budget now instead of two years from now. This long hallway wall sat empty for a long time before I finally decided what to do with it. It doesn't get a lot of light, so I knew the art needed to be bright and reflective. I also wanted a simple, sharp, clean feel that drew the eye down the hall to the colorful piece that local artist Jenn Potter painted for that space. Eventually I decided small black and white prints with large white mats (plenty of negative space) checked off all my requirements. Designers often work in odd numbers, but I just couldn't figure out how to make the wall work with three or five frames, so I settled on four. (If you have a choice, go odd.) When I looked into custom framing four small prints with 24x36-inch mats, it was going to cost me in the neighborhood of $1,000. No, ma'am. I frame way too much in a given year to spend $1,000 on one wall. So I headed to a hobby store and went to work trying to create the same look for a fraction of the cost. I ended up framing all four prints for around $120 total. Here's how I did it.
Supplies
Poster frames with thin black borders (24x36)—$12.99 each White mat board for each frame at least 24x36 inches (uncut)—$7.99 each Prints (11x14)—$5.00 each Spray mount adhesive—$5.99 Scissors or crafting knife Measuring tape or yard stick Pencil Process I bought the inexpensive poster frames and uncut mat board at A.C. Moore (which doesn't list their inventory online). You can find similar supplies at other hobby stores, such as Michael's. The mat board was larger than 24x36, so I carefully measured and cut the outer edges to size to fit the frames. Instead of cutting windows in the mat board (which is difficult and frustrating without good supplies), I glued the photos on top of them. Guests to my home haven't noticed this shortcut, even upon close inspection! To do this, I measured and marked in pencil (and double and triple and quadruple checked) where I wanted to place the photos: 6.5 inches from the top and 6.5 inches from each side. Next I set up a place to spray the adhesive on the backs of the photos (in a well-ventilated area), sprayed them, then placed the photos extremely carefully onto the mat board where I had marked. There is a lot of room for error here, so you may want to purchase an additional mat board in case you make a measuring or gluing mistake. I assembled the frames. Normally I hang frames about two inches apart. But to continue the theme of negative space and keep the eye moving down the hallway, I spaced the frames 13 inches apart. Voila. You've got yourself a series of art for a fraction of the cost of custom framing. In other news, check out my new photography class! “Documenting Your World Through Photography: An Introductory Course for Elementary and Middle Schoolers”is an 85-page downloadable PDF packed with lessons and photo examples from my own portfolio. My little sister, Mari, and I have a long history of collaboration. There was the time we built "Peggy Sue," a go-cart fashioned out of a doll crib and two pairs of rollerblades. Shortly thereafter, we upped our game with the help of our Grandpa Connors and made a more advanced go-cart out of wood and actual wheels, which we painted black with orange flames. (If I remember correctly, I always insisted on "driving" the go-cart while I made Mari push me around the cul-de-sac.) In adulthood, our collaborations have centered more around engagement photos and wedding invitations, newborn portraits and birth announcements. Despite the wide range of projects we've undertaken together, they all have one thing in common: somewhere along the way, things get ridiculous. Usually right off the bat.
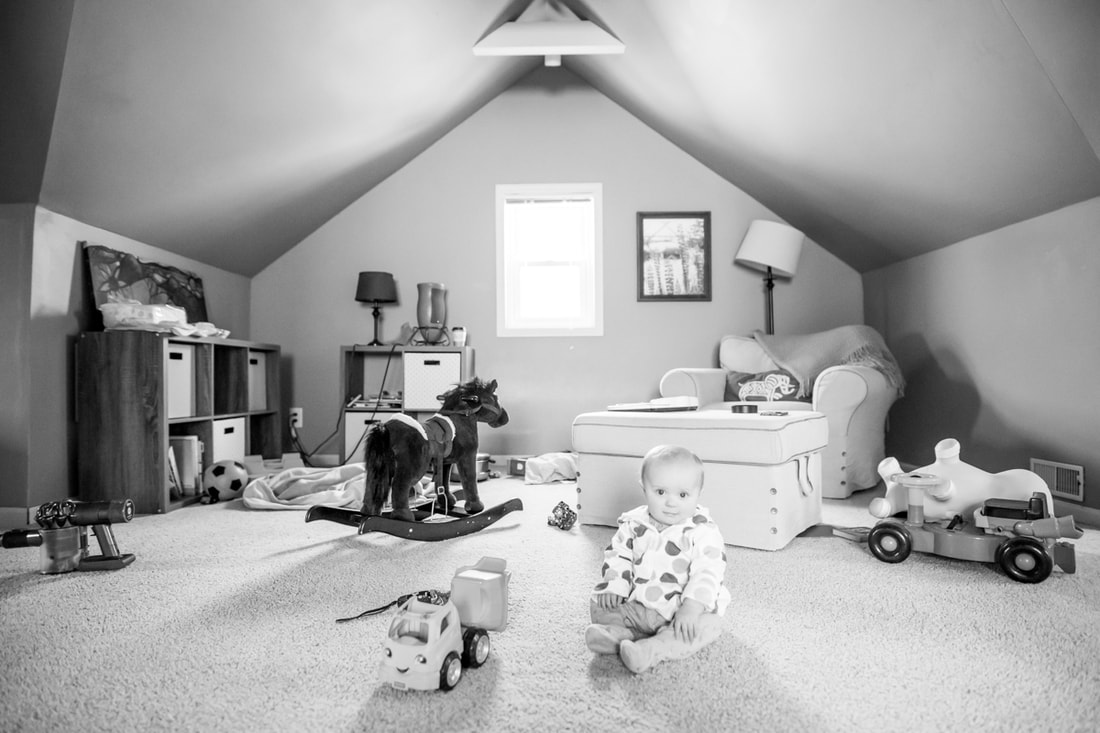
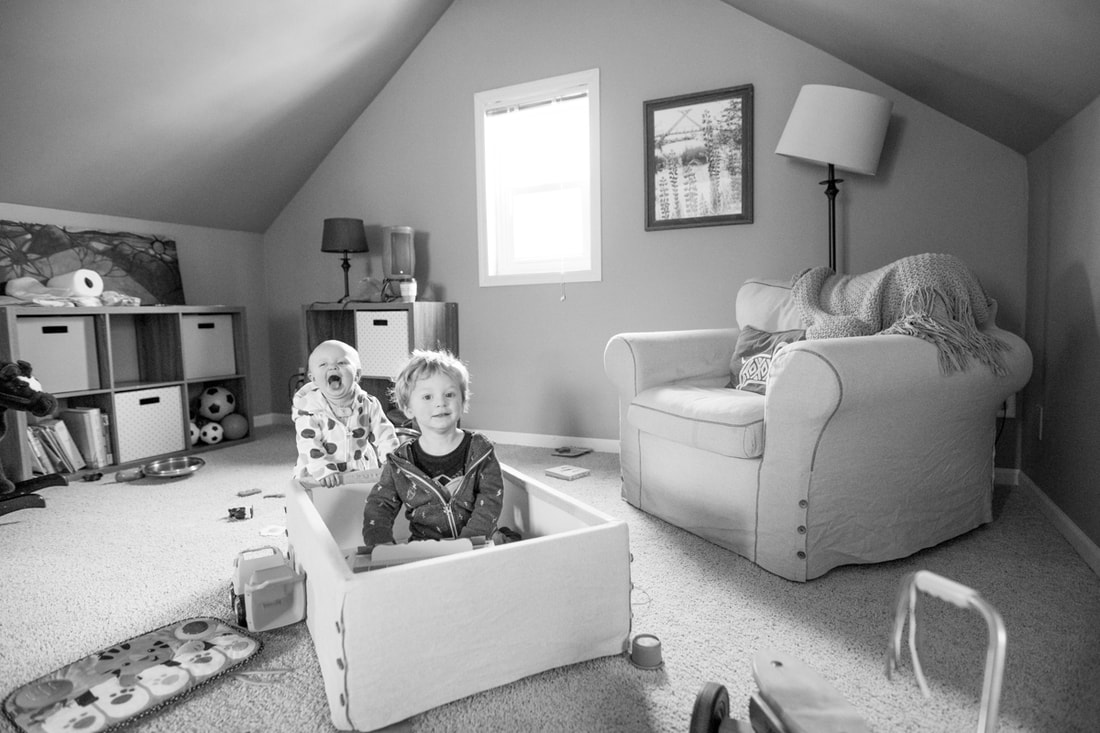
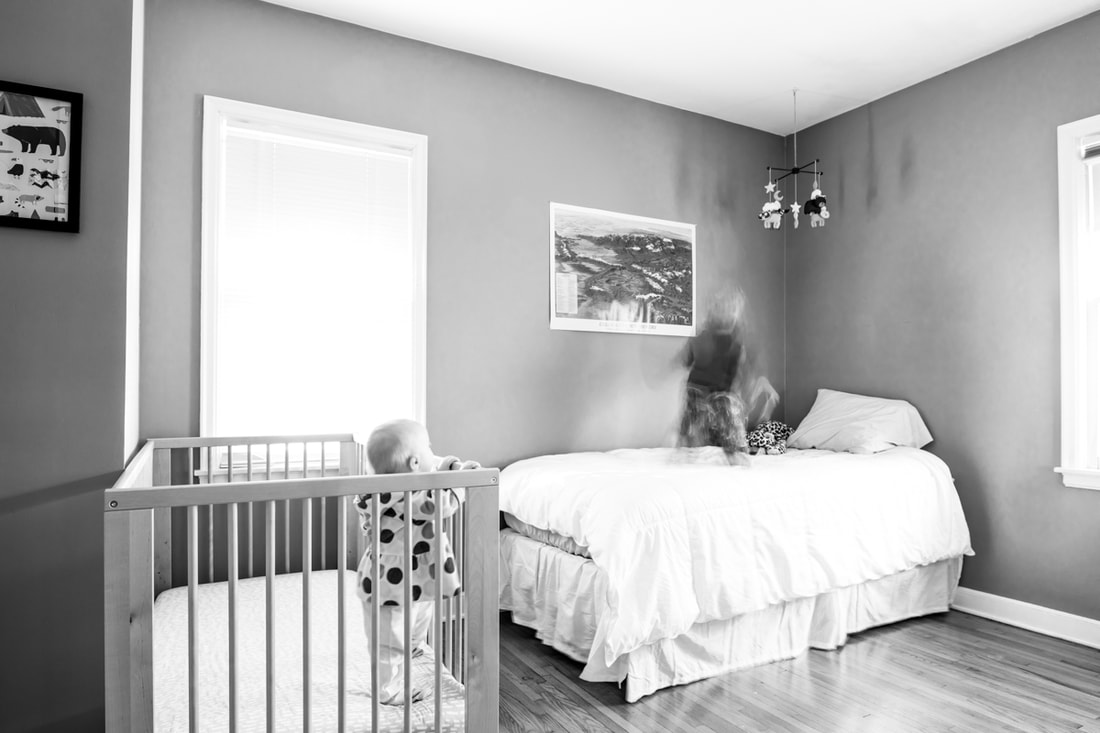
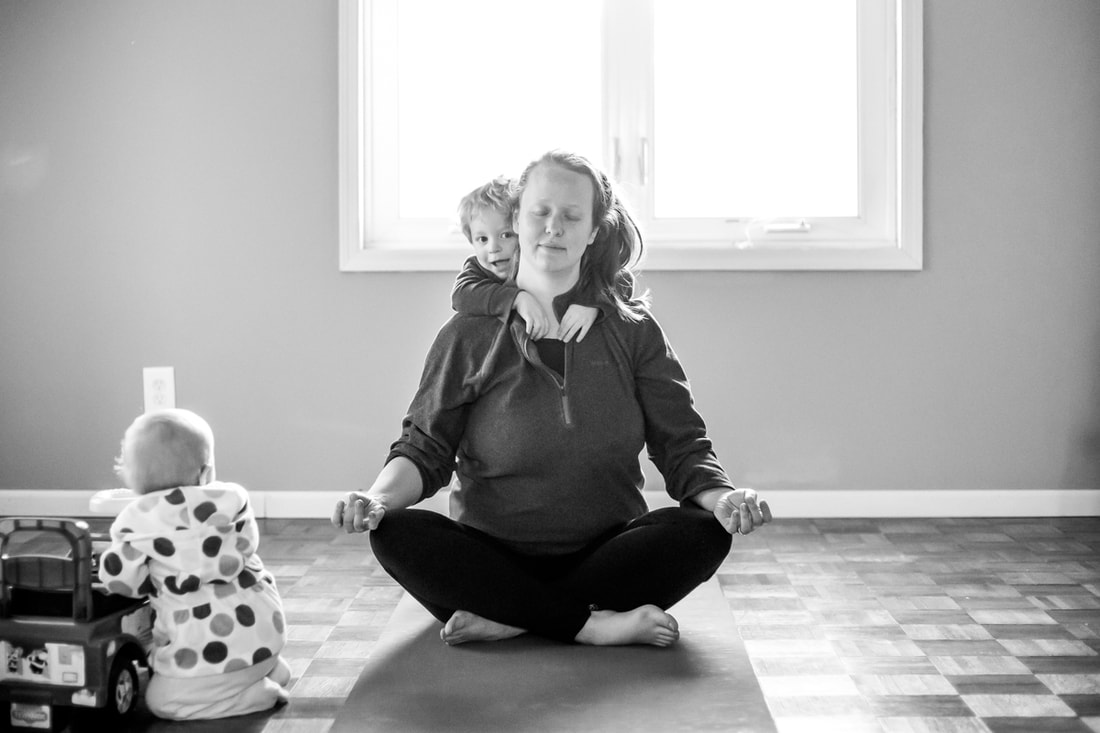
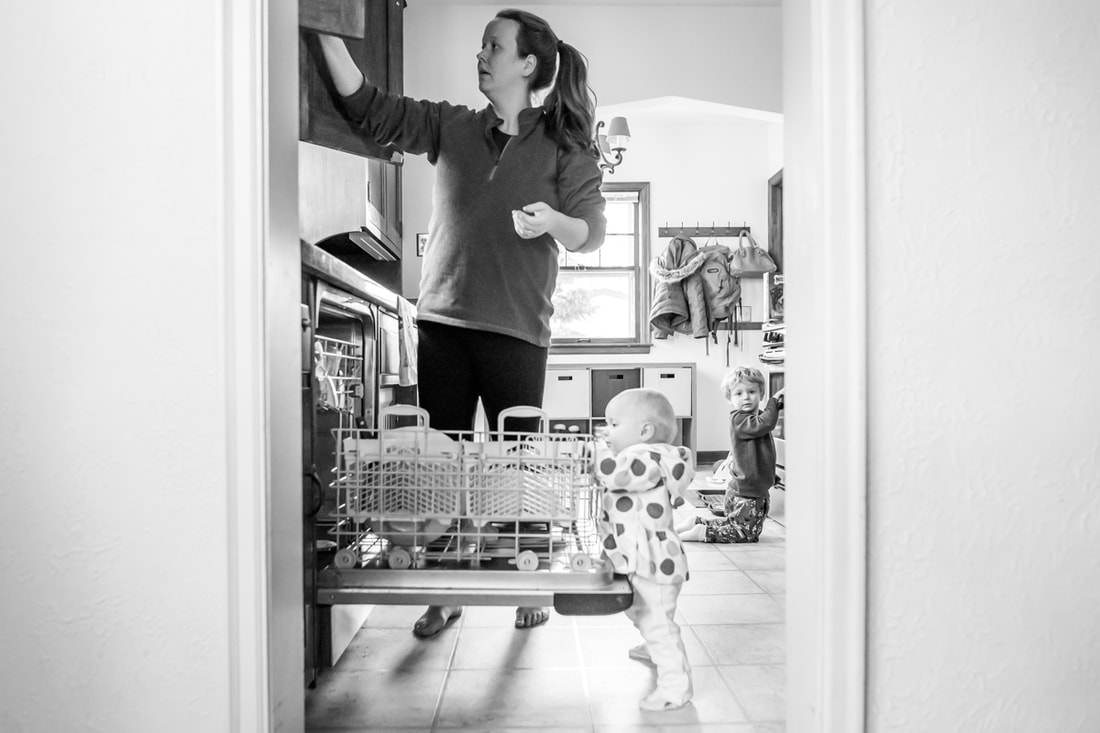
Our most recent collaboration, a Living with Kids feature for our favorite blog, Design Mom, was no different. Mari called me at the end of December and said casually, "Umm, I may have promised Design Mom a house feature. I need you to fly up right away to style and shoot the house." I was on the plane to Minneapolis two weeks later. We were both so pleased with how the feature turned out. But we also felt like we owed a bit of an explanation, lest anyone wonder how a family with two little kids who moved into their house four months earlier could already have it looking so spick and span and styled. Plus I think you'll enjoy the comedy of errors that ensued throughout the weekend. First came the childcare debacle. My mom, who lives in Minneapolis, had generously kept her weekend open so she could watch my niece and nephew and cook dinners for all of us while we worked. My parents were also going to host me, so my sister didn't have to deal with the guest room while getting the rest of the house ready to photograph. And then, the night before the trip, my mom came down with a horrible case of the flu. She spent the weekend completely out of commission. Then there was weather. The forecast in Minneapolis the morning of my arrival was 5-12 inches of snow with winds above 40 mph. I was worried my flight would get delayed or canceled, putting the project in peril. But we took off on time. The snow was heavy and visibility was next to nothing as we were on our final approach. Just as our wheels were about to touch down, I actually had this thought: "All hail, Minneapolis! They really can land us in anything." And then all of a sudden, the plane pulled up sharply and began a rapid ascent. It was an uncomfortable minute before the pilot came on to tell us the plane landing ahead of us had slid. The runway was too slick, so air traffic control was sending us around to "try" another runway. Dear Lord, don't tell me you're going to "try" another runway! Just tell me we're "going to land" on a different runway. By that point, I was sure they were going to close the rest of the airport and land us in Iowa. So much for the photo shoot. But 30 minutes later, we were safely on the ground in Minneapolis. Because Minneapolis really can handle anything! My dad picked me up at the airport and dropped me at my sister's house. It was the first time I had been to the new place, and I'll admit that when I walked in, my first thought was: there is NO WAY we can finish styling and shooting the house this weekend. You see, most people finish decorating their houses and THEN decide to submit photos for a home tour. My sister, however, decided to use the home tour as a kick-in-the-pants to finish the decorating process. She had basically lived at Target and Ikea for the couple weeks leading up to the shoot. She had a vision, and she had the necessary items to make it happen. But she's also a full-time mom to a baby and a toddler and has some part-time gigs on the side, so there was still a wee bit of work to be done to style the house. We got right down to it. While one of us cleaned and straightened and arranged, the other tried, mostly unsuccessfully, to keep the kids from tearing everything apart. The kids thought their auntie was so fun they refused to nap. At all. The whole trip. (Remember how our mom/babysitter was down with the flu?) One morning, my nephew had preschool. We decided my sister would drop him off and bring the baby, so I could scurry around and try to style and photograph a few rooms while the house was empty. When Mari returned, I was running around working so furiously I had stripped down to a t-shirt. "You know it's 7 below zero outside, right?" she asked. (I forgot to mention the temperature didn't crack zero the whole trip.) And so it went. At one point, I was organizing toy bins on a book shelf while Mari was arranging her office space. She peeked around the corner and said, "So, did you ever envision yourself becoming a professional stuffed-animal stylist?" We actually had to take a break to roll around on the floor laughing. As usual, our collaboration was perfectly ridiculous. But here's the message we really want to get across: the house we styled and photographed is Mari's house at its very best. It's her house when the toys are all placed back in their baskets, the kids are playing gently on the living room floor, and no one is tearing around the playroom at full speed, so you can actually leave a cup of coffee on a tray perched on the ottoman. It's the one section of the kitchen that wasn't too overwhelming to clean. It's the side of the mudroom with the cute hooks and shelves and boots, not the corner by the door that's heaped with melting snow and discarded snow pants. The tour we created is genuine. But it's the version of their house you'd walk into when they're hosting a party, not the one you'd find two hours before the party. People ask me all the time over on my Instagram feed how I keep my house clean and orderly, and I have to remind them that, in addition to being a minimalist, I'm always kicking toys out of the frame, because I like to take beautiful photos of ordinary life. As a photographer, I enjoy the challenge of creating images that represent my life and home at their best. Mari's home tour is the same. So we hope you'll enjoy it for what it is and what it isn't, and get a good laugh out of our behind-the-scenes adventures—no insecurities necessary. (P.S. Predictably, when I got to my gate to fly home, I looked out the window to find another white out. Were we delayed? Naw, not in Minneapolis.) I love to see how other people decorate their homes for the holidays. Now it's my turn to share some of our holiday cheer with you. You can start with the porch tour I posted a few weeks ago.
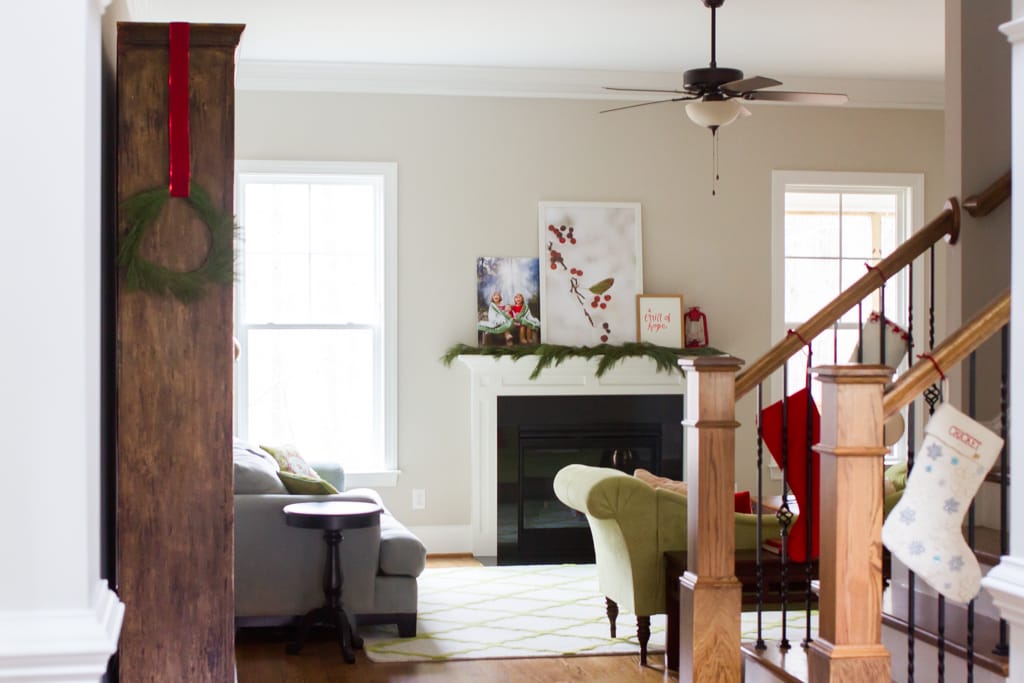
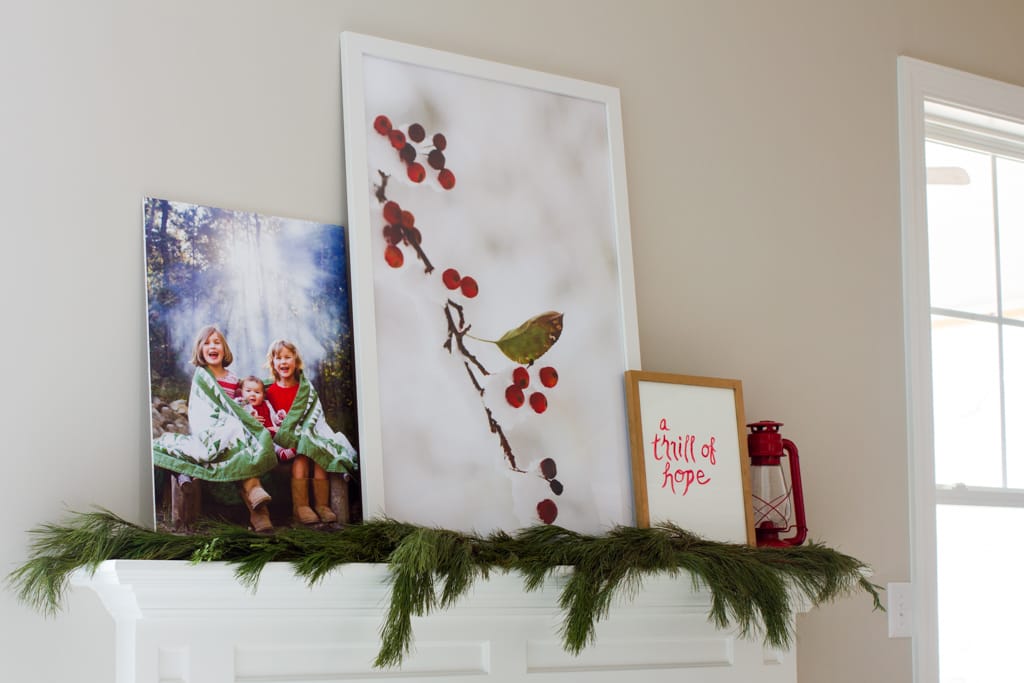
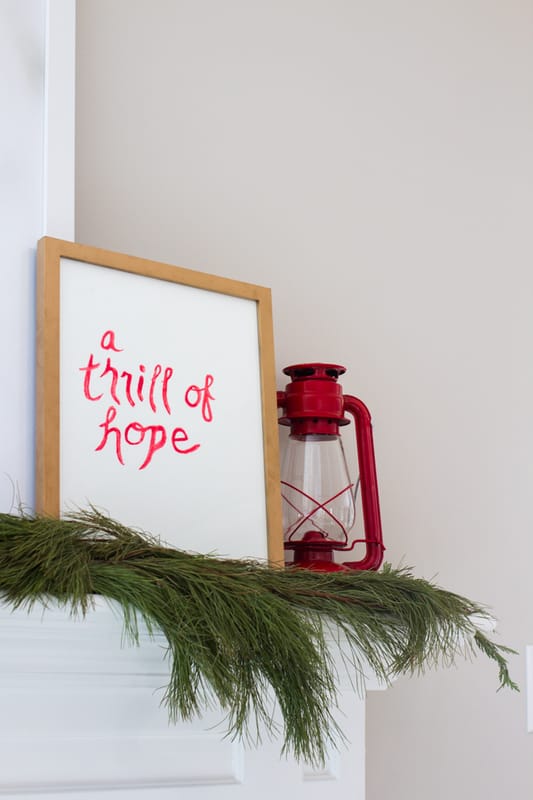
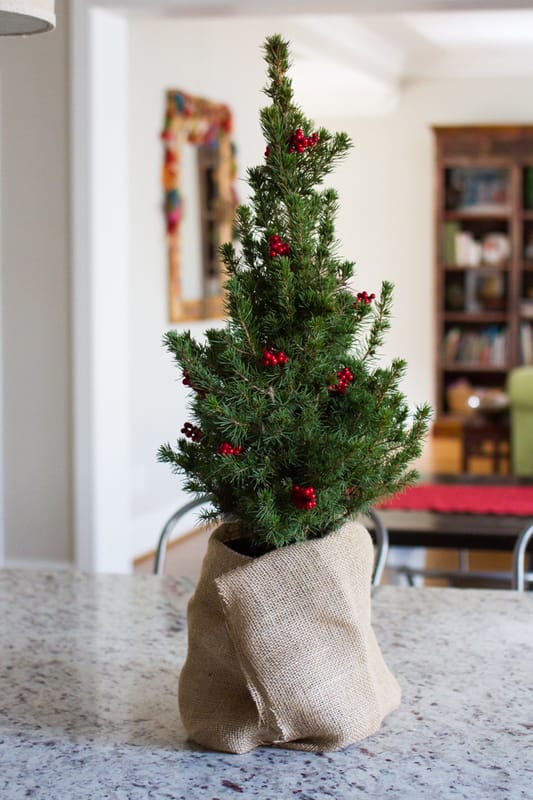
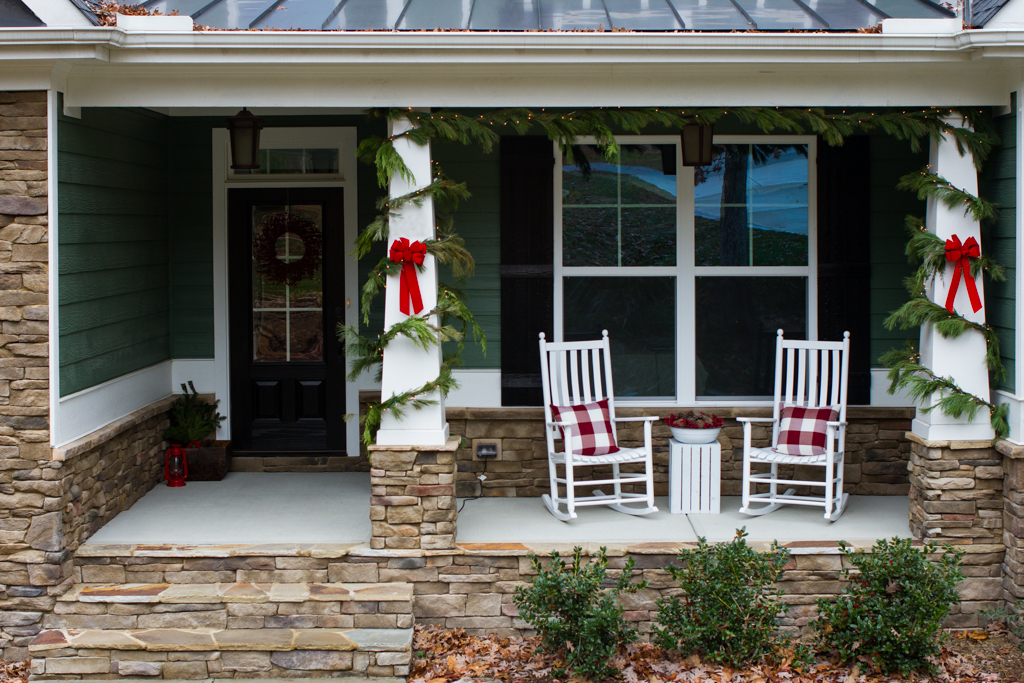
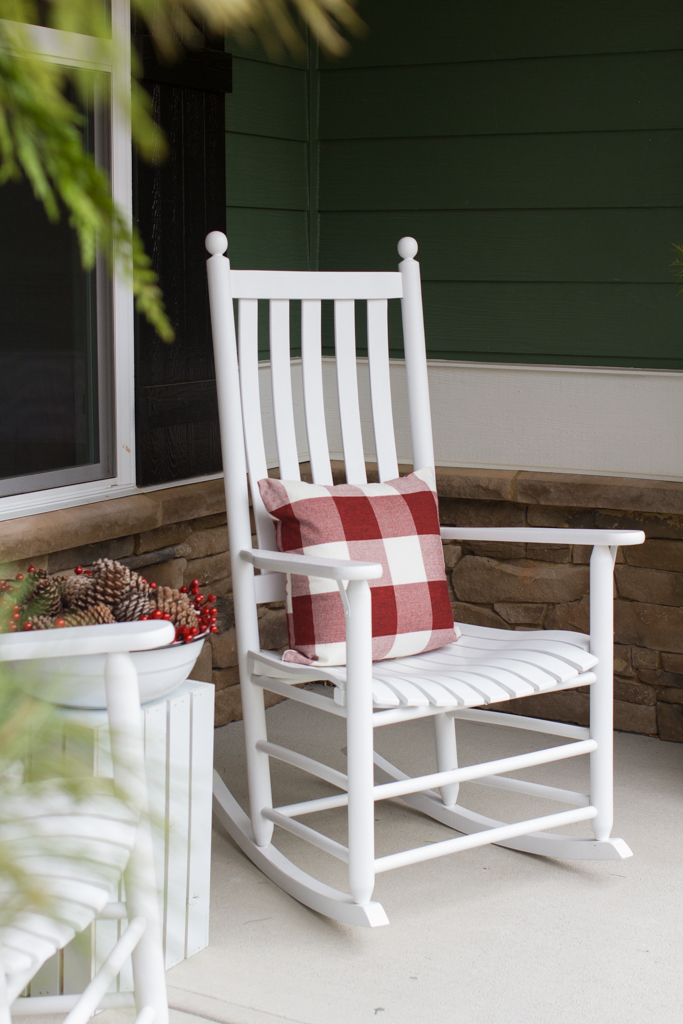
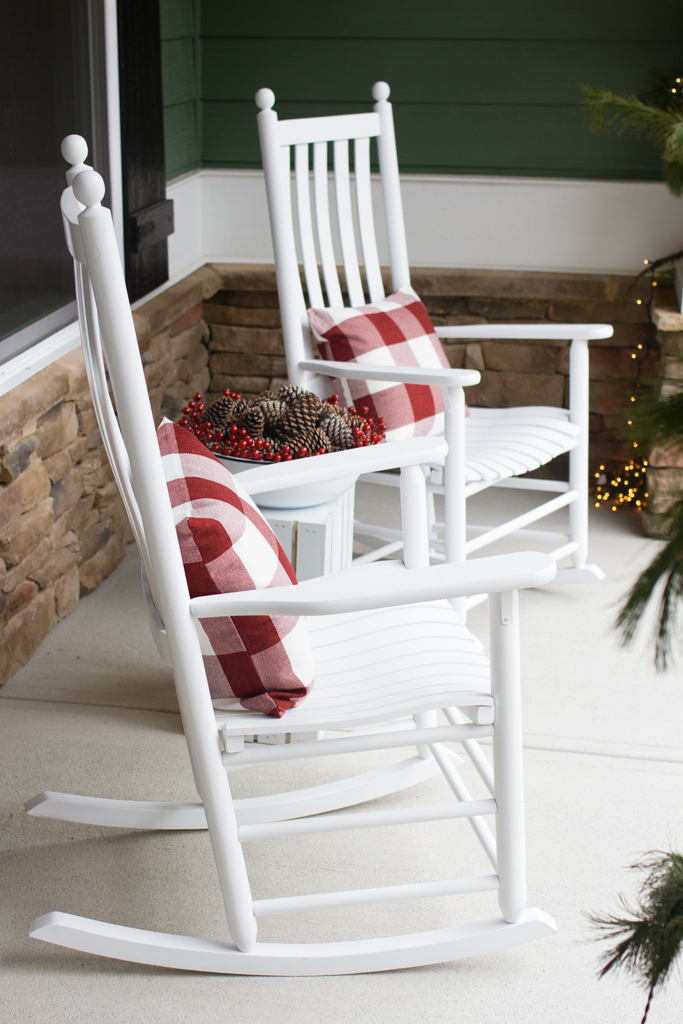
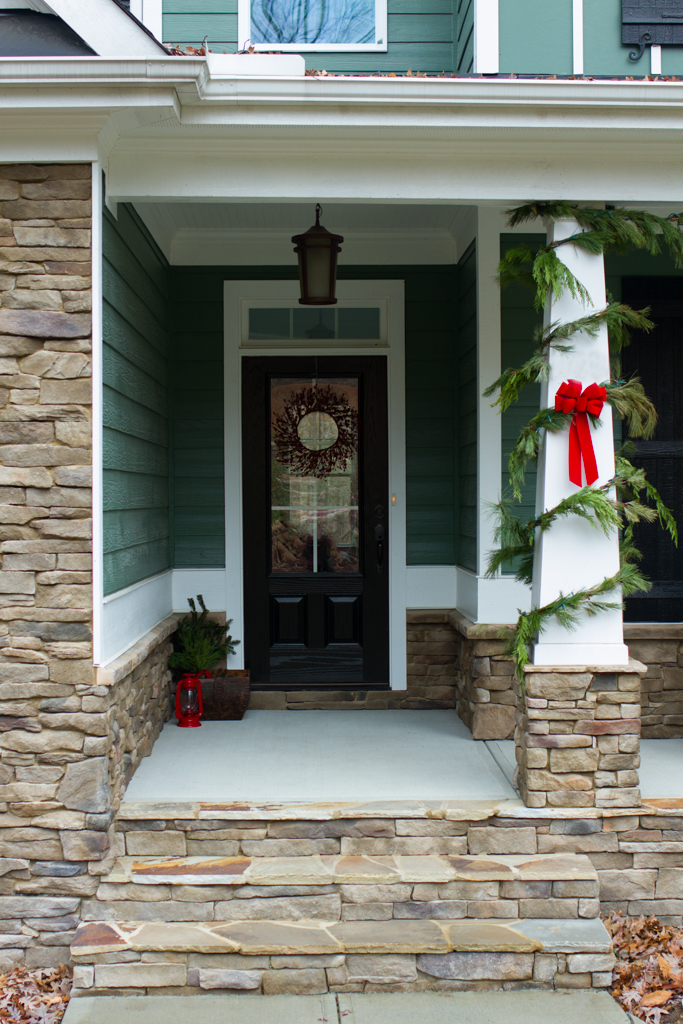
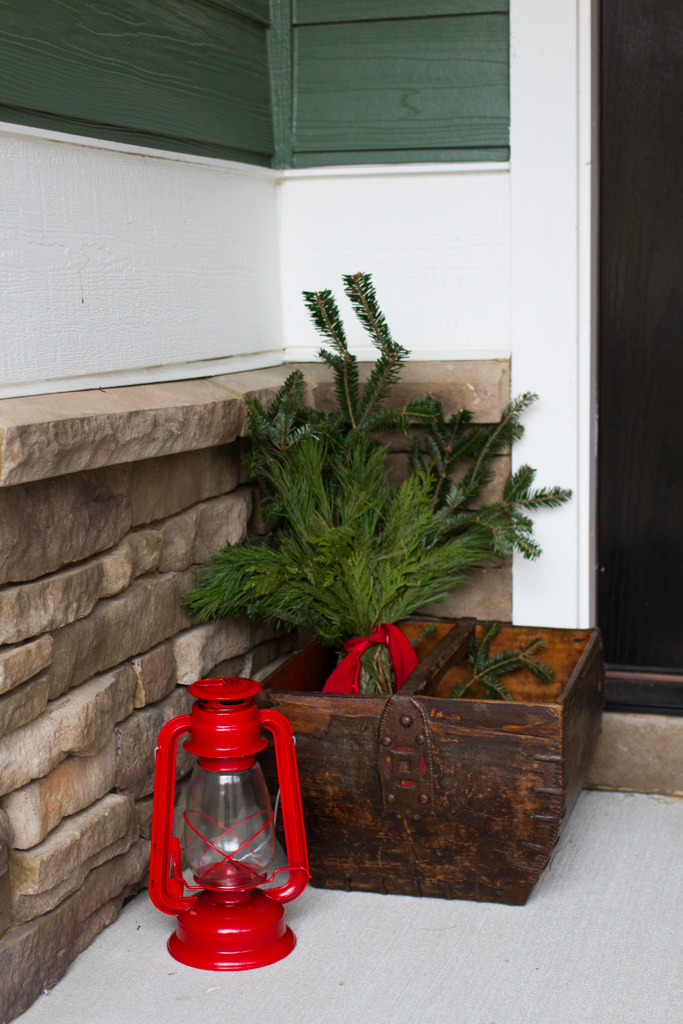
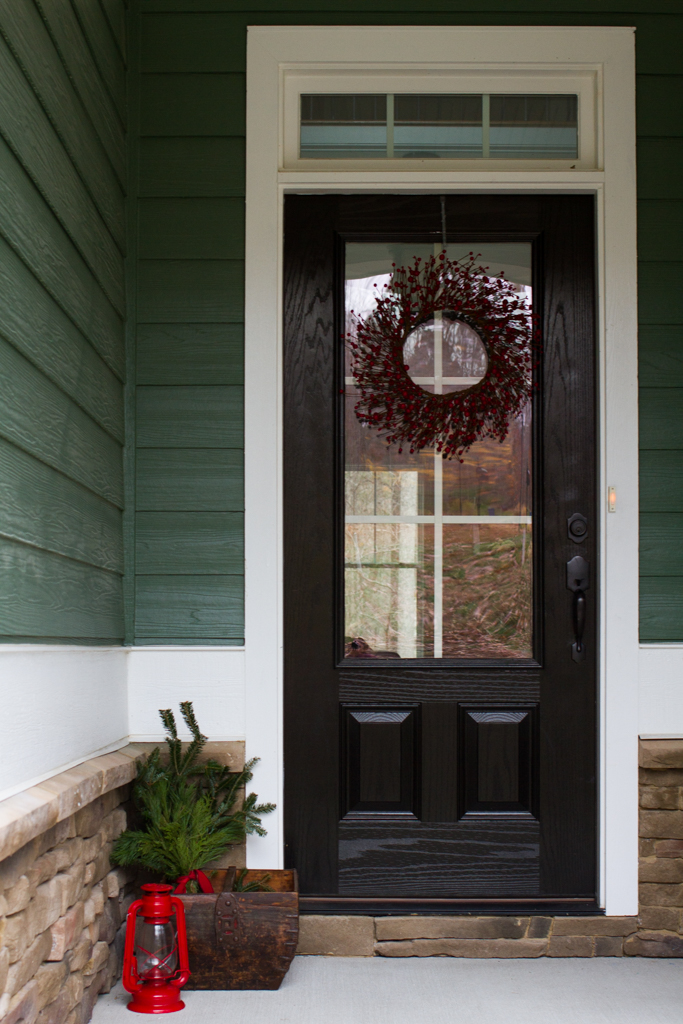
I found the inspiration here for the "a thrill of hope" sign over the fireplace. We all need a serious thrill of hope for the coming year. I liked the sentiment but wanted the text in red, so I grabbed my kids' watercolors and painted a sign myself. (I won't admit how many attempts it took to get decent version.) Then I found an old frame and sprayed it gold with Valspar metallic spray paint. (Then I spray painted a few more things around the house. And a few more.) This year I relegated our Christmas tree to the back of the dining room to keep it safe from the speed crawler. It's actually nice to have it out of the way but visible from the front windows. The photos of it crammed behind the table didn't turn out well though, so I'm just sharing a snap of our little tree out on the back porch. Happy holidays, friends! Happy Advent! In the South, the front porch is an art form. We finally have one to call our own, but it sat sadly untouched for more than a year after we moved in. No more. I've scoured Pinterest for simple holiday decor inspiration to accent our green exterior and settled on the classics. Red and white. White and red. I think our house was made for Christmas. (You can find the source list below.) When I asked Jeff to help hang the garland, he wondered how I wanted it to look. My response: "Well, I just want it to be meticulous and perfect." He doubled over laughing. (My M.O. is perfection; his is efficiency.) But he pulled it off quite nicely, don't you think? Source list
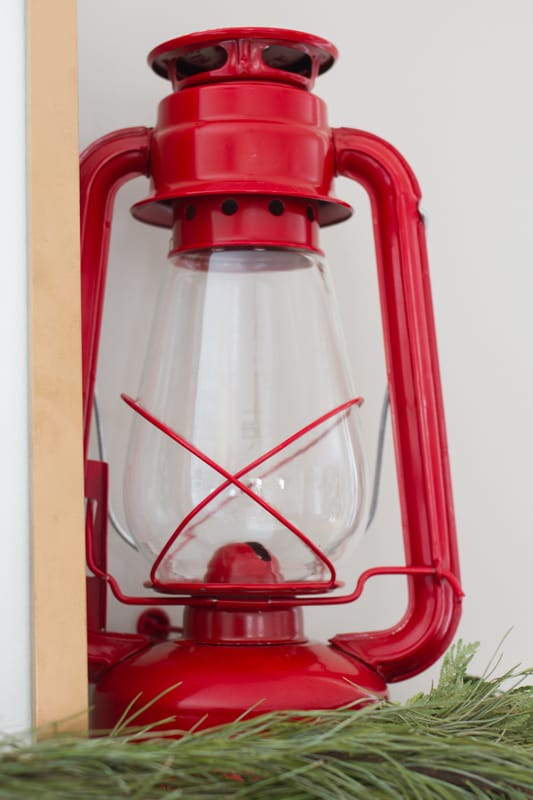
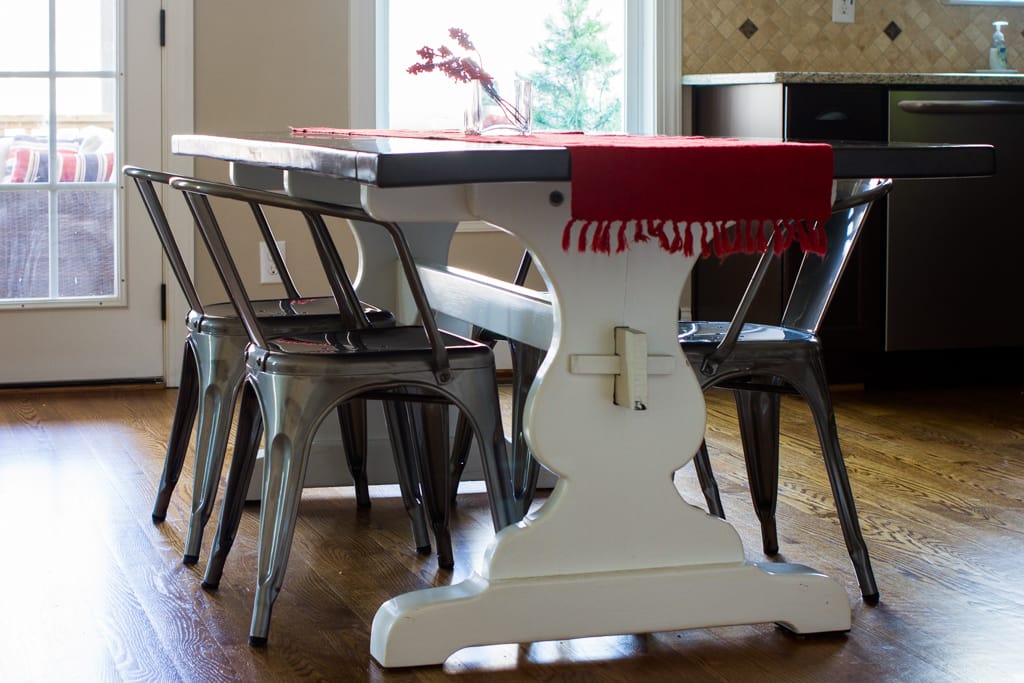
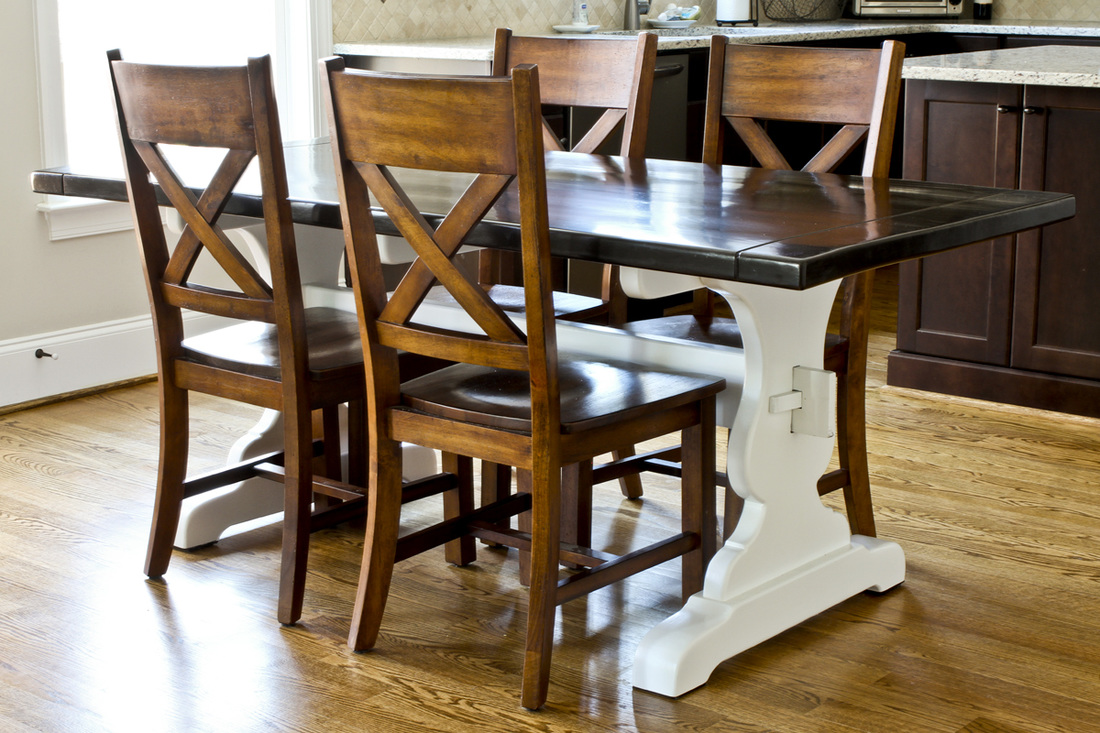
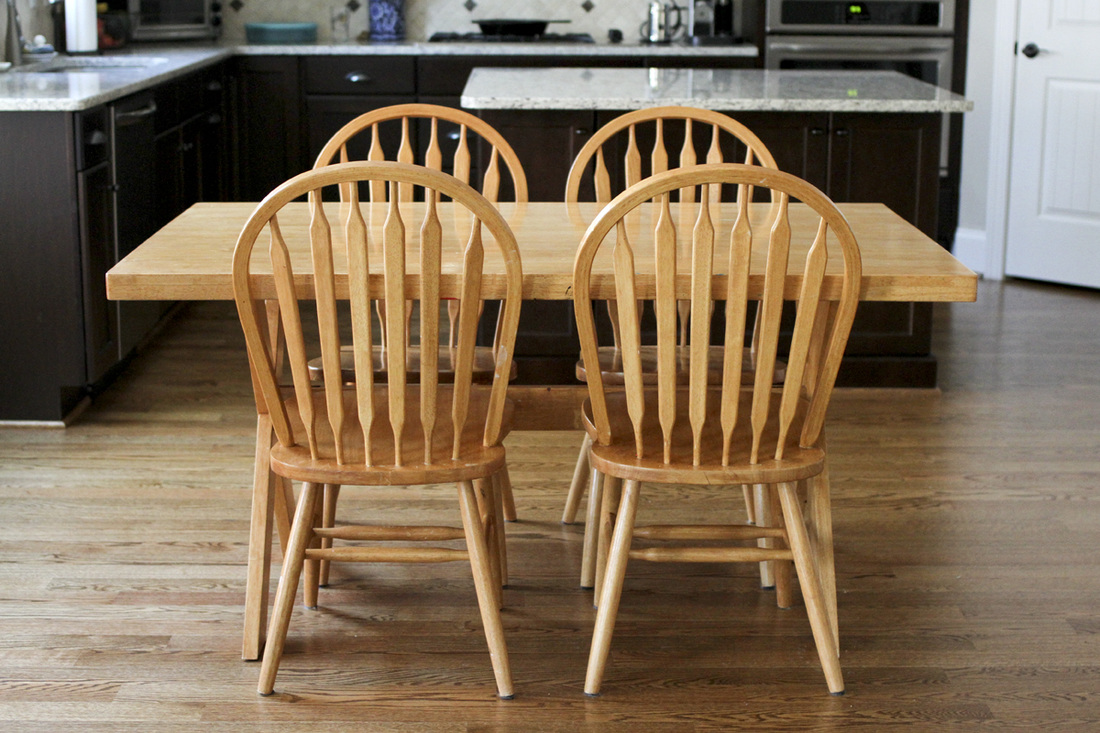
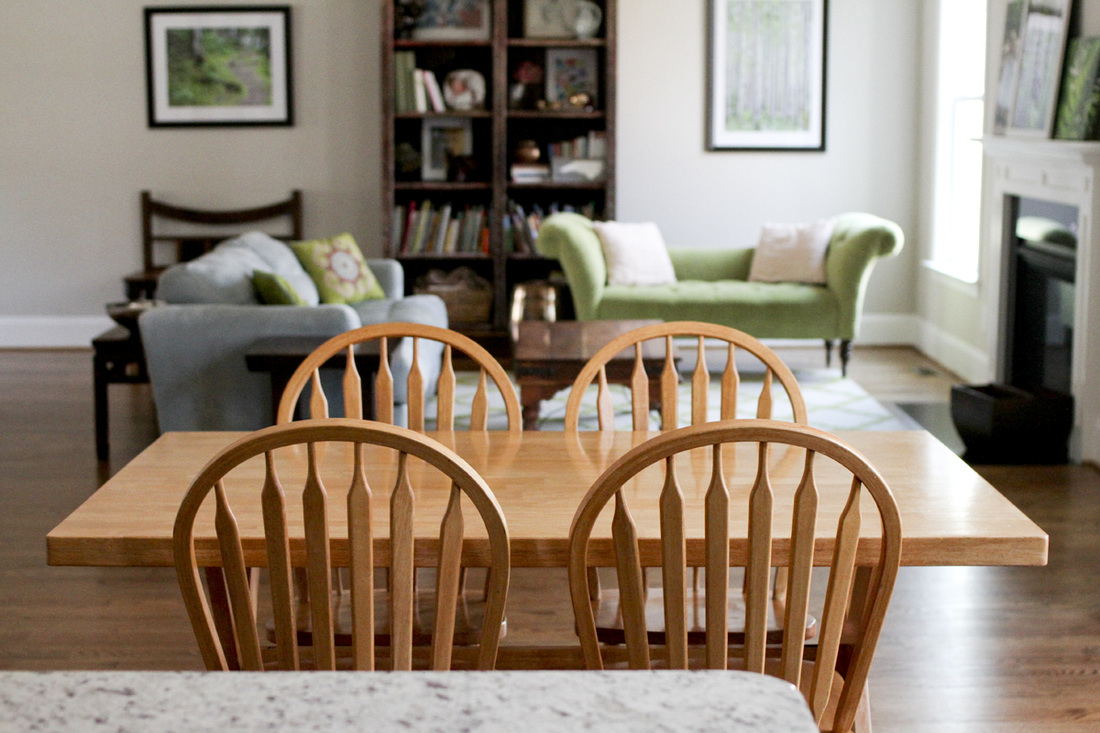
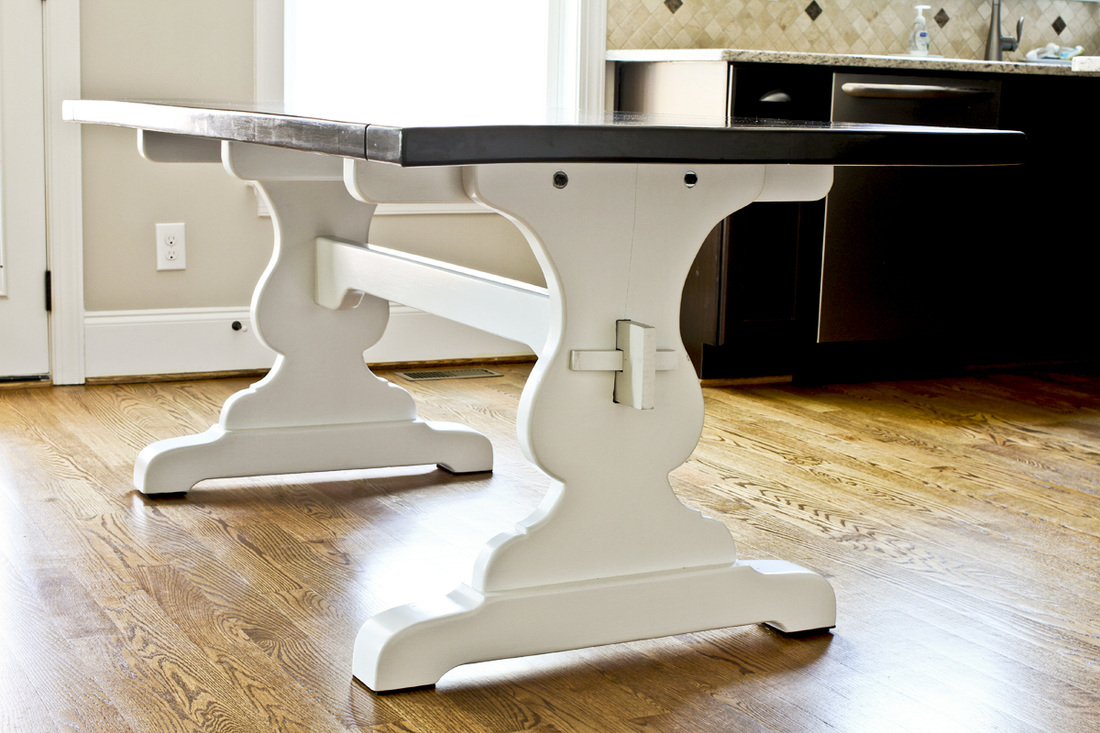
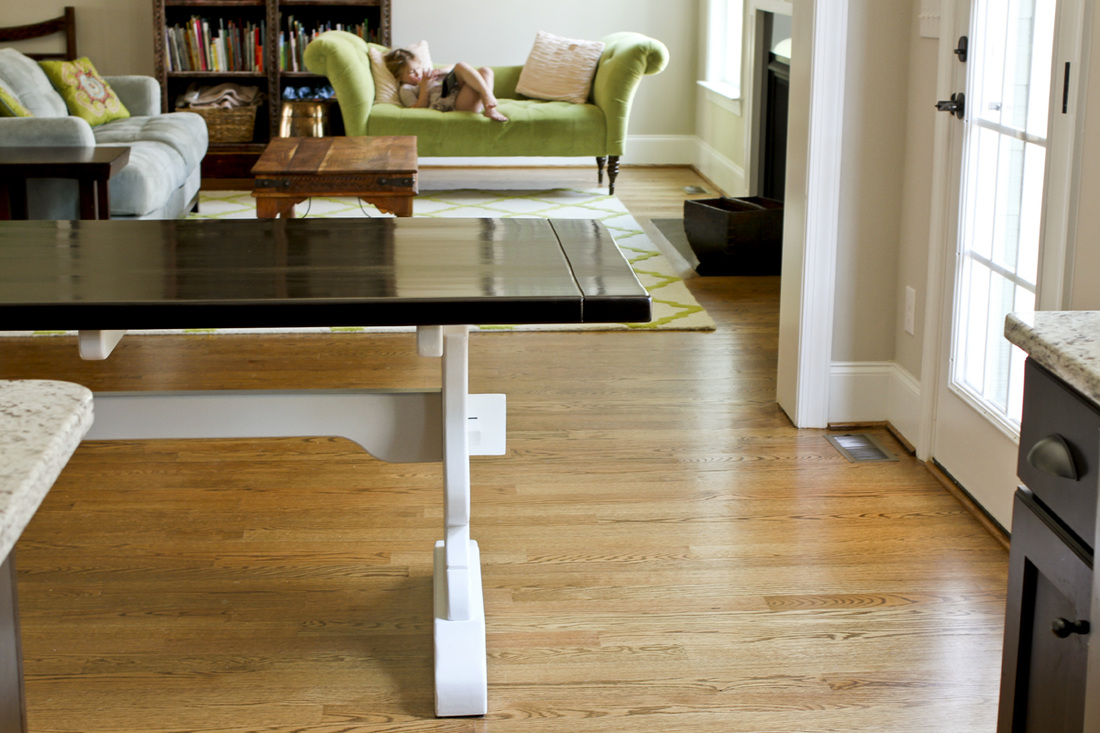
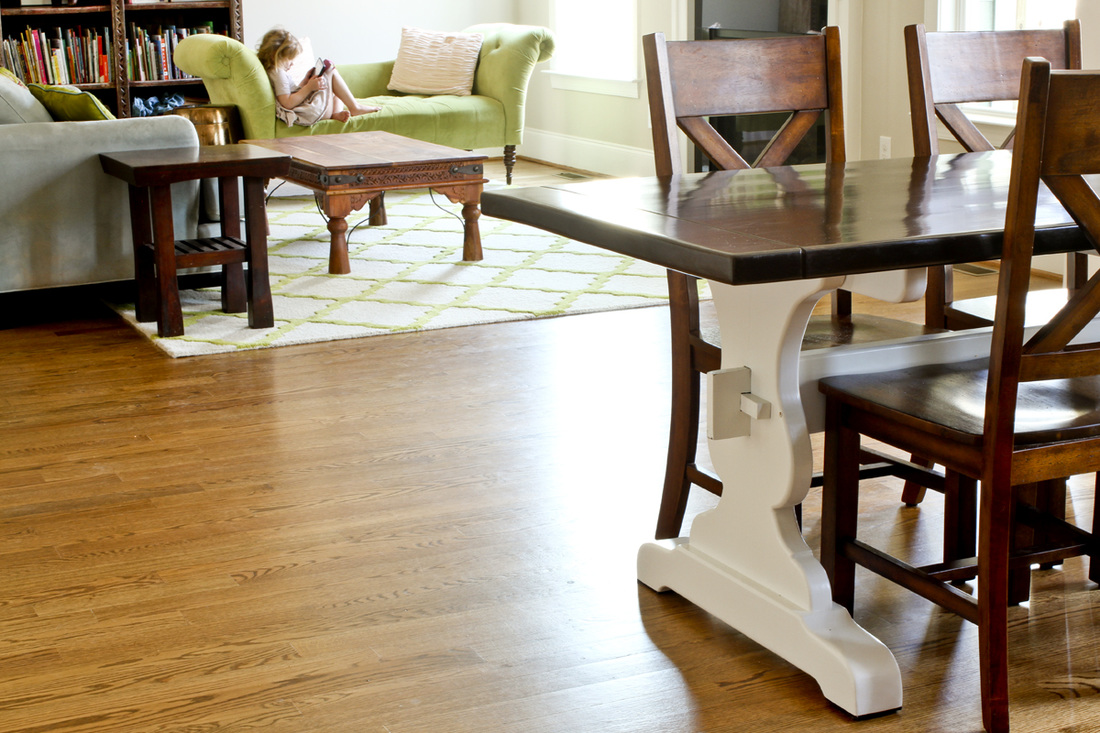
White rocking chairs Red and white plaid pillow covers White enamel bowl (also used for baby bath photos) Crate (plus white spray paint) Red berry wreath Red lantern Pinterest inspiration If you told me a decade ago how excited I would be one day to post photos of my kitchen table, I wouldn't have believed you. But here we are. And I'm oh so excited. We love furniture and artwork that represent special places and people in our lives. Enter this farmhouse table. Forty-two years ago, Jeff's paternal grandfather built the table for Jeff's parents, and it was their kitchen table while Jeff was growing up. By the time I arrived on the scene, the table had been dismantled and stored in the basement. When we moved into our new house this summer, his parents offered us the table. We trekked down to the basement and tried to imagine the table assembled and standing in the middle of our kitchen/living room. It was in desperate need of refinishing and the crossbar had a scalloped edge that wasn't to my taste, but the piece had great bones. As we debated whether it was worth "editing," refinishing and transporting eight-plus hours to our house, Jeff's parents offered to hire someone to refinish it and then they would transport it to us as a housewarming gift. Yes! A million times yes, we told them! We asked for the tabletop finish to coordinate with our dark kitchen cabinets and the legs to match our bright white trim. They hired Bruce Bartow (Woodworks by Bruce in Wilmington, DE) for the job. Last weekend, my in-laws pulled into our driveway in a rented van they had driven down the East Coast to deliver the table. It couldn't have turned out better. Now let's back up and look at our original table (below). I acquired it 10 years ago when I was furnishing my grad school apartment. I can't tell you how many articles were written, photos were edited and artwork was created on this table over the last decade. But the finish didn't match any of the wood in our house, and the tabletop had become warped; all the girls' crayons and markers would roll onto the floor as soon as they set them down. With the arrival of the new/old farm table, we retired the grad school table to the screen porch, where I'm sitting enjoying 80-degree weather as I type this post. Back to the farmhouse table. I can't wait to see all the little masterpieces the girls make while sitting here. (Can you spot my sick little assistant?) We pulled some of our dining chairs in to use with the table for now, but I plan to order a set of galvanized or gunmetal chairs as soon as I narrow down my search. I'll post an update when they arrive. Click here for more Around the House posts.
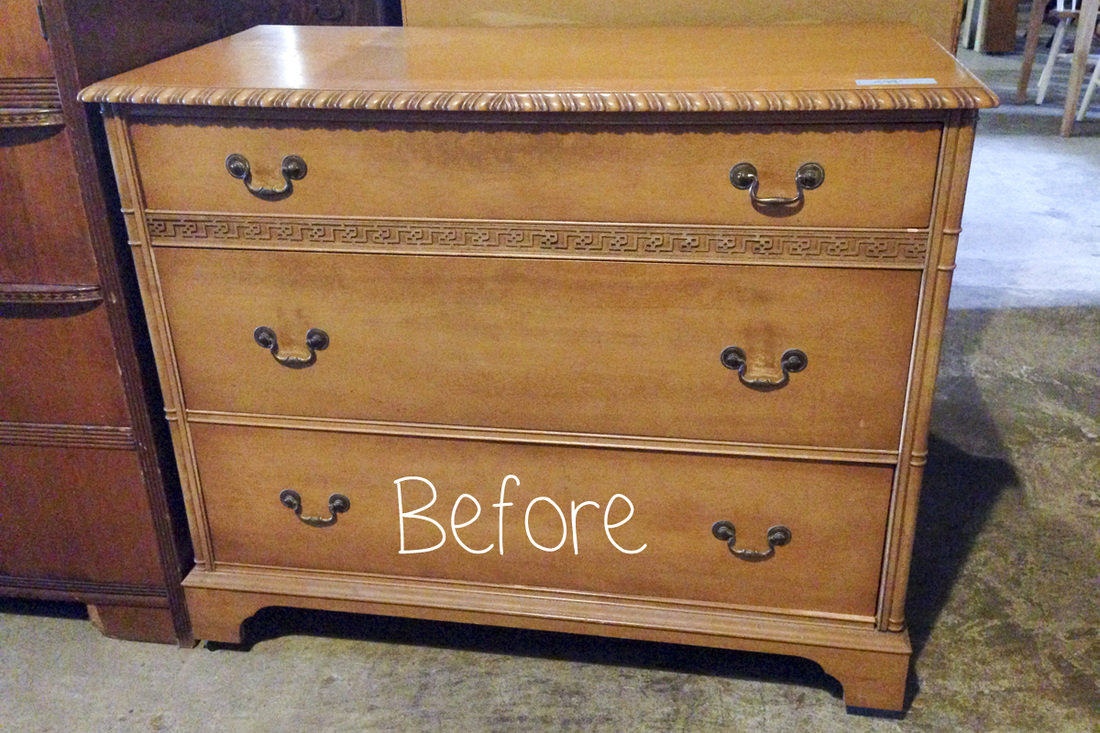
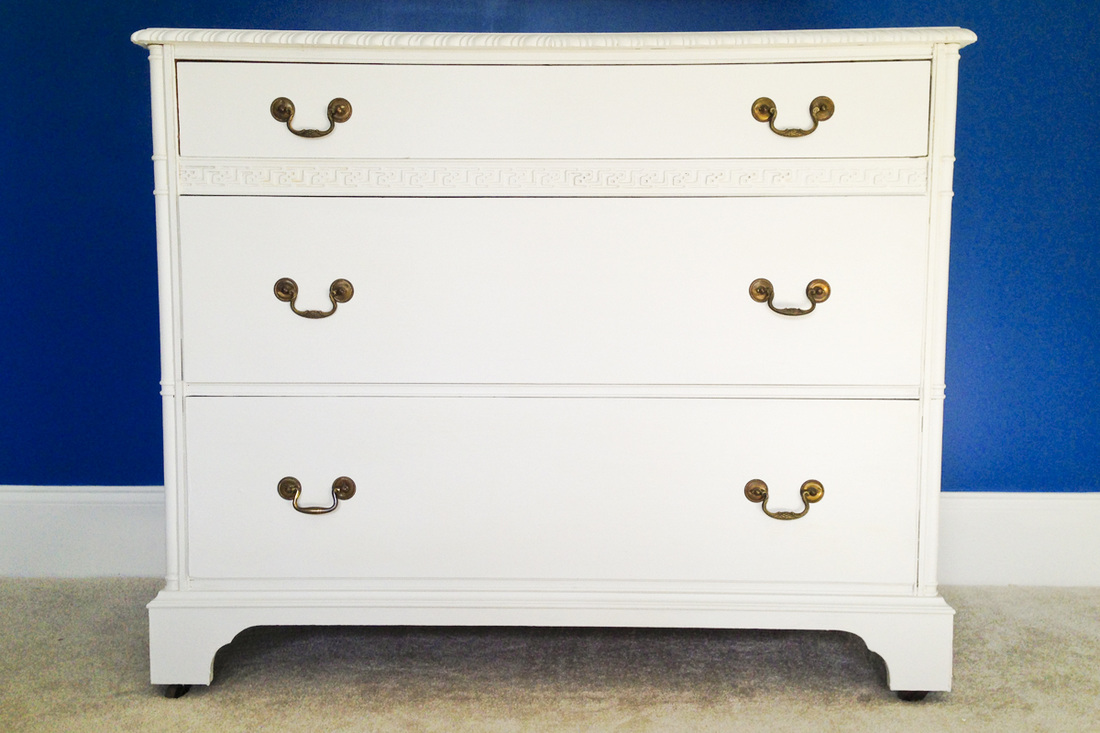
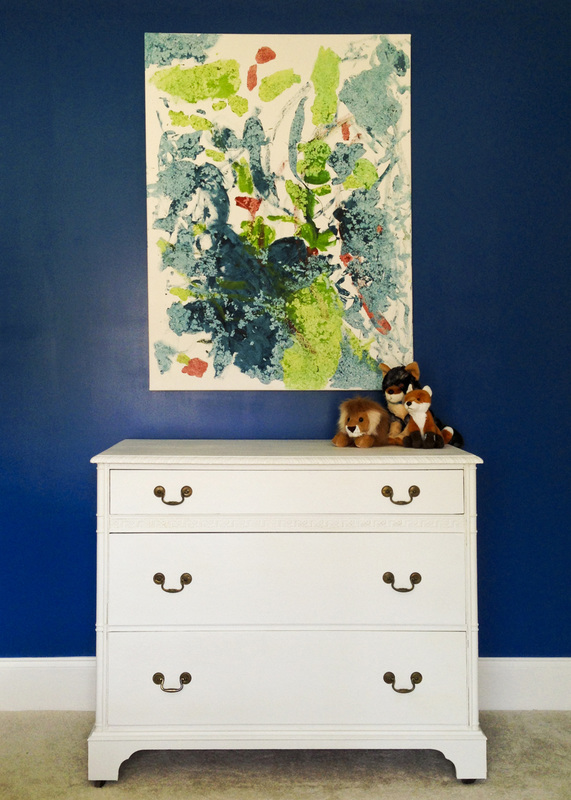
We've refinished a dresser for each of our kids and hope these unique pieces will last their childhoods. Perhaps they'll even hold up long enough to be passed to their own kids. Each dresser came from a crazy secondhand warehouse in Raleigh called Shelton's Furniture. You can find the first dresser here and the second here. Jeff painted the white dresser, and we actually found a guy to finish the blue one for just $100. Who could say no to that? Since sanding is annoying in general and terrible during pregnancy, I decided to try my hand at chalk paint for the first time. The original brand, Annie Sloan, is expensive and a hassle to find, so I tried Rust-Oleum's new product, which is almost half the price and available at Home Depot. Mistake! I do not recommend it. Somehow brown streaks kept appearing after the paint dried no matter how many coats I layered on. I'm not sure if it was the interaction of the paint or clear finish with the stain underneath or what, but I won't be buying this product again. There are still a couple small brownish spots that I think I'll go back over with a white wood paint marker. That said, I will definitely use chalk paint again in the future. It's probably worth the extra cash and time to get Annie's though. Voila the after shot: And here's a little sneak peek of one side of the nursery. Wall paint by Jeff (Benjamin Moore's Blueberry), chalk paint dresser by yours truly and beautiful 36 x 48-inch artwork by my favorite creative duo, Cricket and Nora. They painted this picture about two years ago, and we hung it in the dining room of our previous house. They loved the idea of placing it in the nursery as a gift for the baby.
It's been a while since I've posted anything under the "Around the House" category, but I have a few ideas to rejuvenate it. Our new house sits on a beautiful wooded lot packed with a variety of trees and wildlife. I haven't had much time to explore yet, but I thought it be fun to share what I find throughout the different seasons.
Fall color is variable in our area of North Carolina. Some years the leaves disappear after subtle changes. Some years the trees provide bright color but stagger it across several weeks, so we don't experience a true peak. And then other years are spectacular, like what you'd find up north. (It's hard to compete with the fall colors of my childhood in Minnesota.) The week before Cricket was born five years ago was the most beautiful fall I've experienced since living here. I won't ever forget it, since I spent that week walking and walking and walking around the neighborhood trying to convince her that it was time to make her big debut. I have high hopes for fall color this year. As you can see, we're off to a splendid start. |
My new book is out! Click to learn more about it.Hello thereI'm Julia Soplop, writer and photographer. I believe there is something profound in bearing witness to moments of joy and pain in others’ lives. My husband, three girls and I live outside of Chapel Hill, NC. You can read more about me here.
Snag my new photo curriculum for kids!Categories
All
Popular posts |

