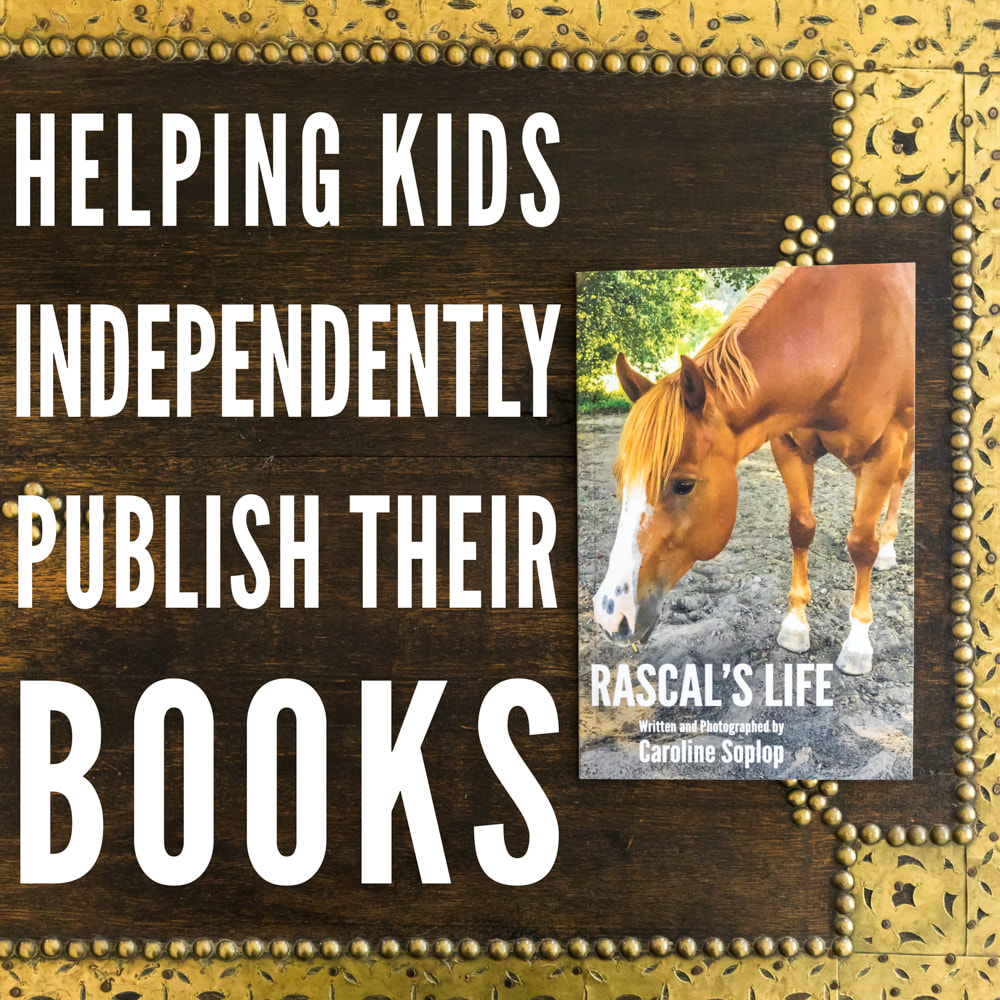
 In my first post of this series, I wrote about the writing, workshopping/editing, and formatting process we've used to help my kids create books to print in hard copy for themselves. In this post, I'm sharing how we took Cricket's book, "Rascal's Life," to another level by independently publishing it. (Side note: if you want to make an 8-year-old's day, please consider purchasing Rascal's Life for your kids. Cricket, who thought it much more authorly to go by her real name, Caroline, will receive $2.20 in royalties per copy. She says she will likely spend the money on the real-life Rascal. No surprise there.) If you're just joining me, I suggest you first read the previous post in this series. Once you're caught up, come back here and read about the publishing process. The great news is that as long as you have access to Word to format your document, you can publish a book. 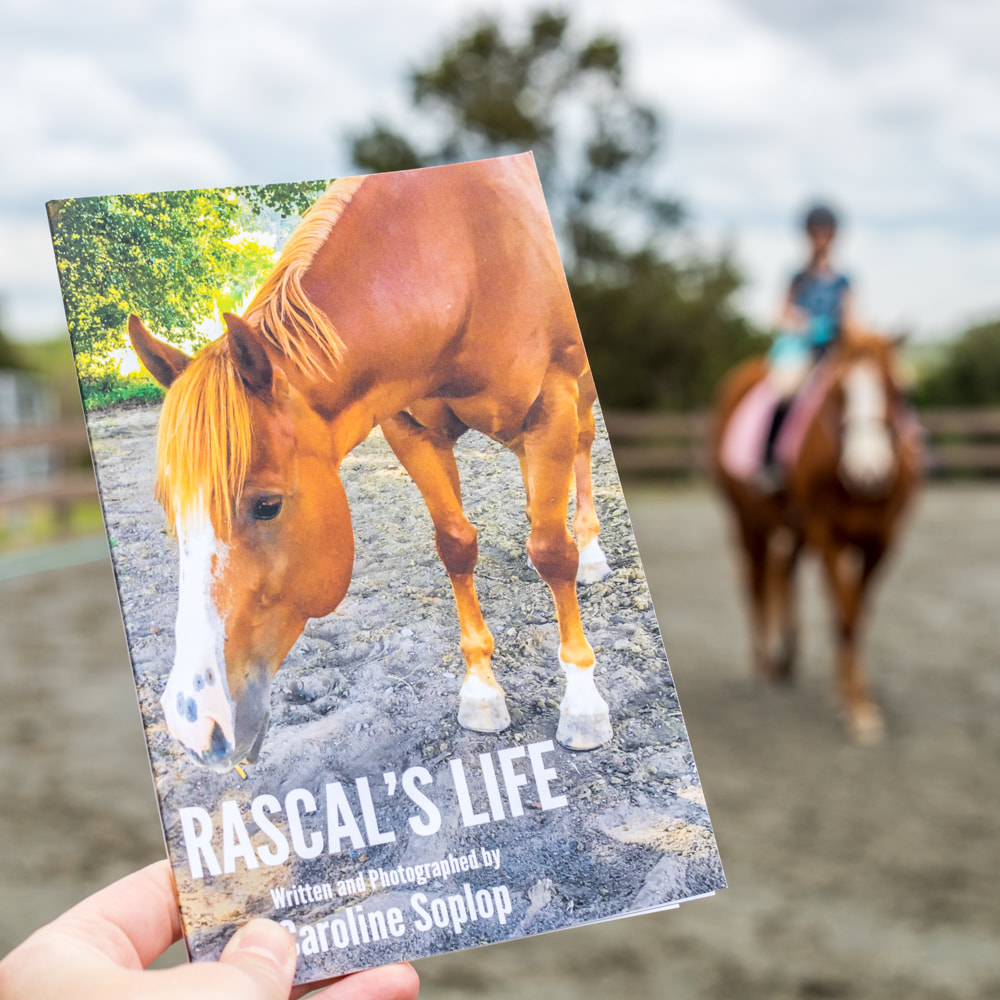 Independent publishing (also known as self-publishing) is a fantastic and empowering way to put work out there, for both adults and kids. Many successful authors now prefer independent publishing over traditional publishing houses, because publishers offer substantially less assistance and marketing support than they used to. I published my intro photo course for kids this way and will likely go the same route with the nonfiction book I'm writing, so I can maintain complete creative control and put the book out on my own timeline. Independent publishing may also be the most viable option for the publication of most writing by kids.  Since there are many platforms for independent publishing today, I sought the advice of a highly successful indy author in deciding which to use. He recommended what is now Kindle Direct Publishing (KDP), the platform he's used to publish several books. Amazon recently bought this platform, so you can sell your work directly on Amazon (with Prime shipping, no less). There are no upfront fees to use the service. Your royalties are a percentage of the price you set, minus the printing cost, depending on which distribution option you choose. You can publish paperbacks and Kindle books. KDP prints books on-demand when someone places an order, and you can unpublish your book at any time. This process appeals to me for my kids' books, because if they turn 20 and decide they no longer want to sell the work they published as 8-year-olds, they can simply unpublish the books and no new copies will be printed.  I won't get into specific details of preparing your manuscript, because KDP has numerous tutorials available. Use them. But I want you to see that the process is manageable. Here's the general process:
Independent publishing takes some elbow grease, but it's accessible and doable. Your kids can put their work out into the world, and so can you. Share your publishing successes with me! In my next post of this series, I'll share how we celebrate a newly published book in our family.  This post reflects my own personal views and experiences and is NOT sponsored by KDP. 
0 Comments
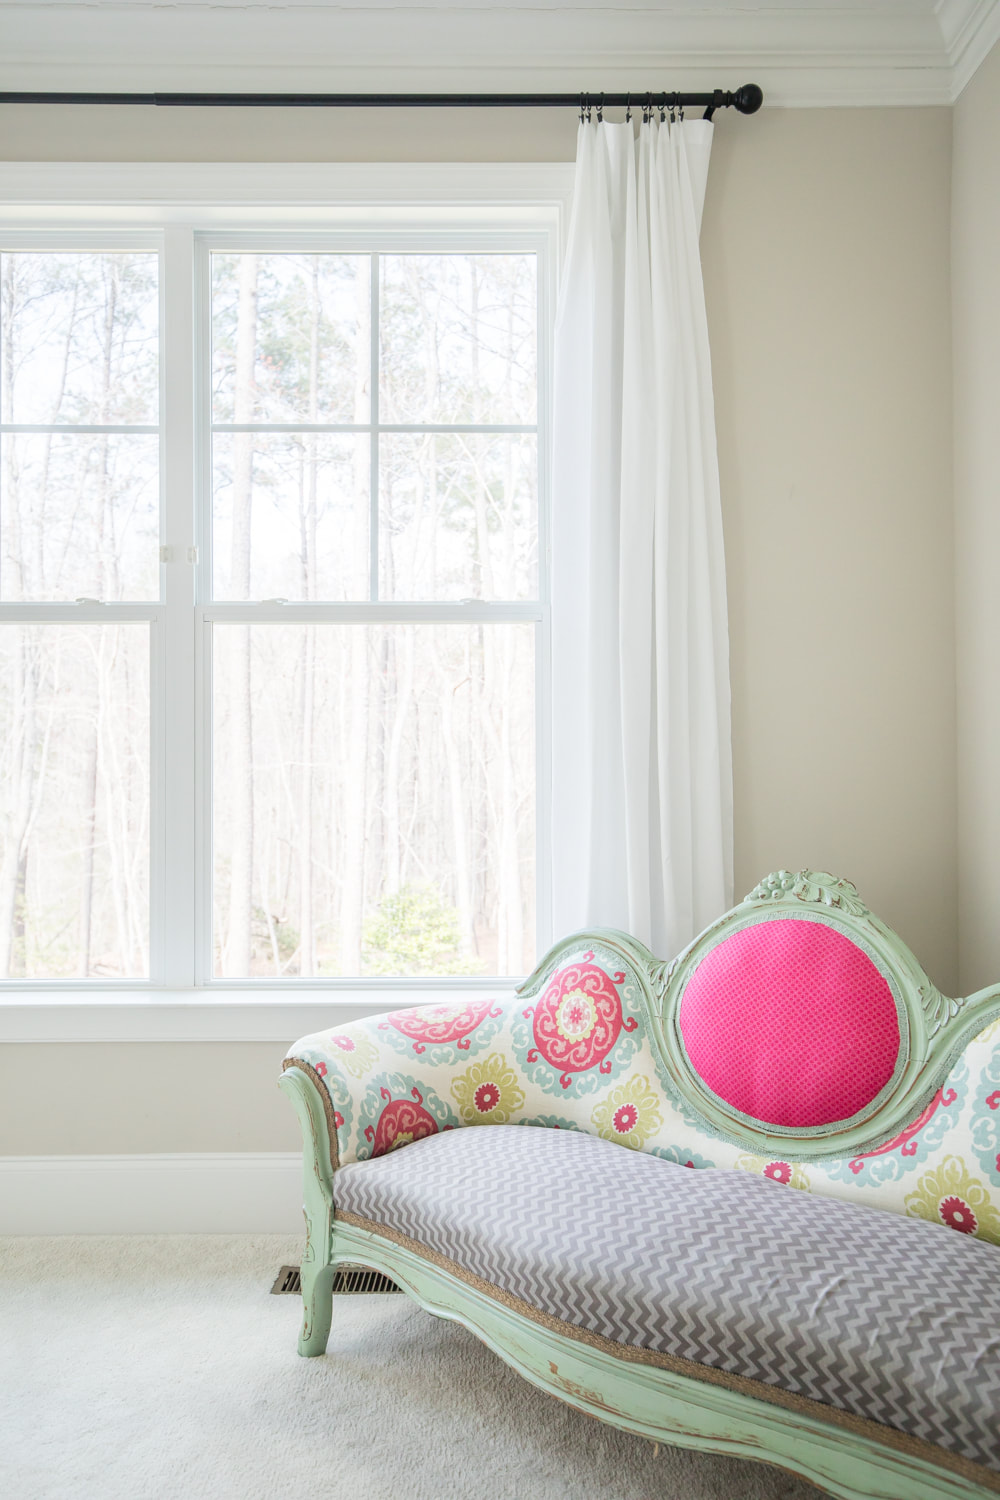
 No, this blog isn't just about curtains anymore. But after the response to my previous post about $7 curtain panels, I couldn't help sharing one more variation. At 10 feet, our living room ceiling is slightly higher than our bedroom ceiling. I wanted to find longer panels than the ones I used in the bedroom to add height and brightness to the north-facing living room. (I was also dying to hide the insane number of outlets and switches surrounding the fireplace.) Here are the before photos of our living room: 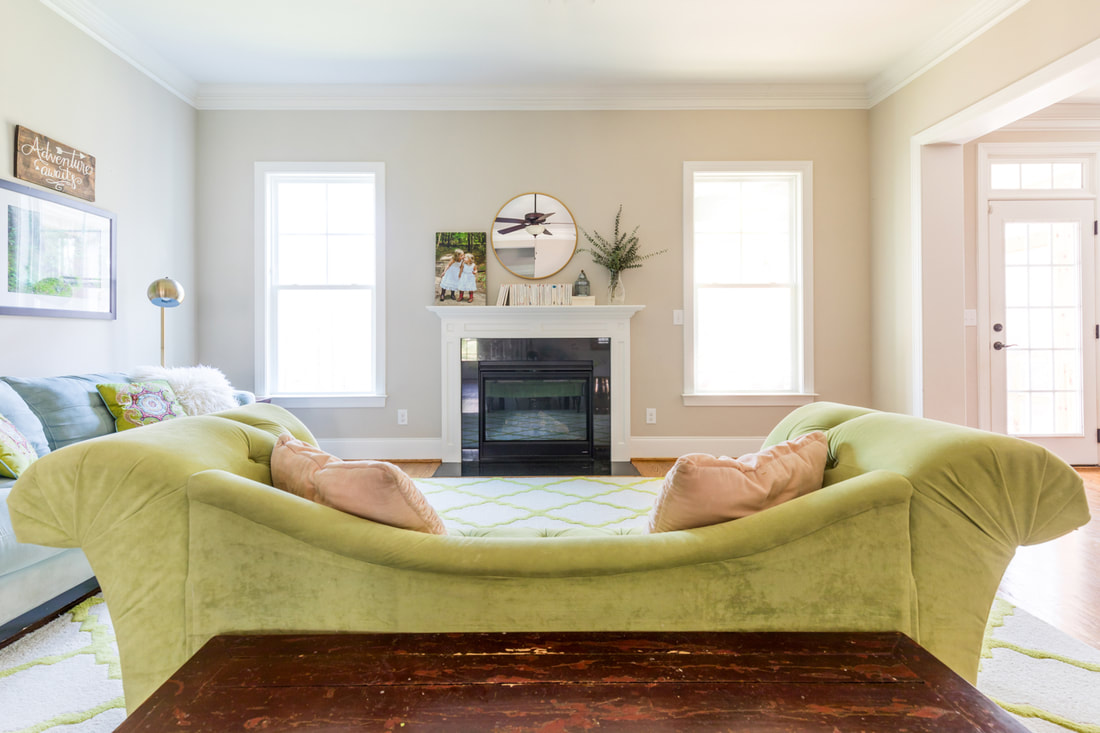 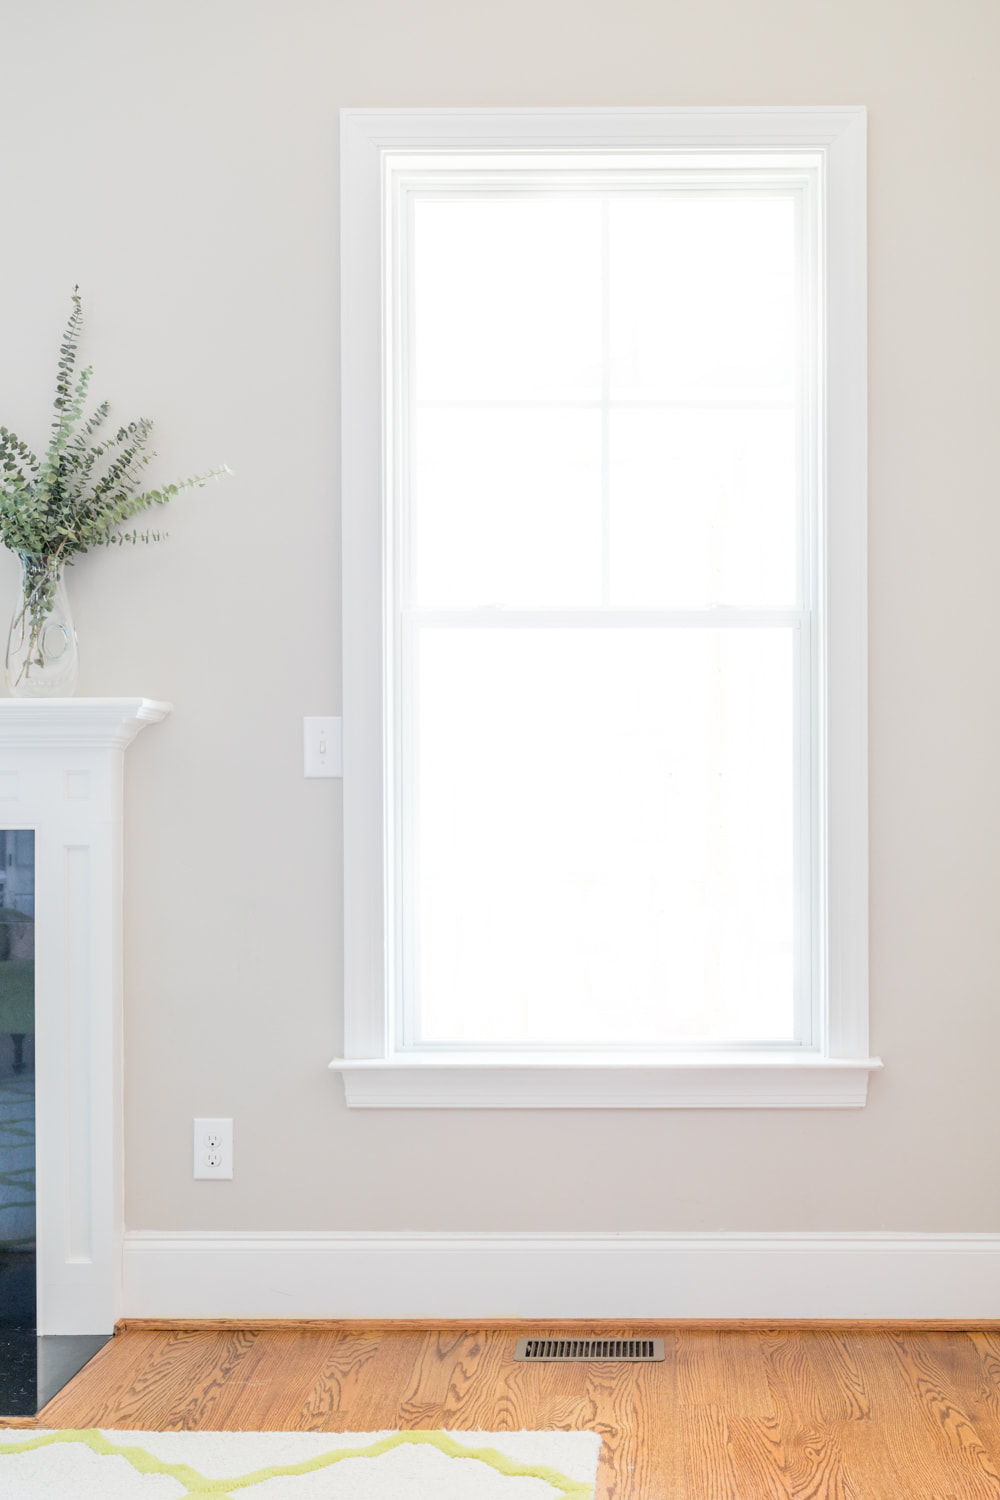 The secret is these curtains aren't actually curtains; they're these XL queen sheets. I paired them with this rod and these clips. The full window treatment cost under $50 per window! (Note the sheets were listed as 110 inches long, but once I washed and dried them on low, I measured them to find they were 107 inches.) You can find my tips for hanging curtains for maximum impact here. I wanted to add height to this room by hanging the rods close to the ceiling but didn't want to hide the pretty, thick moulding. By hanging them a few inches below the moulding, both the interesting rods and the moulding are still visible. These curtain panels and hardware are an affordable way to complete any room. Let me know if you try them out! 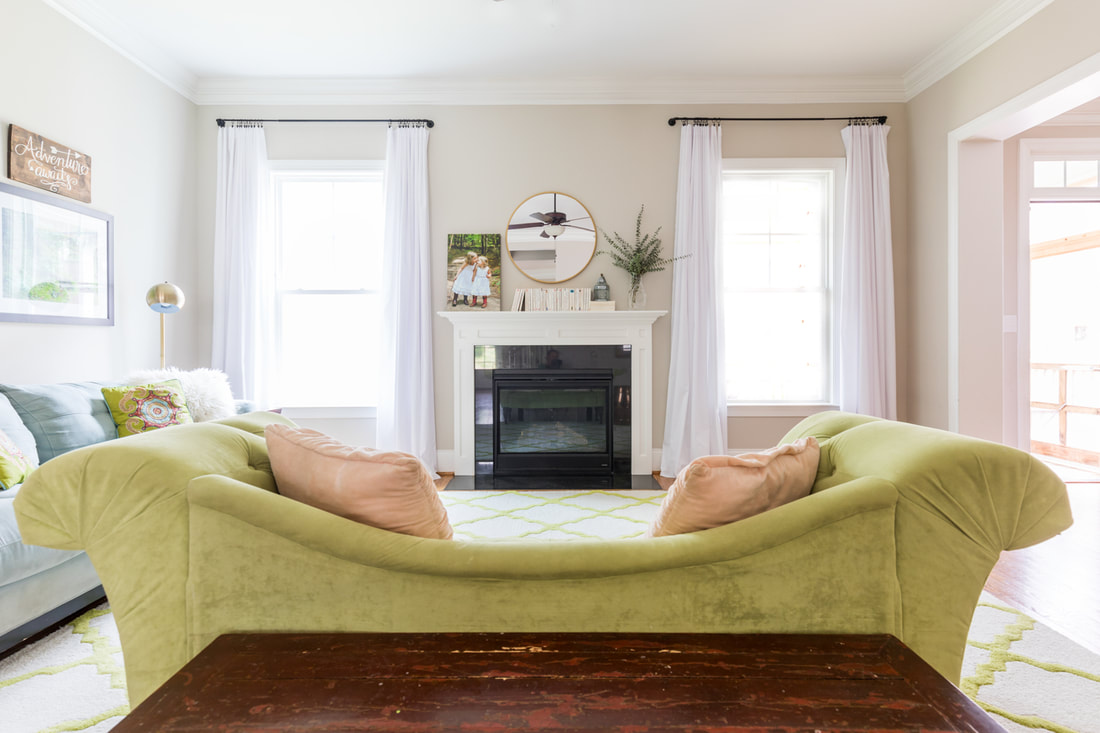     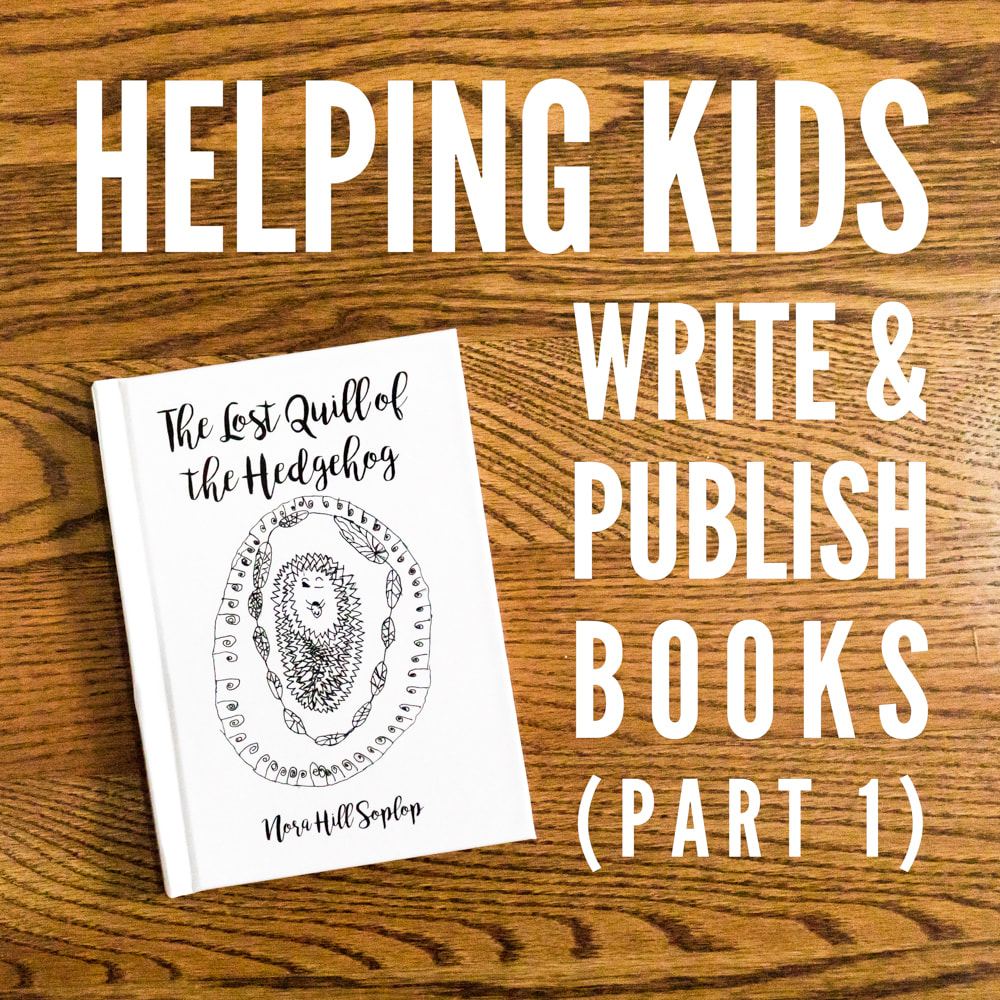
We just wrapped up one of our favorite activities of the homeschool year: a book-writing workshop. Can you imagine the joy and pride in the girls' eyes when their printed books arrived in the mailbox?
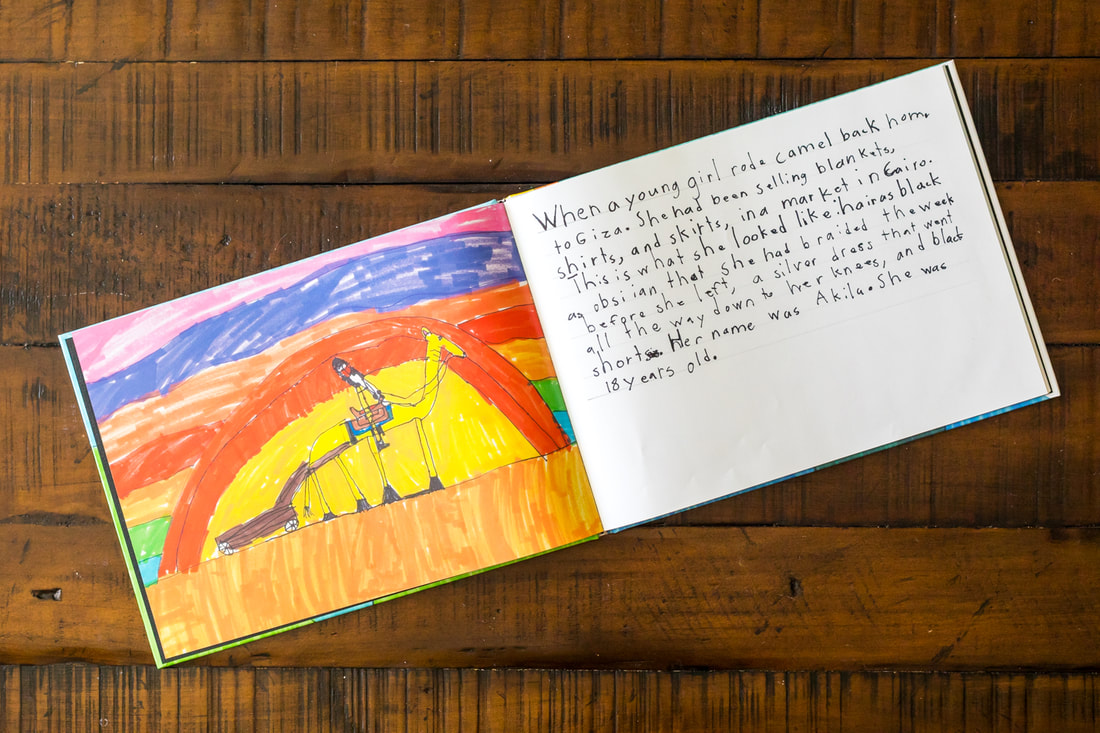
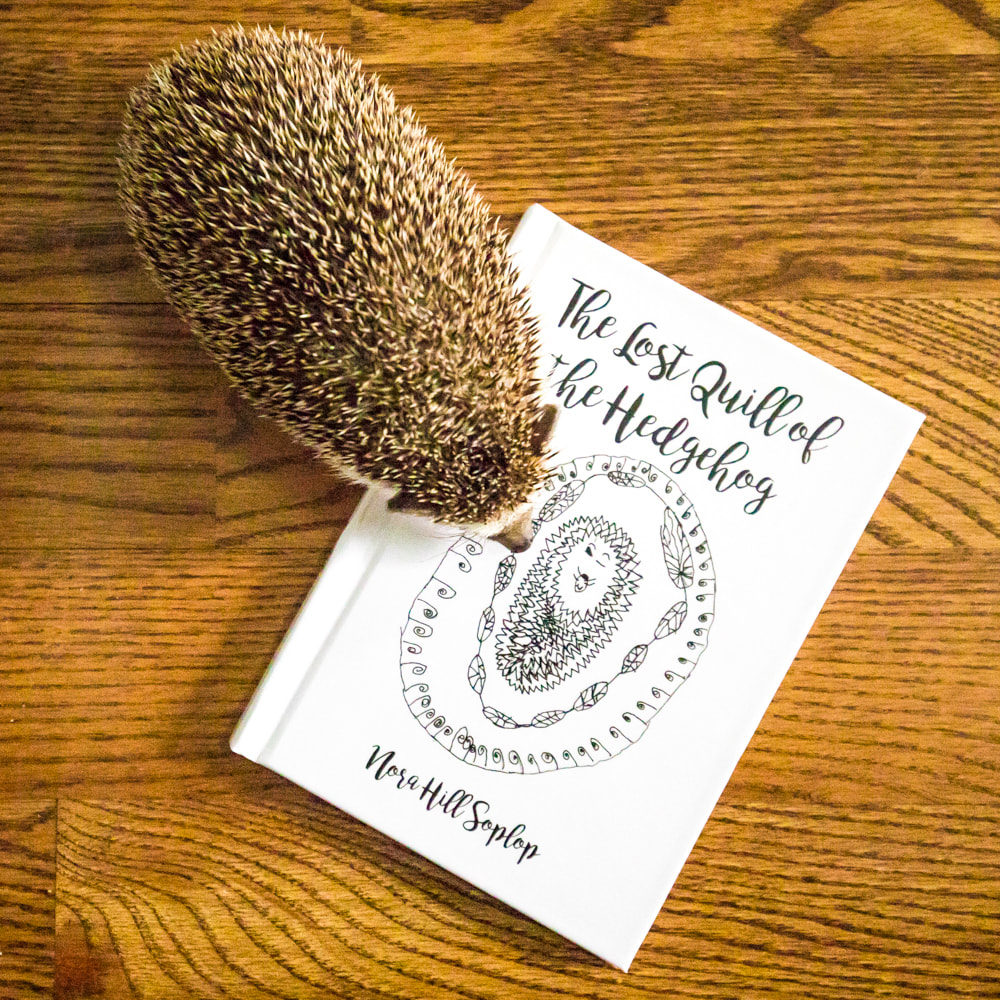
I've gotten a lot of questions about how we put the books together, so I thought I'd share our process. In this post, I'll describe the writing, editing, design, and printing methods we used for the books we wanted to print hard copies of but did not plan to actually publish. In the next post of this series, I detail how we went about independently publishing Cricket's book, which is now available on Amazon. Pulling together a book is no small task for the child or the parent/educator/editor, whether you plan to publish it or not, but it's so worth the work. Why? Three reasons: 1) a book is a literal, physical, understandable representation that you can achieve an overwhelming goal by breaking it into manageable pieces and dedicating hard work to it; 2) a book shows kids their ideas and work have value; 3) telling kids they have to study grammar, spelling, mechanics, and literature in case they need them for their careers when they're 40 means nothing, but a finished book product shows them that with those elements, they're capable of producing meaningful work now. Last year, Cricket wrote and illustrated a picture book. This year, Nora wrote and illustrated a short chapter book, and Cricket wrote and photographed a short chapter book. Our process happens in three phases: freewriting and re-writing, workshopping, and formatting. 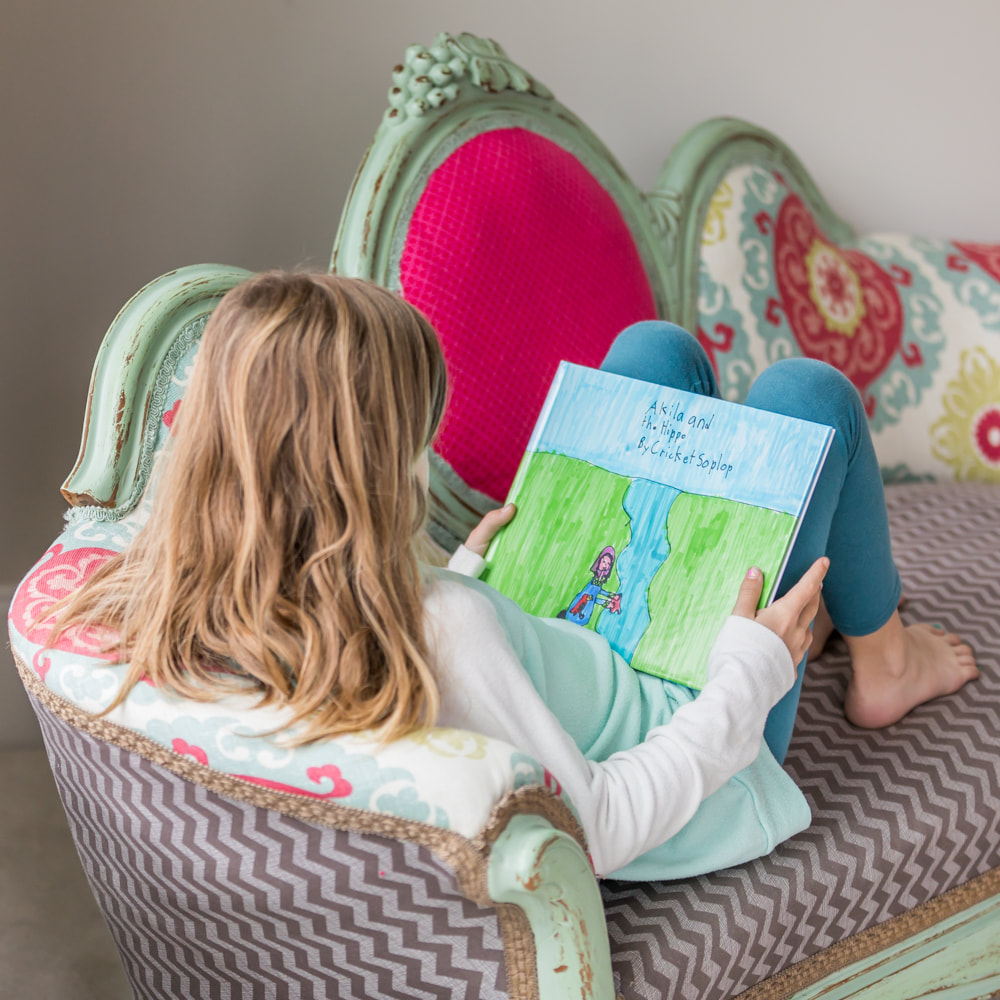
Freewriting (and re-writing)
Workshopping
Once they completed a draft of the story (I put no time limit on them—a project like this is done when it's done), we began to work through the editing process together. I've done this part in two different ways.
Formatting
For the books we wanted to print to have copies for ourselves but not to actually publish, I used an online photo printer, Snapfish, and put them together as hardcover photo albums. There are plenty of inexpensive photo printer companies, but I liked that Snapfish allowed us to choose from several different sizes and gave us control over the page design.

Odds and ends
The formatting for Cricket's published book happened a little differently, and I explain that process in my next post. When the books arrive, we make a big deal out of them! A shiny, new, complete project is a big deal, whether it's technically published or not. (And legally, if I remember correctly from graduate school, if at least three people read something, it can be considered published regardless of any formalities.) We also throw a "Book Release" tea party, which is a blast and I'll tell you about in another post. I can't encourage you enough to build a book-writing workshop of some sort into your curriculum. Sure, I may be biased; I'm a writer after all. But regardless of their interests and skills, all kids need to learn to communicate effectively and break overwhelming projects into bite-size portions to succeed. Plus your heart will explode when you see how proud they are of their finished products. 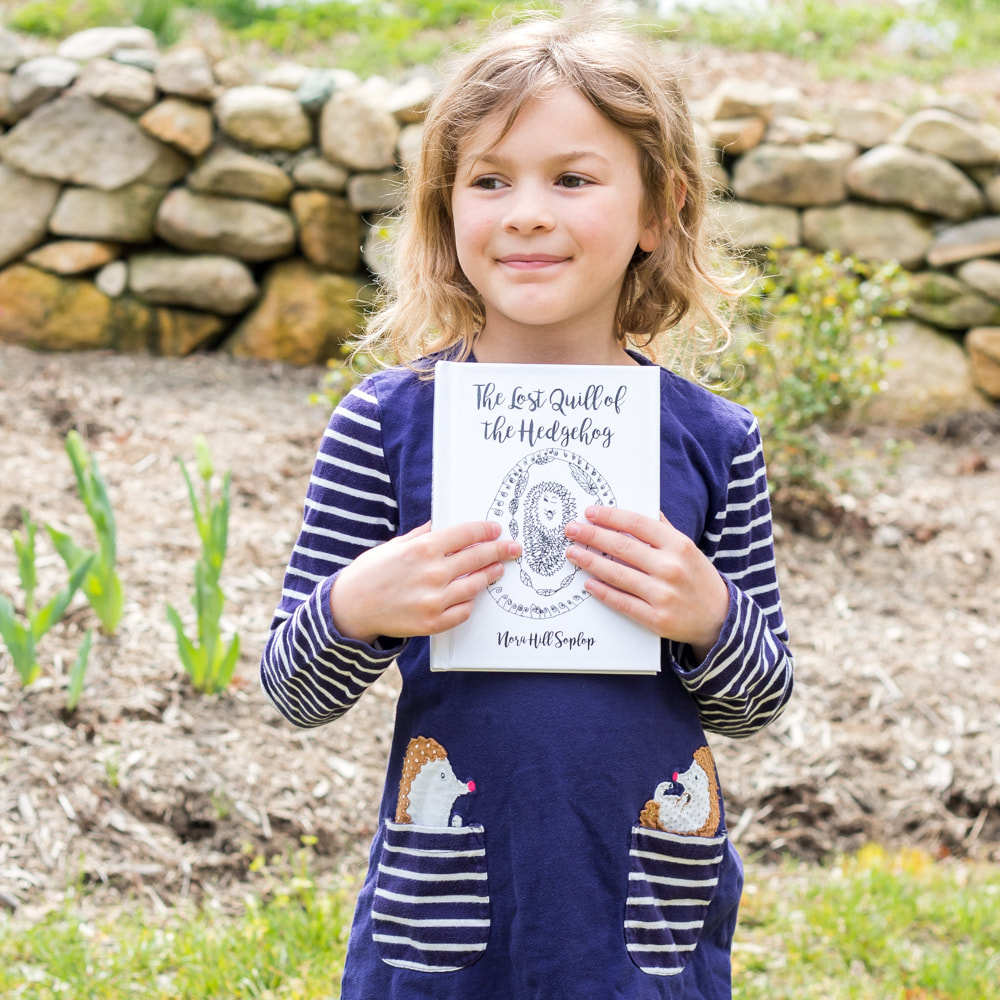
Learn about my intro photography curriculum
Documenting Your World Through Photography: An Introductory Course for Elementary and Middle Schoolers Book lists: Around the world East Africa (Part I) East Africa (Part II) and Central Africa North Africa (Egypt) Southern Africa West Africa The Arctic Antarctica  I'm not ashamed to admit I have a nearly pathological inability to pay for things I could make myself or find elsewhere for less. Even so, I'm almost embarrassed to share this find. Why? Because I sort of want to use these glamorous curtains to trick people who come to our house into thinking I've moved passed my pathological ways. Alas, my condition also makes me feel the need to share my decor secrets with others who suffer from the same affliction. So I'm laying bare my taste for $7 curtains for all to see. Here are the before photos of our bedroom sans curtains. (These photos appeared in my Design Mom home tour last spring. Still swooning over that experience.) 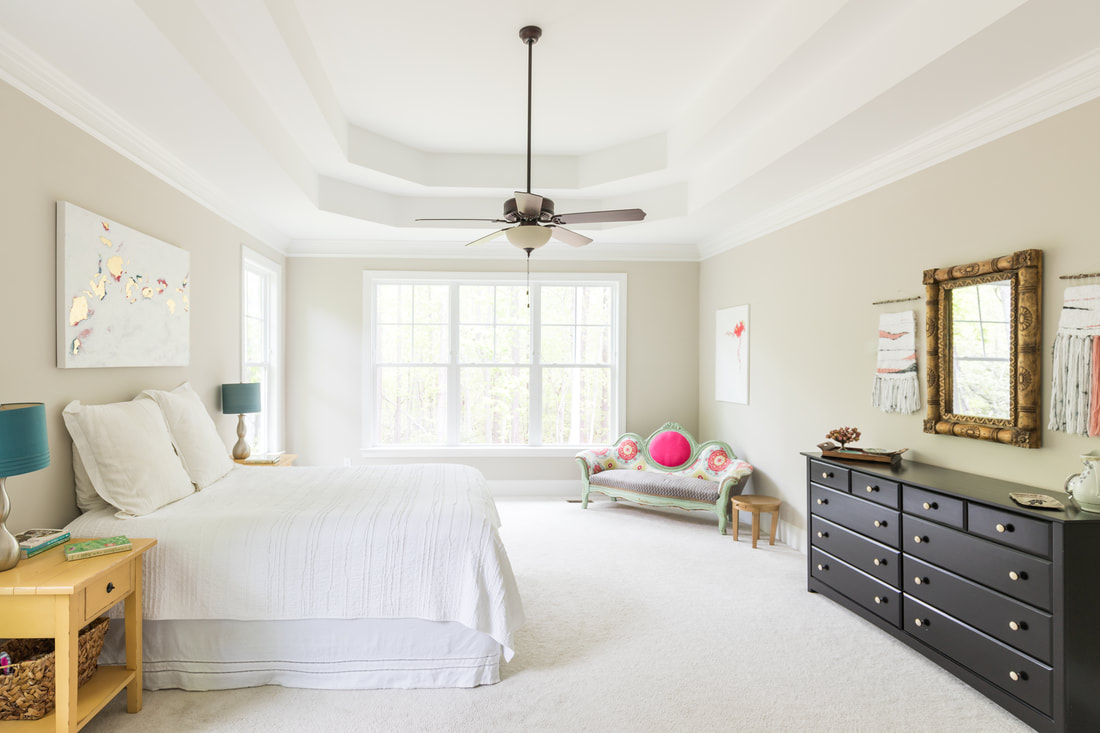 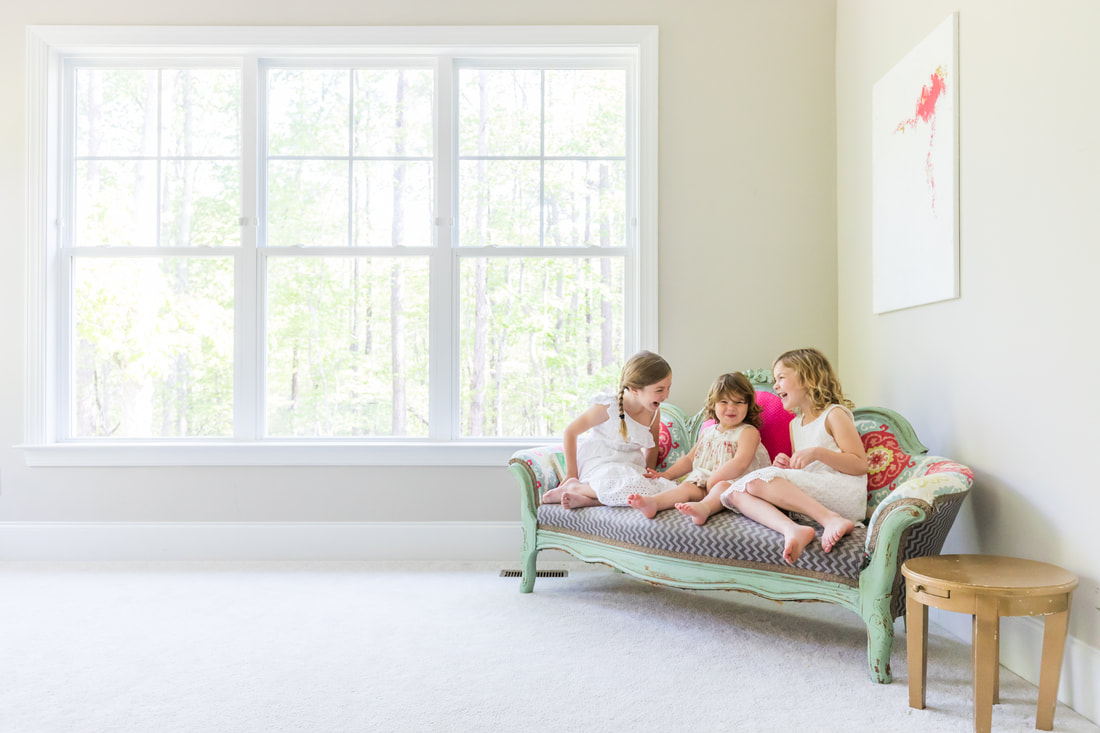 Here's the room with my $7 curtain panels. Now the dirty little secret is...they aren't actually curtain panels at all. They're these extra-long twin sheets, which come in a pack of six. Their weight is somewhere between a sheer and a traditional drape, so they’re perfect if you want a light, airy curtain but not if you need substantial privacy or black-out shades. 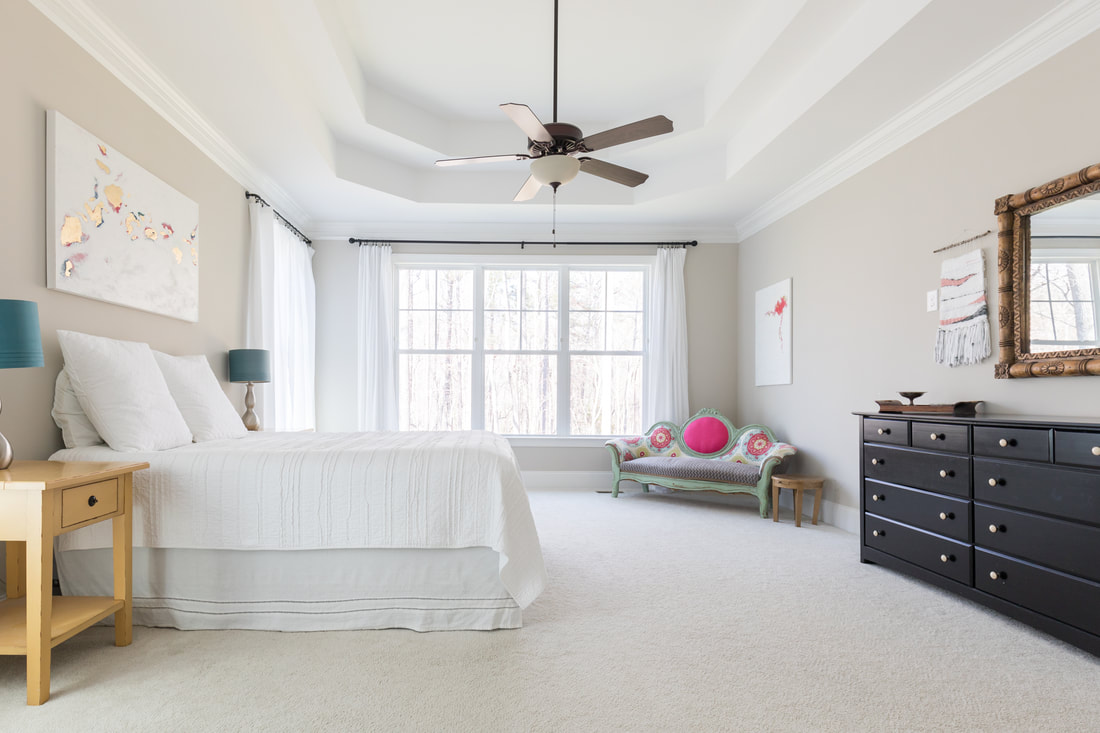 (No sweet models on the sofa this time.) For the wide window, I paired them with this classic curtain rod. 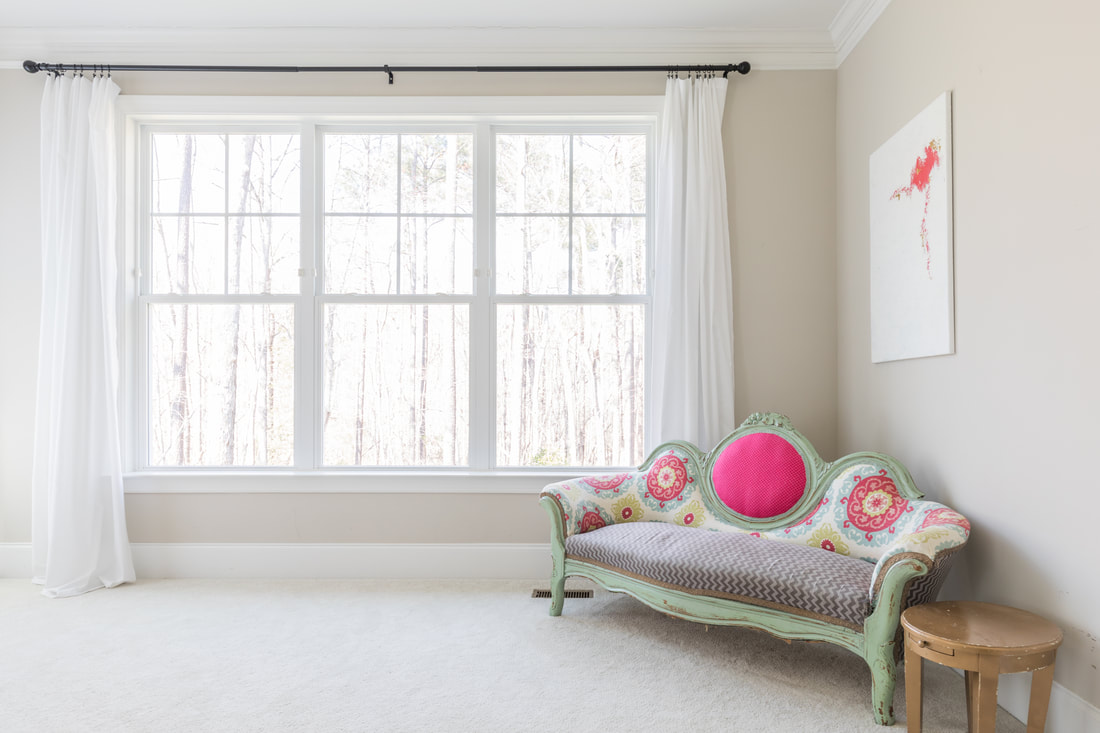 For the single windows next to the bed, I used this curtain rod. (I especially love this one and will be using it for living room curtains, too.) While the curtain rods are thin enough to slip through the top seam of the curtain, I chose to attach them using these clips both for aesthetics and to make it easier to slide the panels.  TIPS FOR HANGING CURTAINS FOR MAXIMUM EFFECT
Point-and-shoot cameras seem like a relic of the past now that most of us carry smart phones, don't they? I imagined my kids would learn photography using my phone, then move on to a basic DSLR in a few years if they really caught the photo bug. But they had other ideas.
After a few months of sharing my phone to take photos as they slowly started to work their way through my intro photography course for kids, they wanted more independence and asked for their own cameras. I heard them. And I'll do just about anything to encourage them to live creatively and independently. The point-and-shoot camera still serves a purpose after all! 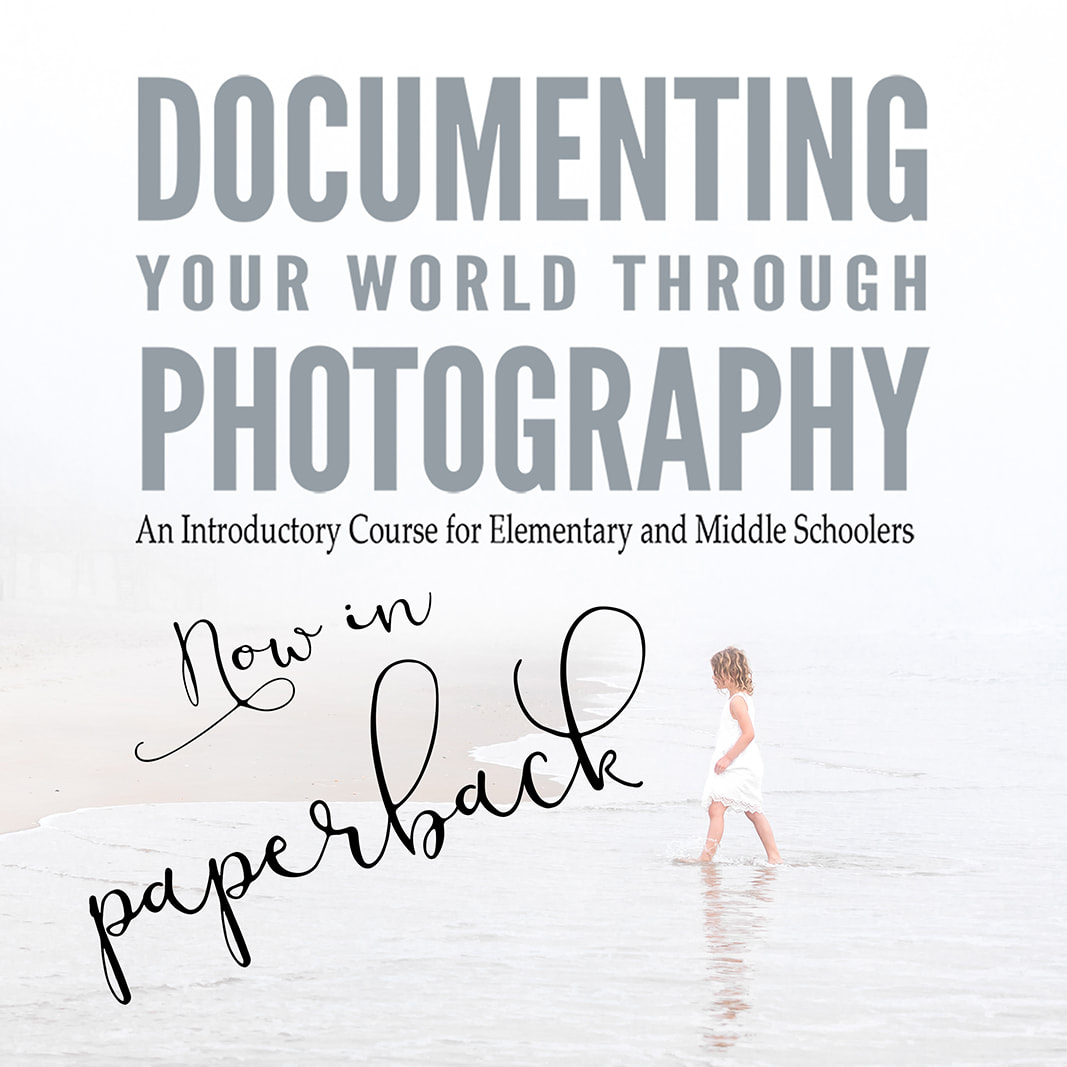
The girls had proven their genuine interest in photography, so we decided to get them each a basic point-and-shoot for Christmas. They're only 6 and 8, so we didn't want to buy something expensive they'd drop in a mud puddle or leave behind at the museum.
You can spend as little as $40 or more than $300 on a point-and-shoot camera. I bought two different cameras in the $40-50 range and promptly returned them. They were terrible. And by that, I mean it was impossible to take a photo in focus on these cameras. I thought maybe the blurry photos were a result of the girls' unsteady hands until I tried the cameras myself. Despite 30 years as a photographer, I couldn't take a focused photo on either of these cameras to save my life. On my third purchase attempt, I finally found a decent camera for $80: the Nikon COOLPIX A10. (If you buy this basic camera package, you'll also need this type of memory card, AA batteries, and a cable to connect it to the computer. Or you can purchase it in a bundle like this, though you still may need to buy the cable separately.) The shutter release of the A10 allows you to press halfway down to focus before continuing to press all the way down to take a shot, which is essential in taking a sharp photo. Here are some pros and cons of the camera: Pros: It's 16.1 megapixels and takes beautiful, sharply focused photos; it's inexpensive, small, and light. Cons: The zoom is not great—avoid using it; the basic camera package did not come with batteries, cable cord, or memory card; it uses batteries quickly (bring extra AA batteries in your camera bag).
Despite the zoom, I've been really impressed with the overall quality of photos the girls have taking using the A10.
Below is a photo (with light edits) by Cricket, age 8. 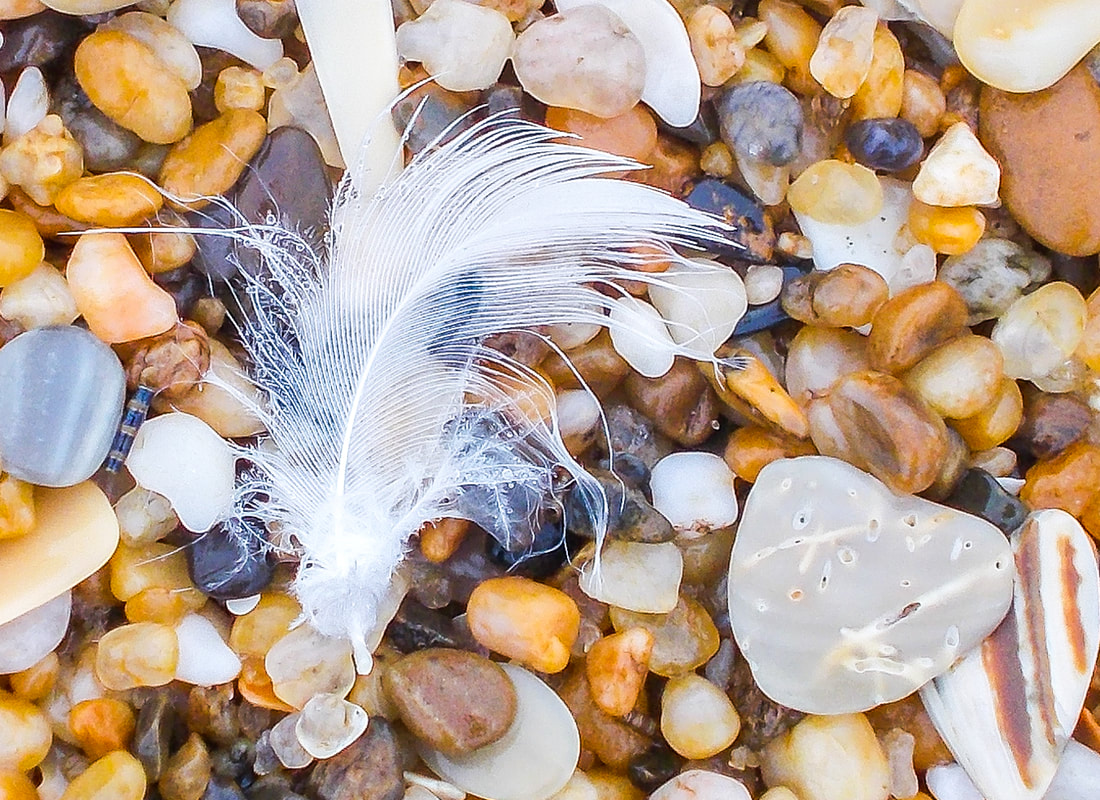
Below is a photo (with light edits) by Nora, age 6.

There are plenty of other mid-range point-and-shoot cameras to choose from, but here are three tips to help you find a functional one:
1) You need to be able to press the shutter release button halfway down to focus, then all the way down to take a photo. On the first two super cheap cameras I purchased, there was no halfway-to-focus situation. There was just no way to control the focus at all. If you buy a camera for your kids that doesn't allow them to control the focus, you're guaranteeing failure and disappointment. Read about the focus in the camera's description and/or the reviews before purchasing. Test out the shutter release when it arrives and return it if it doesn't allow you to focus by pressing halfway down. 2) Most cameras these days are 10-20+ megapixels. Anywhere in that range is just fine, especially for a beginner. My first DSLR was maybe 10 megapixels, and I was able to enlarge photos beautifully. 3) Make sure to purchase all the necessary pieces either individually or as a package: camera, memory card, batteries (and charger if needed), and cable to connect to the computer. Once you've bought a point-and-shoot camera, here are two tips for using it: 1) Regardless of which camera you buy, TURN OFF THE FLASH. A built-in flash is the worst! Turn it off and leave it off. Forever. 2) On lower- and mid-level point-and-shoot cameras (and mobile phone cameras), DON'T USE THE ZOOM. The zooms are often poor quality. It's generally better to crop an image tightly on the computer afterward than zoom in with a cheap lens. 
I may receive a small commission from the Amazon affiliated link on this page at no additional cost to you.
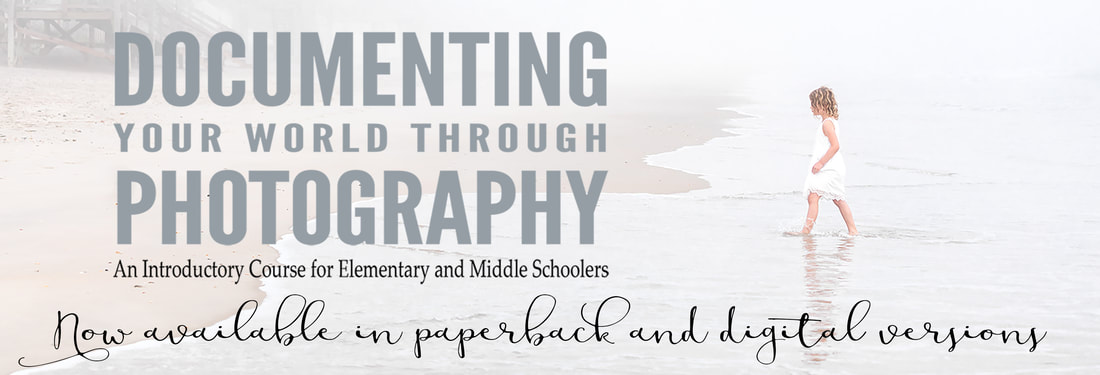
I'm kicking off the year in a big way: my photography course for kids has been published in paperback and is now available for purchase on Amazon!
The course can be incorporated into homeschools, co-ops, classrooms, and families looking to supplement traditional education. It can work with any school schedule, whether traditional, year-round, or piecemeal as you have time. You can learn more about the curriculum here. I decided to offer a paperback version to make the course that much easier to implement. The 121-page paperback is 8x10 inches, making it easily portable for field trips and travel. The content is the same as the digital download, but you no longer have to take the time and money to print it. Plus shipping is free. To celebrate the paperback publication, I'm discounting both versions of the curriculum right now. (More power to you if you've gone paperless.) You can head to my curriculum page to order the digital download, or straight to Amazon to purchase the paperback. If you order the paperback and enjoy the course with your kids, I would love for you to consider writing a review on Amazon. More positive reviews will make the course more searchable and help get it into the hands of more students. I'm going to try to post more of my girls' photography over on my Instagram feed throughout the spring and summer and talk about how we're working our way through the lessons. I hope you'll start sharing work over there from this course with the tag #documentyourworld . Happy snapping! 
 Each January, I try to spend some time reflecting on the previous year and setting intentions for the New Year. My goal is to take stock of my own accomplishments by my own metrics—by identifying the experiences I found most valuable, not by anyone else's standards of success. Publication highlights I'm still pinching myself that my work appeared on my favorite spot on the internet, the incredible Design Mom blog, not once but twice in 2018. The first was my sister's home tour, which I styled and shot in Minneapolis during a blizzard weekend. The second was my own home tour and accompanying essay. For real? My heart still starts to race when I remember these things actually happened. I really slacked on posting professional photography work here on the blog in 2018, but maybe I'll find the time to catch up it the New Year? (Or maybe not.) Intro photography course As a home school educator, I began to look for an introductory photography curriculum for my elementary schoolers last spring and couldn't turn up anything impressive for their ages. So I set out to fill that void and wrote an 85-page, downloadable intro course for elementary and middle schoolers called Documenting Your World. (You can find it here.) Folks, kids can learn so much about photography before they're ready to take a high school course. Don't sell them short by making them wait! I'm going to announce some REALLY BIG news about this course within the next couple weeks, so please stay tuned. And if you run into me on the street before then, I'll probably talk your ear off about it, because I'm so excited. I apologize in advance. Design work I had the pleasure of taking on some branding, graphic design, writing, and editing work this year for my sister, Mari Melby, as she expanded her business offerings. (We had so much fun teaming up for her home tour that we couldn't stop there!) My favorite project was working with her to design The Intention-Based Planner, which we just launched in December. (The Annual Reflections and Annual Intentions pages of the planner helped me plan this blog post and get my mind wrapped around 2019.) It's a printable planner we hope will help you live with more focus, intentionality, and energy. Personal writing My last living grandparent, Jane Connors, passed away in September. I wrote this tribute to her and would love for you to read it. I think it's my favorite piece I've written all year. In true Connors fashion, we convened in Minneapolis and celebrated the heck out of Grandma's life. I know she would have loved every minute of our family gathering. 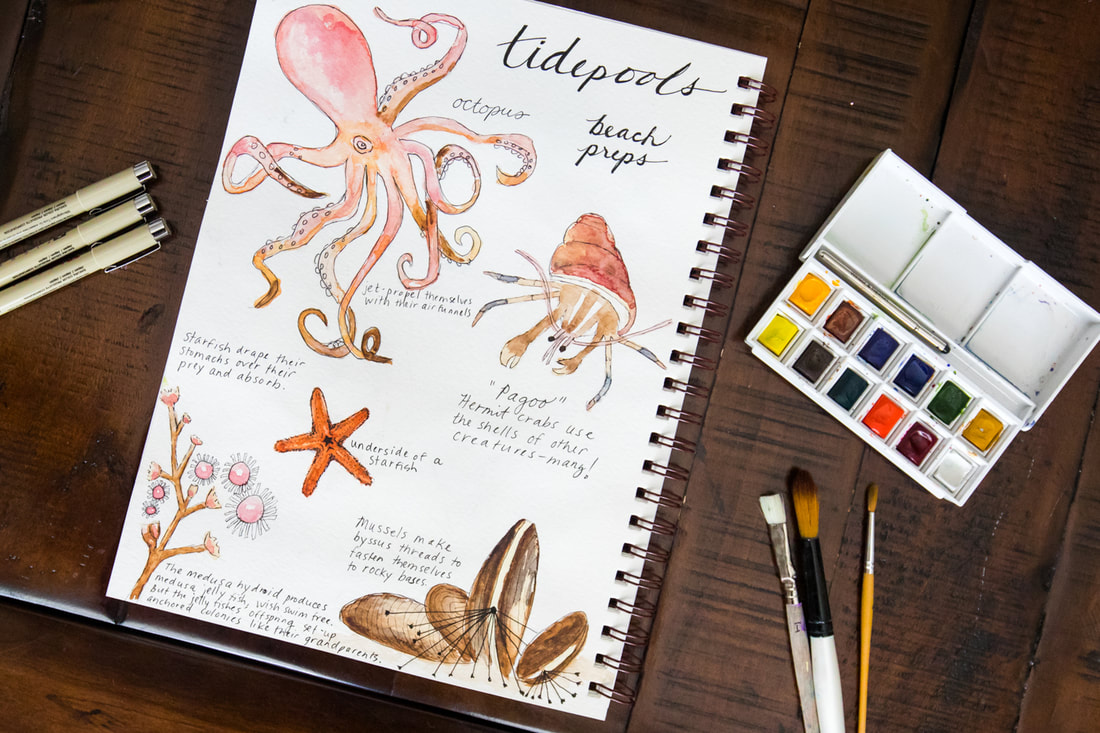 Homeschool We're in the middle of our second year of homeschool—words I never imagined I would say. Home educator is one of the most challenging roles I've ever taken on, but goodness, it's been so rewarding. I don't know how many years I'll last, but I love being able to give my girls this experience while it makes sense for our family. I may, on occasion, accidentally write history and science curriculum for them at a college level rather than an elementary level, however they always tackle it with curiosity and grace and never cease to amaze me. This school year has been the year of the horse here in our homeschool, and I have a feeling some of the curriculum I pulled together is going to turn into a larger writing project for 2019. DIY I posted a couple fun DIYs this year: How to frame your photos for big impact on the cheap Desk refinishing project  Travel We didn't slow down our travel schedule at all with the first two kids. Some trips were fantastic. Others were rather terrible and involved fevers and vomiting and urgent care visits. We've cut down a bit on spontaneous trips since Piper arrived (lessons learned), but we still ended up with a busy year of travel. Highlights included Minneapolis (twice), Lake Superior, Berkeley, Montana/Wyoming, the Outer Banks, Topsail Island, and Asheville. I didn't share much about travel on the blog last year, but I posted a lot of travel and lifestyle photography on Instagram. Join me over there? Jeff and I have been trying to spring each other loose at least once a year for a longer solo trip, which has worked well and allowed us time for actual relaxation that doesn't exist when traveling with young kids. Jeff has gone to surf camp in Costa Rica the last few years. I usually require some Rocky Mountain time. (I wish we could escape more as a couple, but we don't have the opportunity to leave the kids right now.) Satire In a surprise twist...politics made me furious again this year. Two results of this anger (besides making lots of donations and voting my heart out) were: 1) I started to grind my teeth for the first time in my life (no joke) and 2) I wrote this satirical letter. The response the letter generated was phenomenal. Some of the messages I received from women who have experienced sexual violence brought me to tears. I see you. I hear you. Overall reflections Looking back over the year, I'd say the majority of experiences I valued most were not things I planned; they fell into my lap, and then I ran with them. Something I've begun to learn over the years as a parent, educator, and creative professional is to make space in my life—both emotionally and logistically—to be able to say yes to unexpected opportunities. One of the jobs I take most seriously is playing defense for my family and for myself against the pressures of taking on too many structured obligations at the expense of time and energy for creative pursuits. I'm not going to lie. This year felt busy. It would be impossible to have three kids and numerous ongoing projects and not feel like you're always behind. But I think overall, we hit the nail on the head in terms of balancing structured and unstructured time. I don't mean we lounged around during unstructured time, but that we had enough of it to pursue opportunities that arose and accomplish some really fulfilling things with our time.  Intentions
In 2019, my overarching intention is to maintain a similar balance for our family of structured and unstructured time, leaving the door open to grasp exciting opportunities as they arrive. And along the way, I hope to get a few things done: One large writing project: I've started the research and writing on a larger project (teaser: horses) and hope to spend a lot of time on in it in 2019. I don't have a goal of completing the project on a certain time line, but I'd like to make substantial progress on it this year. Photography: Just say no—not to personal photography but to projects I'm not excited about. I'm going to be more selective about the work I take on and more assertive when someone tries to take advantage of my skills. Travel: Always! I'd like to take at least one or two solo trips to recharge and encourage Jeff to do the same. I've got a few ideas for family trips but want to leave a lot of open space for spontaneous travel opportunities. Homeschool: The girls told me one of their favorite parts of school time is working on our nature journals together. I feel the same. I want to make sure to prioritize that activity this spring and let curiosity drive our learning. I also want the girls to spend more time writing and less time memorizing content from the social studies unit I painstakingly (over) developed. We'll pick up where we leave off next fall! Presence with my family: When you're a full-time parent, a home educator, and have a few part-time gigs (and almost no childcare), it's impossible to be present at all times for all people. Plus I think it's good for my kids to know I'm not at their beck and call at all times; I have a life and other responsibilities, too! That said, there's plenty of opportunity to reduce endless scrolling or constant thinking of how I'm going to cross off the next item on my to-do list. In 2019, I don't want to aim for an unrealistic goal of being fully present for everyone at all times, but rather to allow myself to be fully present when it counts most—on family excursions, when my kids are anxious about something, when they genuinely need or want my attention. Happy New Year! And Happy Intention Setting! 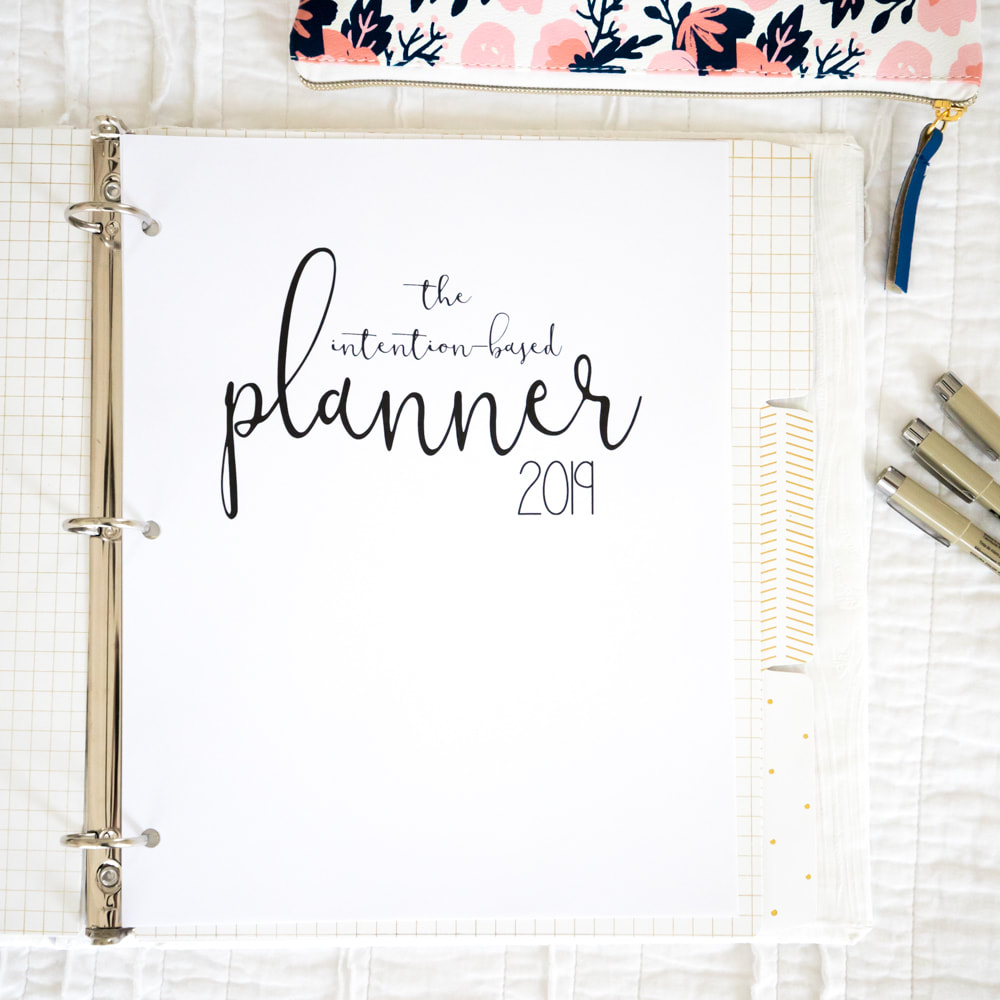 It's done! It's done! Earlier this year, my sister, Mari Melby, asked me to design a printable planner with her. It's been a labor of love...and of fancy pens drying out and printers gone awry, but The Intention-Based Planner officially launches today! You can find it here, just in time to treat yourself and your loved ones to a new year of more intentional living. Plus it's on sale through the end of December. Here are the details:
The idea for The Intention-Based Planner grew out of our desperate desire to simplify, focus, and live more intentionally. We were finding ourselves playing constant defense against a barrage of tasks and commitments—never ahead of the game, never feeling in control of our time. We were furiously scribbling post-it notes and sticking them to every surface as reminders, to-dos, and brainstorms, only to lose track of them and the information they contained. We were juggling life and work ineffectively, and our commitments were draining our energy instead of replenishing it. So we set out to design a planner that would help us stop needing to perform logistical miracles with our time and start living with more intention—start saying no, start reducing energy-draining elements, start making more room for the aspects of life that energize us. What we call a planner is actually part planner; part journal; and part log of events, projects, and travel. Despite technological advances, we still remember things best when we physically write them out and can flip back and forth between paper pages instead of scrolling down a screen. So we knew we wanted a printable planner and modeled it after the popular bullet journal (but for people who aren’t looking to design and draw every page on their own). The planner incorporates both hand-drawn and digital elements, leaving plenty of bulleted blank space for you to write or sketch ideas. We recommend printing the main planner double-sided. You may prefer to print the project planner, travel planner, and task list single-sided, as needed. Use a 3-ring binder with dividers to separate the sections. The Intention-Based Planner The intention-setting and reflection prompts occur annually and seasonally. You’ll find these pages interspersed with the monthly and weekly calendar pages. Take a few minutes at the beginning of each season to record your intentions, then try to organize the season around them. Be sure to take time at the end of each of season to reflect on what helped or hindered you from in living your intentions.
Project Planner Use this element to record ideas for any type of project: a room you want to renovate, an essay you plan to write, an event you’re throwing. Jot it down and keep all your ideas in one place. No more lost sticky notes! Travel Planner Keeping an organized record of travel goals, to-dos, itineraries, and packing lists not only makes trips run more smoothly but also simplifies future expeditions. Don’t throw out your packing lists! Just amend them for your next adventure. The travel planner includes:
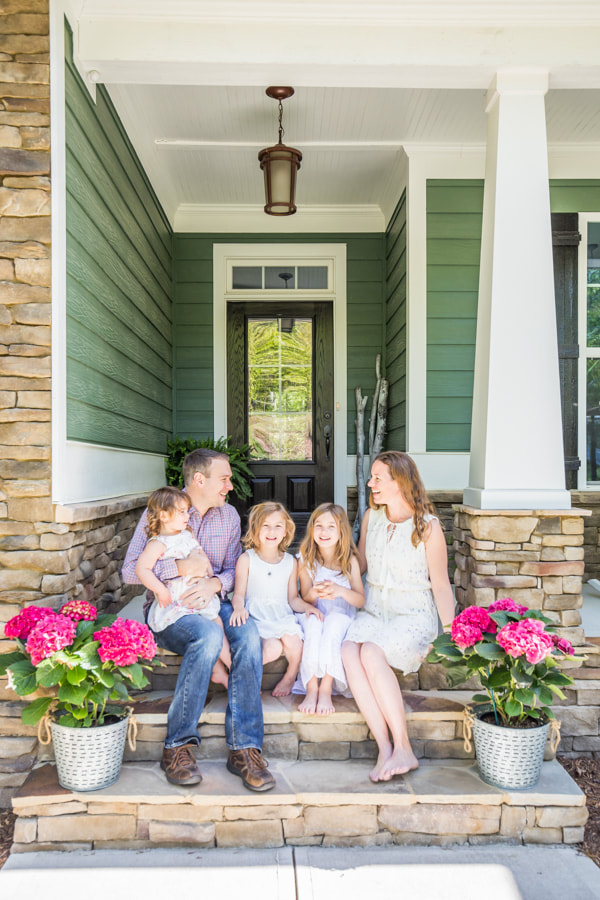
Task List Instead of scribbling notes to yourself around the house, keep a running master task list in one place. We hope The Intention-Based Planner will help you live your best life—one with more intention, focus, and energy. Best wishes, Mari & Julia P.S. You can snag your planner here.  Exchanging holiday cards is one of my favorite parts of December. As a lifestyle photographer, I always aim to take portraits that show the girls authentically in a place that has been a special part of our lives that year. We took these photos on the stone wall we had built in the front yard with rocks from our property. "Seek wonder" felt like the perfect wish for the year, since my underlying goal as a parent and home educator is not to extinguish the girls' natural sense of wonder with the drudgery of formal education, but to provide natural opportunities for it to continue to grow. I hope you'll enjoy the card and outtakes. Happy Holidays to you and yours! Front of card: 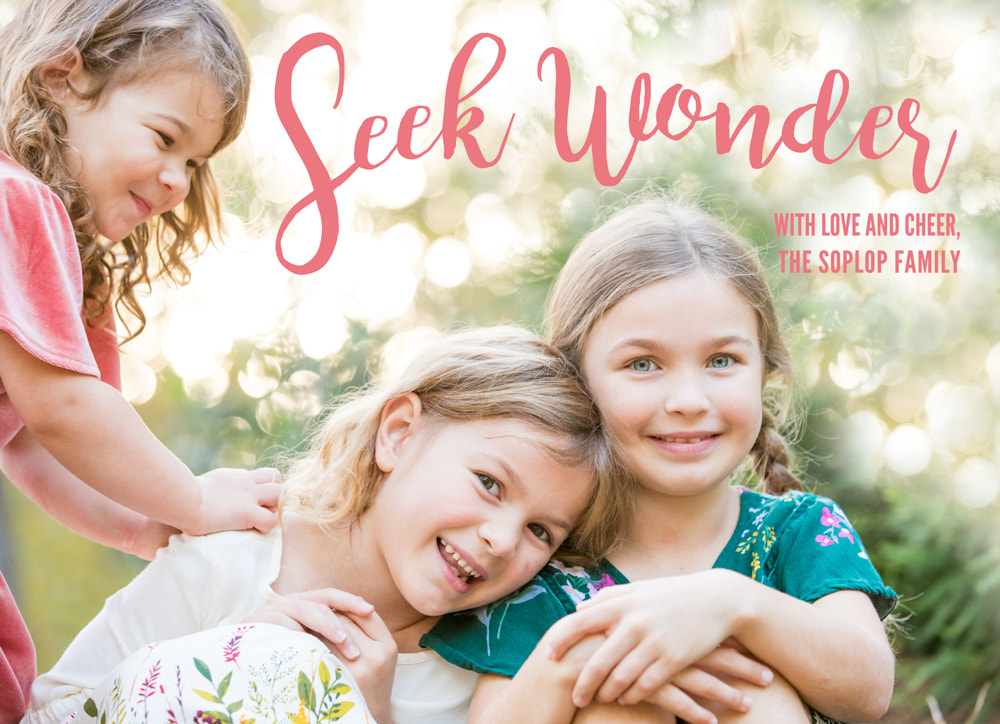 Back of card: 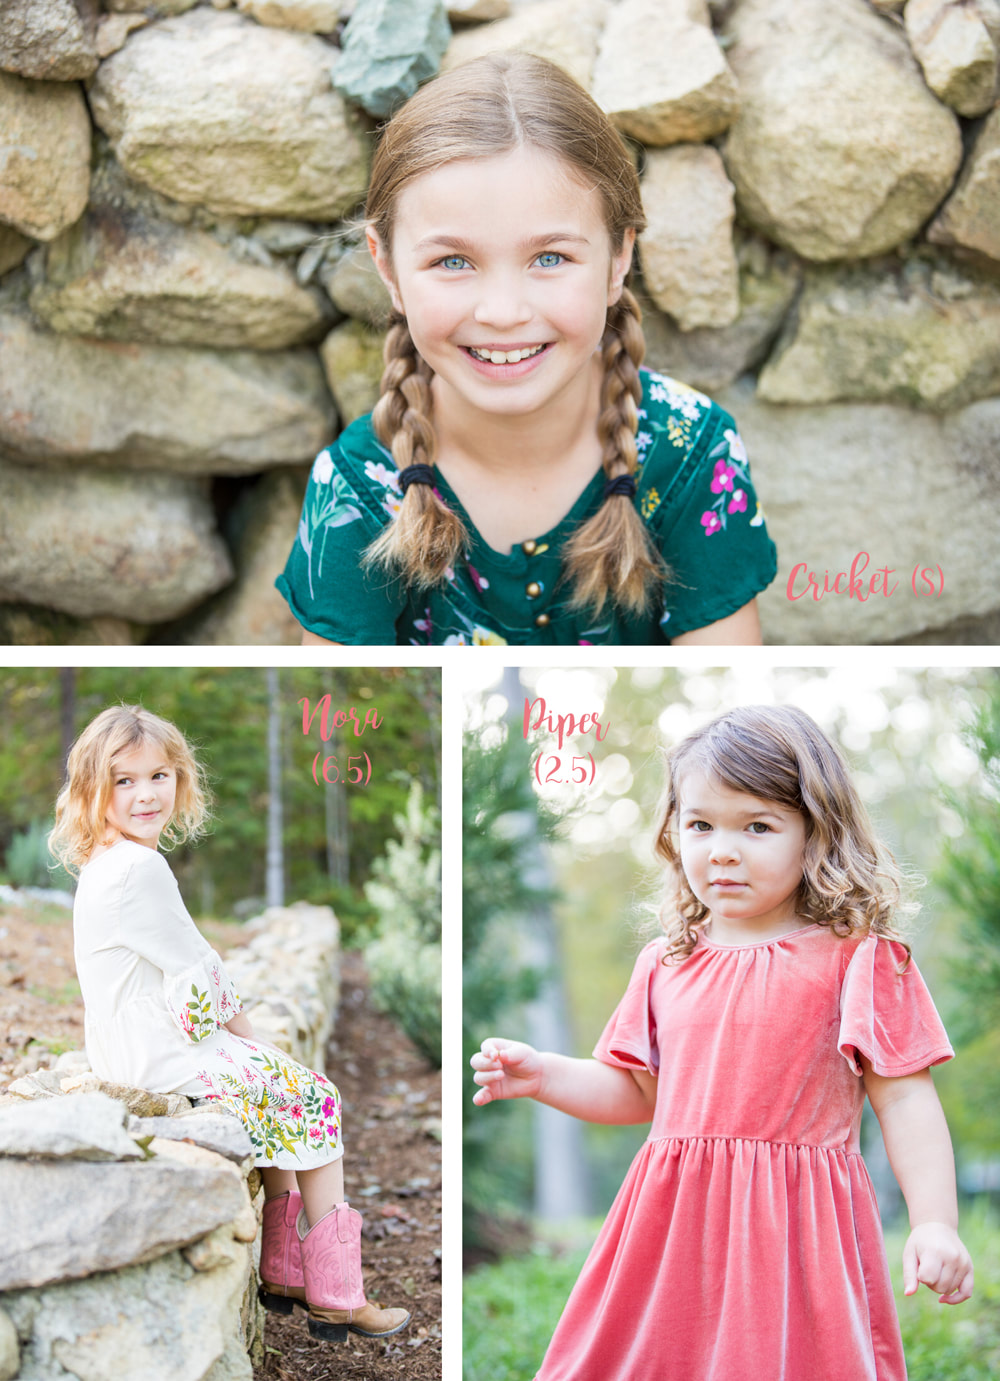 Now for the outtakes. The first one below is probably my favorite, though it's hard to say. It looks like Piper is placing a spell on her sisters, when actually she is throwing pine straw all over them in an effort to foil my attempts at capturing one civilized photo. (Portraits with 2-year-olds are always a trip, aren't they?)     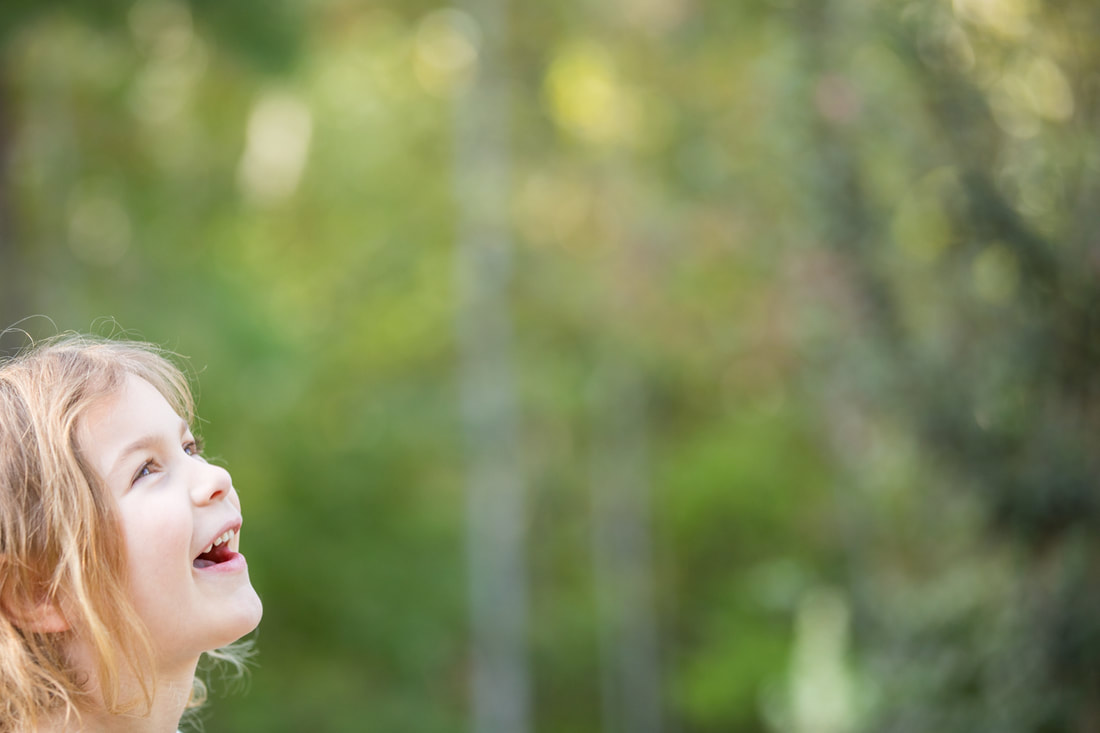   

    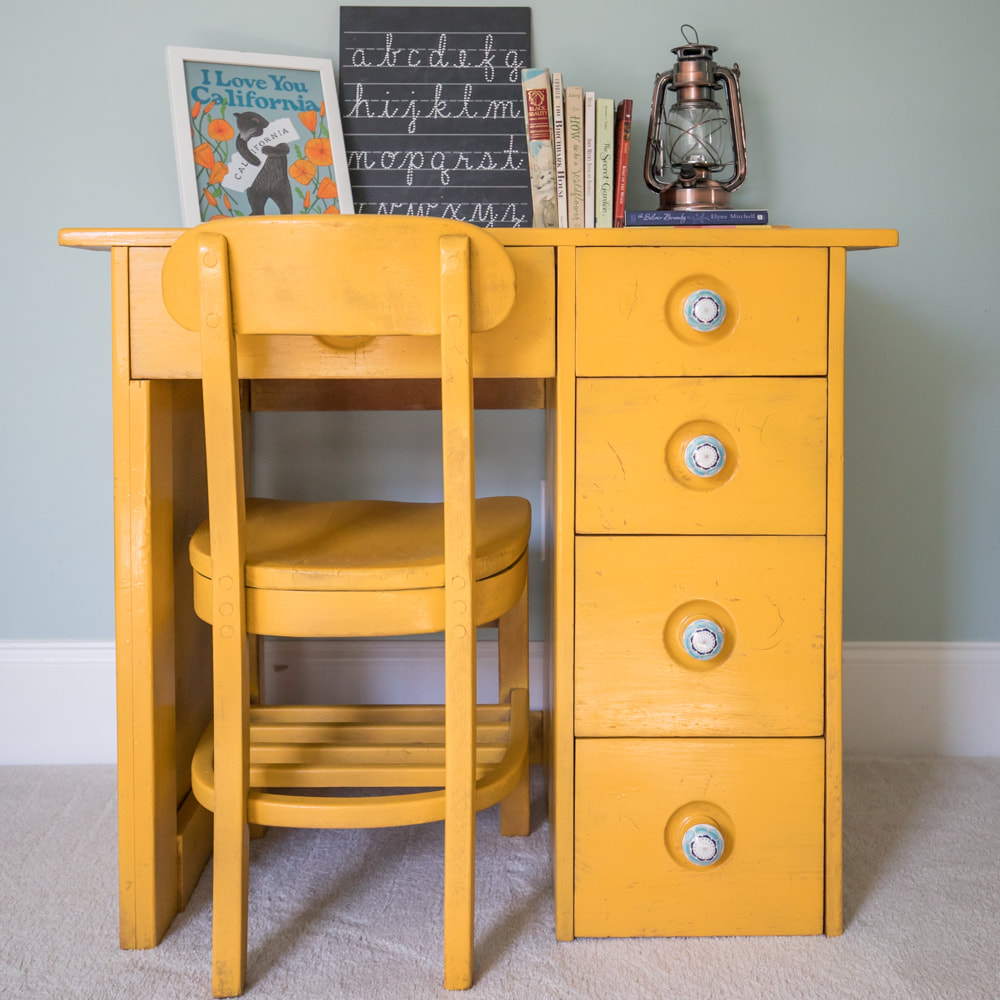 When our dear friend, Alice, was moving out of the area years ago, she gifted us with her childhood desk. Her wood-working aunt had made it for her, and she was ready to pass it along for another child to love. Cricket became the recipient of the desk when we moved into this house three years ago. The desk was due for a refinishing, and it seemed like a fun birthday present for Cricket to make the project happen this month. She chose this marigold spray paint to match a sunflower photo from a favorite hiking trail in Colorado that hangs on another wall in her room. I surprised her with these Anthropologie knobs. To prepare the desk and chair for spraying, I just did a quick sanding. I wanted to preserve some of the wood grain and dents to retain the history and vintage feel, so I didn't worry about smoothing the surfaces or spraying more than a few coats of paint. (I escaped without de-glossing, because the finish was so worn.) Cricket couldn't be happier with how it turned out. I hope she'll be able to pass it down to her kids one day. 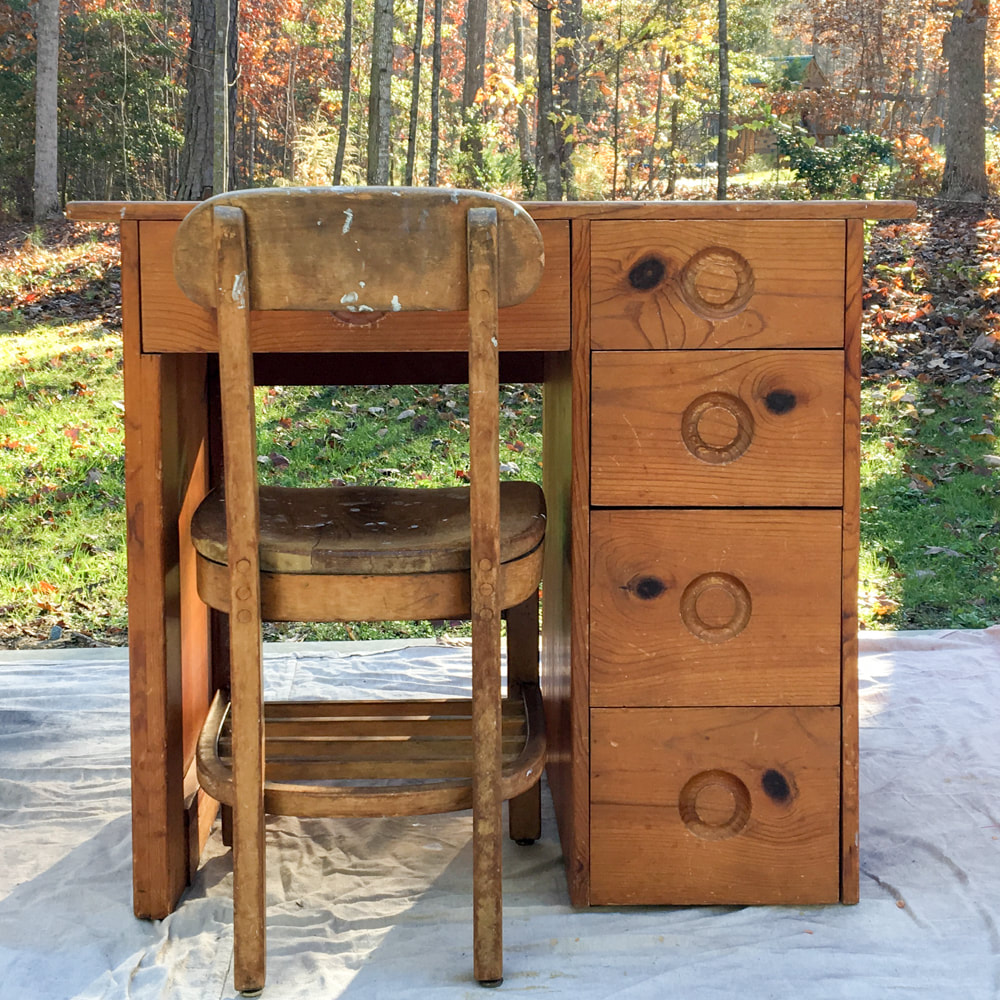 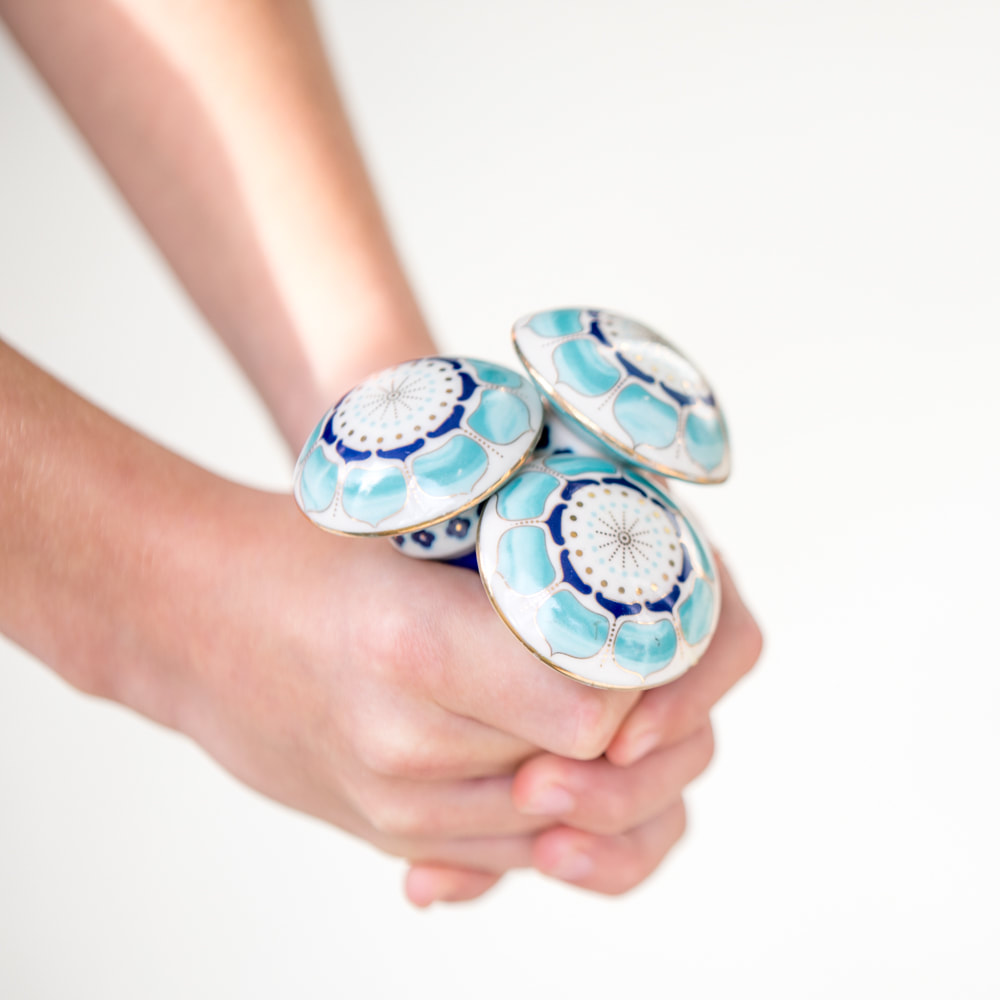 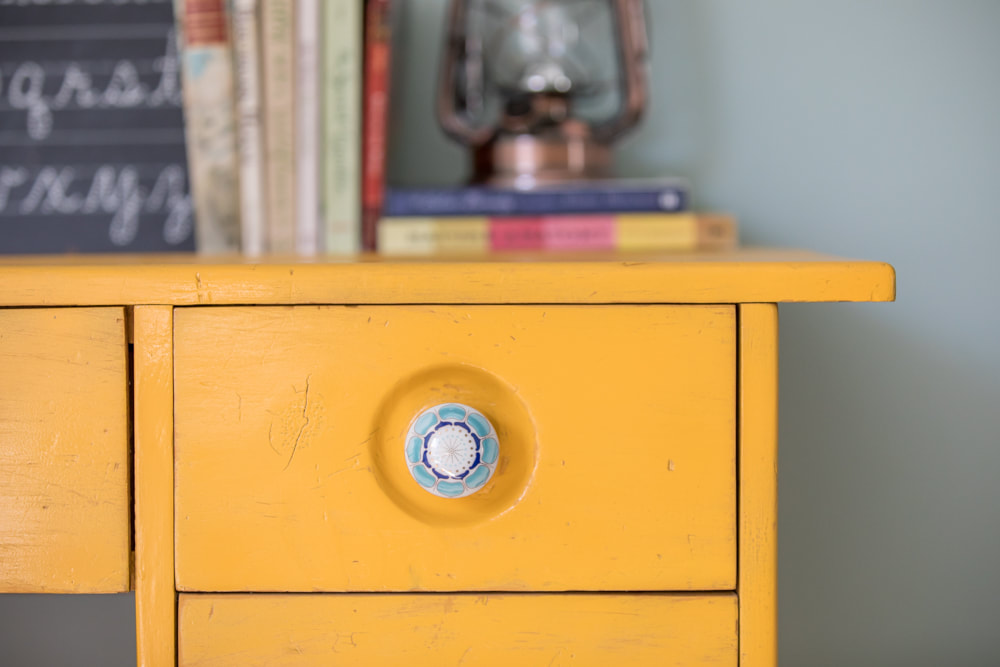 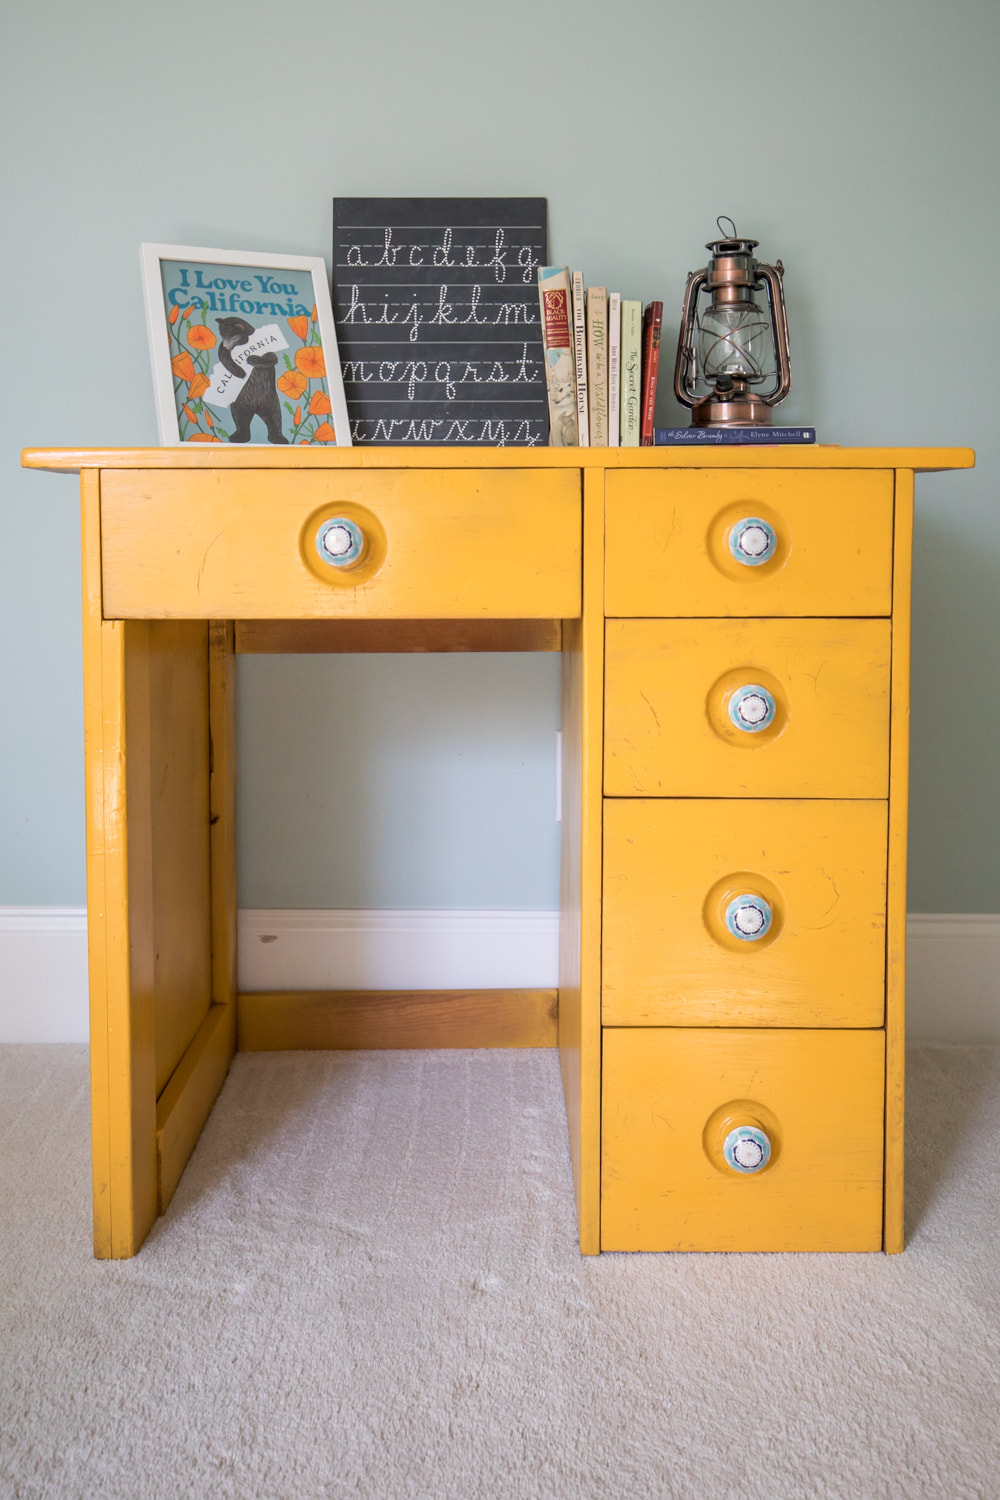 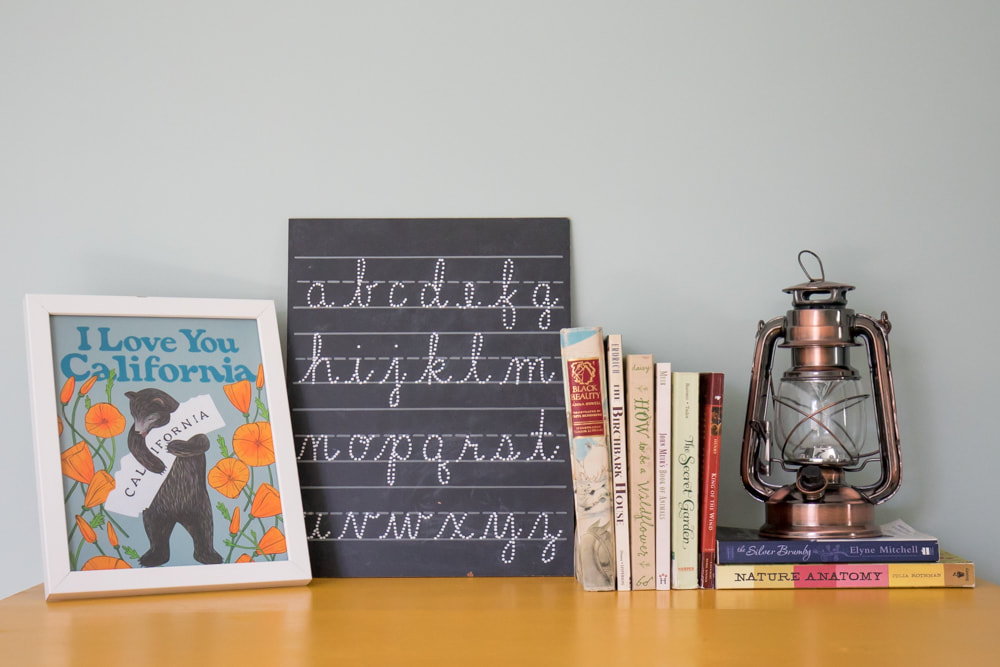  |
My new book is out! Click to learn more about it.
Hello there
I'm Julia Soplop, writer and photographer. I believe there is something profound in bearing witness to moments of joy and pain in others’ lives. My husband, three girls and I live outside of Chapel Hill, NC. You can read more about me here.
Snag my new photo curriculum for kids!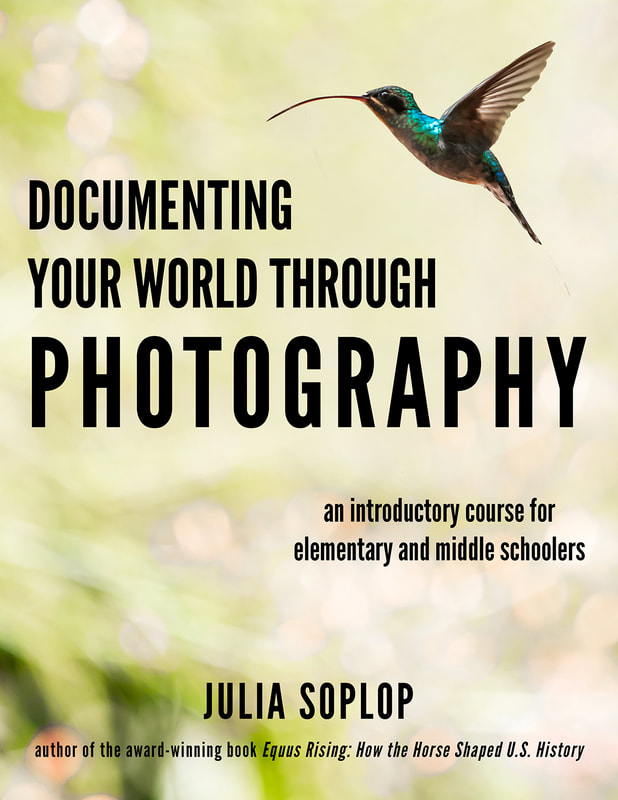
Categories
All
Popular posts |