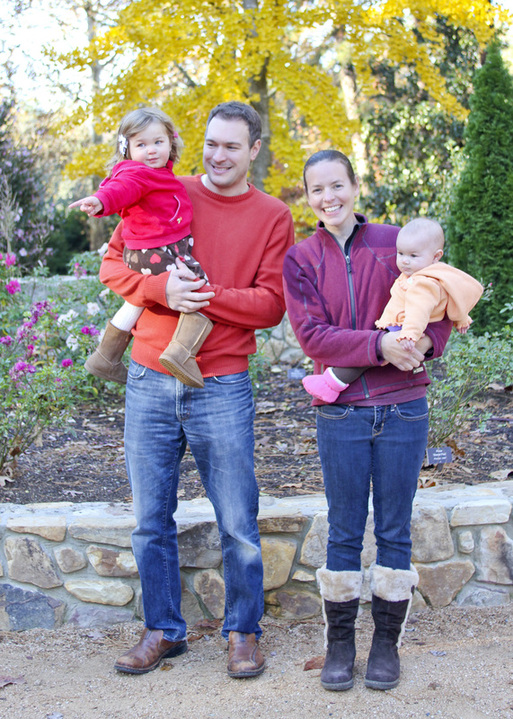
 Our Thanksgiving feast was so wonderfully chaotic that I didn't get a chance to snap a single photo of it. But earlier that day, we piled into a caravan of cars and headed to the Duke Gardens so the girls could get some wiggles out. (Our Turkey Day entourage consisted of the same group from our recent adventures in the Blue Ridge Mountains.) Thanks to my brother-in-law, Christo, for taking the above family photo, which may be the first time the four of us have appeared in a photo together since the day we brought Nora home from the hospital. The fact that we didn't get a single shot with everyone looking at the camera speaks to this crazy phase of life... I had a great time chasing the littles around to get a photo of each on such a happy day. I hope your celebration was equally lively!  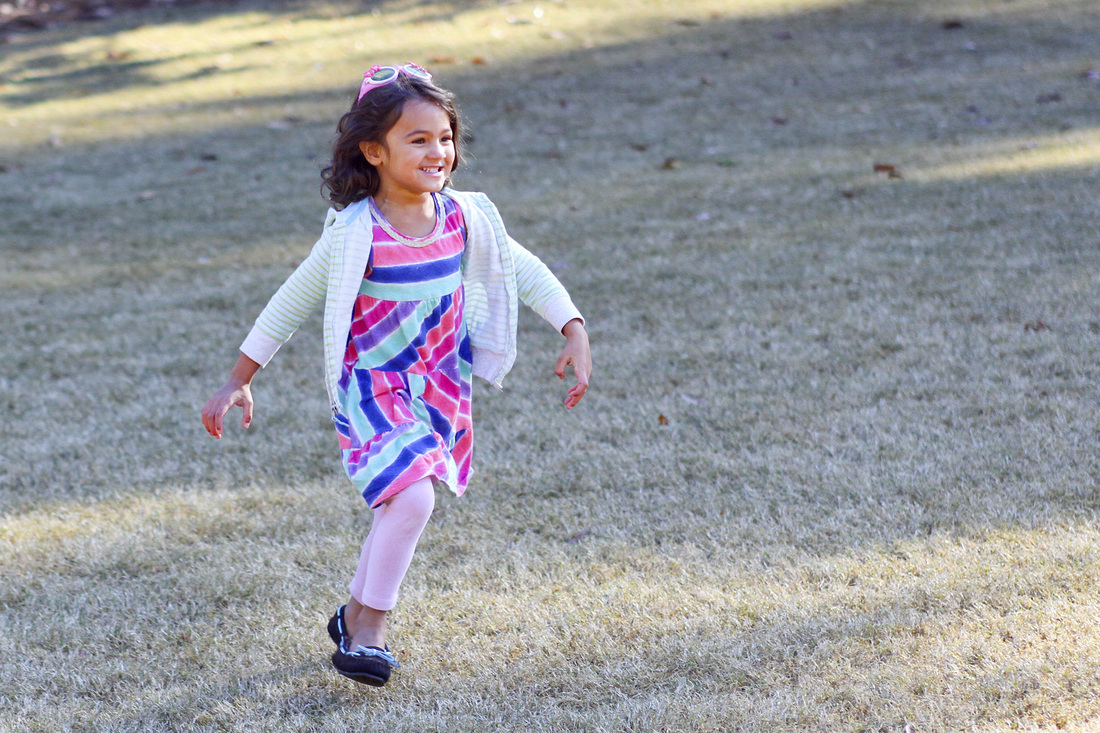  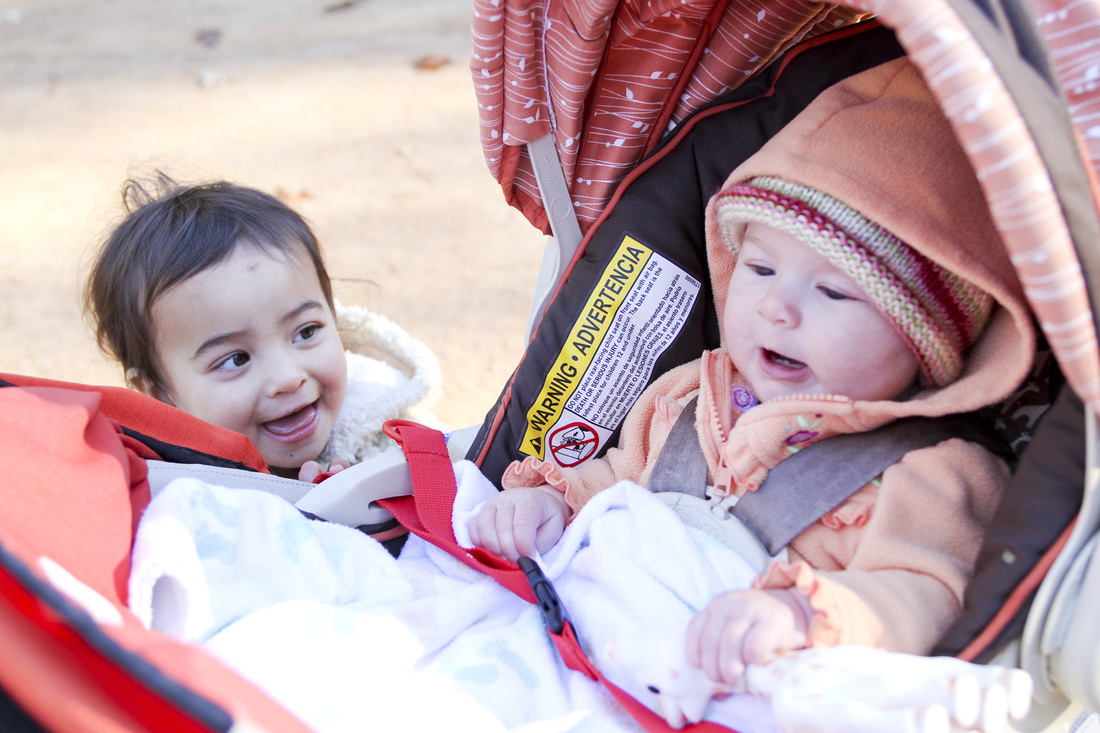 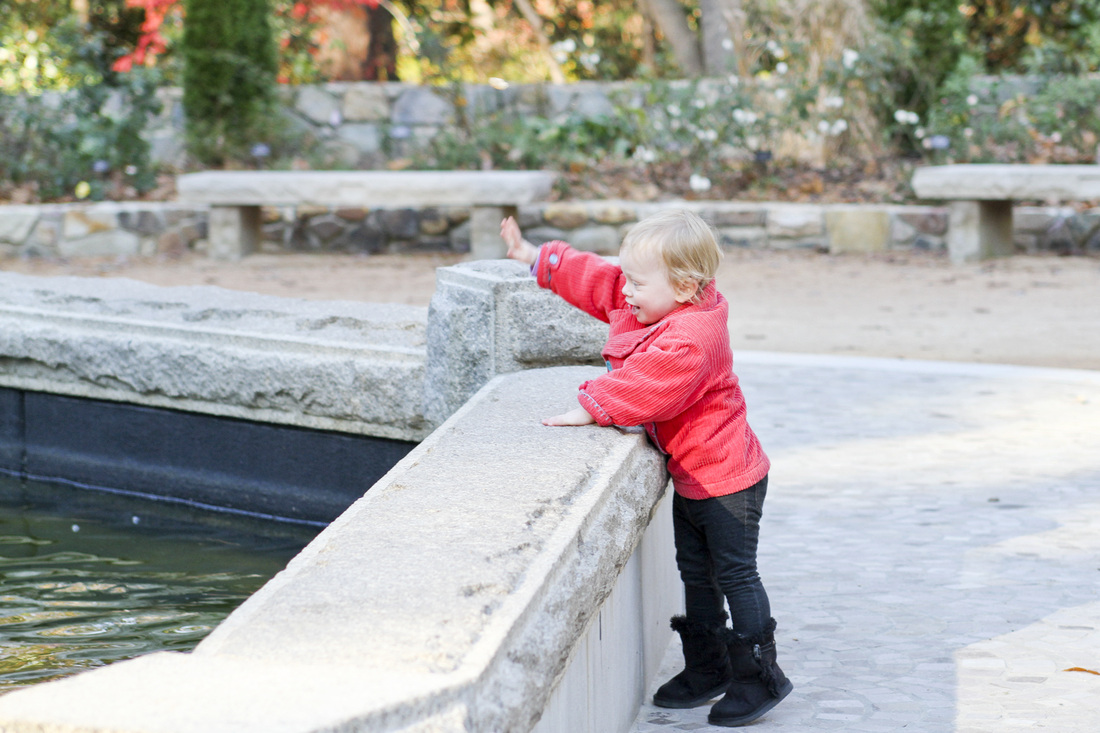 Need some gift ideas? Check out these simple DIY projects: personalized wreath ornament, no-sew tutu, photo plaque, heirloom display and gift tags. You can also view my holiday discounts and photo shop.
2 Comments
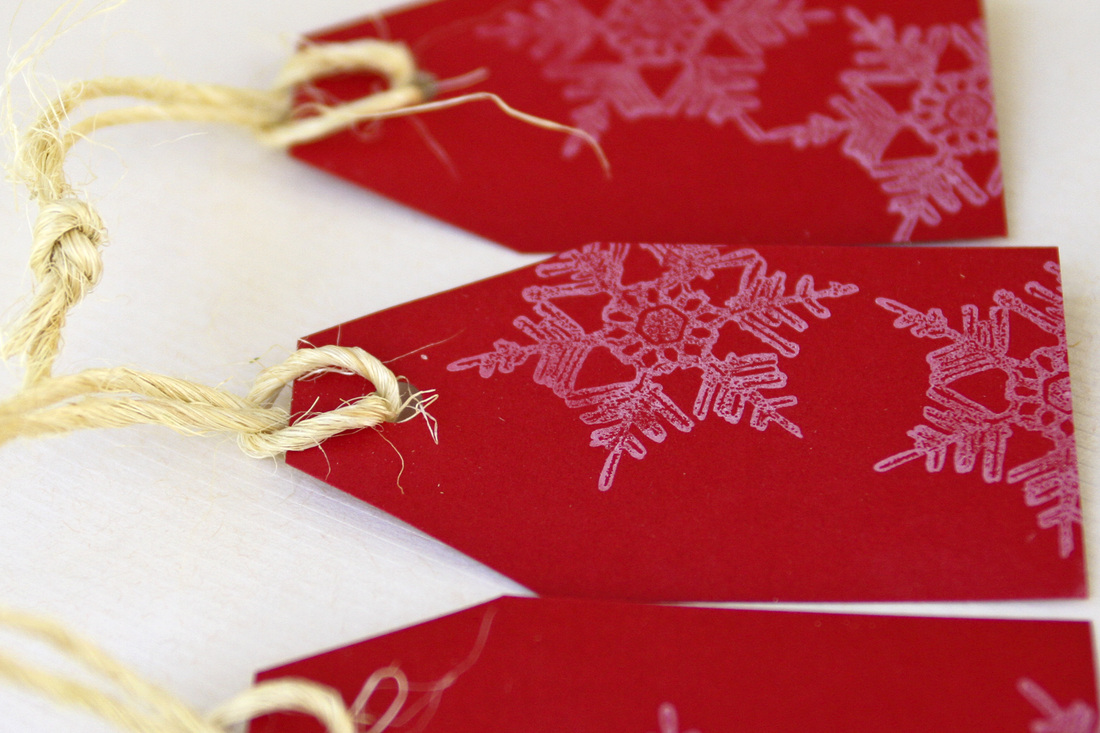 I've always loved paper. In elementary school, I even started a company called Creativity Ink, designing and selling exorbitantly priced stationery to my family. I think my paper obsession also played a role in my desire to become a writer—a blank page just calls to me. Around the holidays, this love takes the form of gift wrapping. I usually end up wrapping all my gifts in one or two papers with complementary ribbons and tags. Sometimes a ribbon catches my eye and I assemble the rest of the wrapping to match. Other times I come up an idea for a gift tag and go from there. Making your own gift tags is easy and inexpensive. And it will impress your family and friends. Here's how to do it. Supplies business cards hole punch twine or ribbon stamp(s) stamp pad(s) Right now I'm into rustic, earthy textures and colors (browns, reds, paper bags, burlap, twine), so that's my theme for this batch. (Full disclosure: Paper Source does NOT sponsor this blog. On the contrary, I may personally keep them in business...) 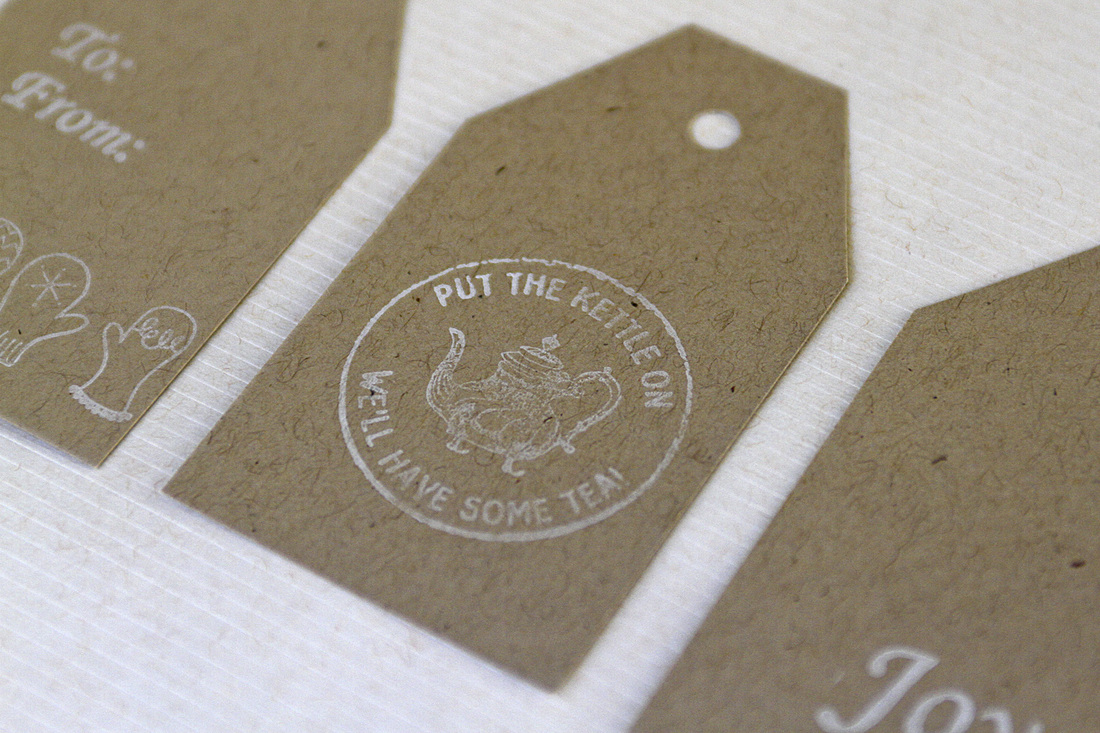 Business cards are the perfect size for gift tags. They're also cheap. You can snag a pack of 25 for $2 here. Snip the corners on one side of the card (see above). Punch a hole between the cut corners. Now it's time to design. 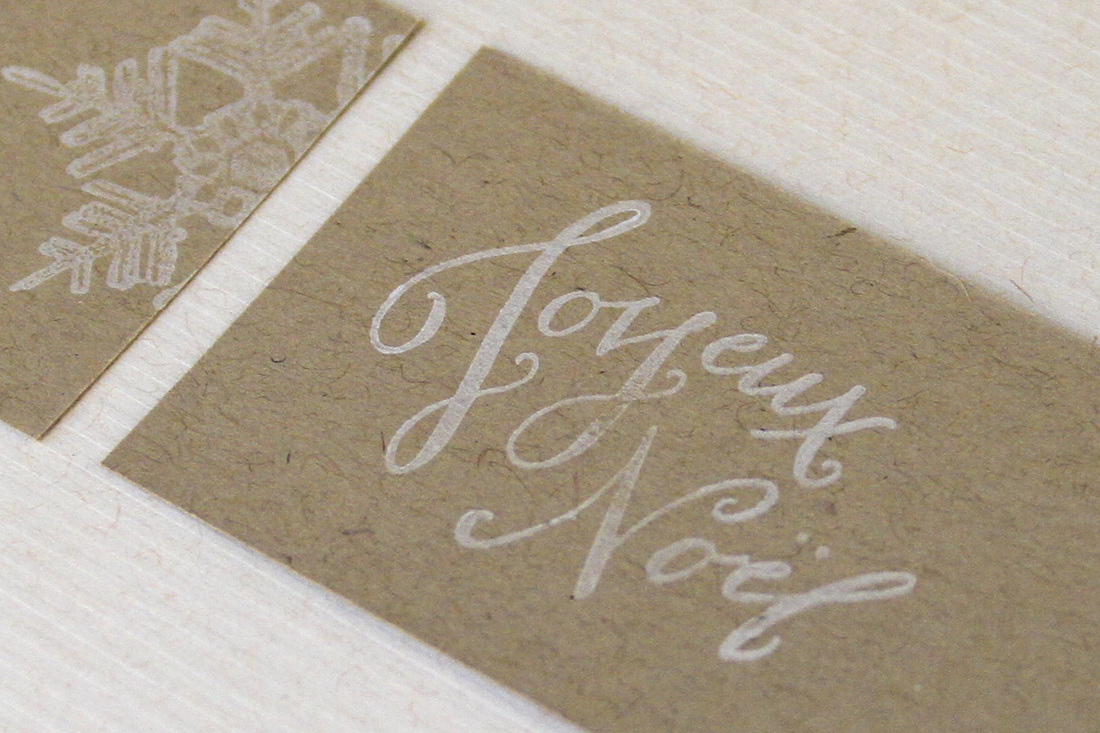 I like to use stamps. (Here's where you can find put the kettle on and joyeux noel.) Mix and match your stamps, stamp colors and tag colors. Some of my favorite holiday stamps are no longer for sale, but here are a few cute ones: snowflake, white Christmas, reindeer, skis, owls. Once you finish stamping, loop twine or ribbon through the hole. Now you're ready to wrap. 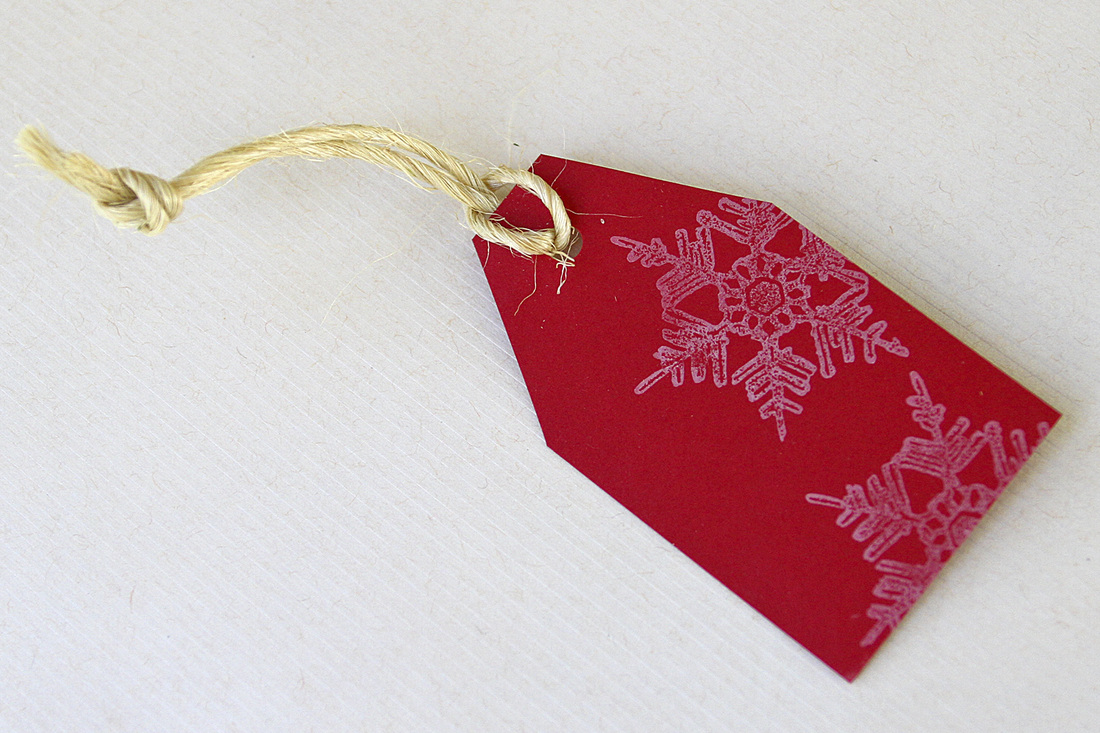 Need some gift ideas? Check out these simple DIY projects: personalized wreath ornament, no-sew tutu, photo plaque, heirloom display and gift tags. You can also view my holiday discounts and photo shop.
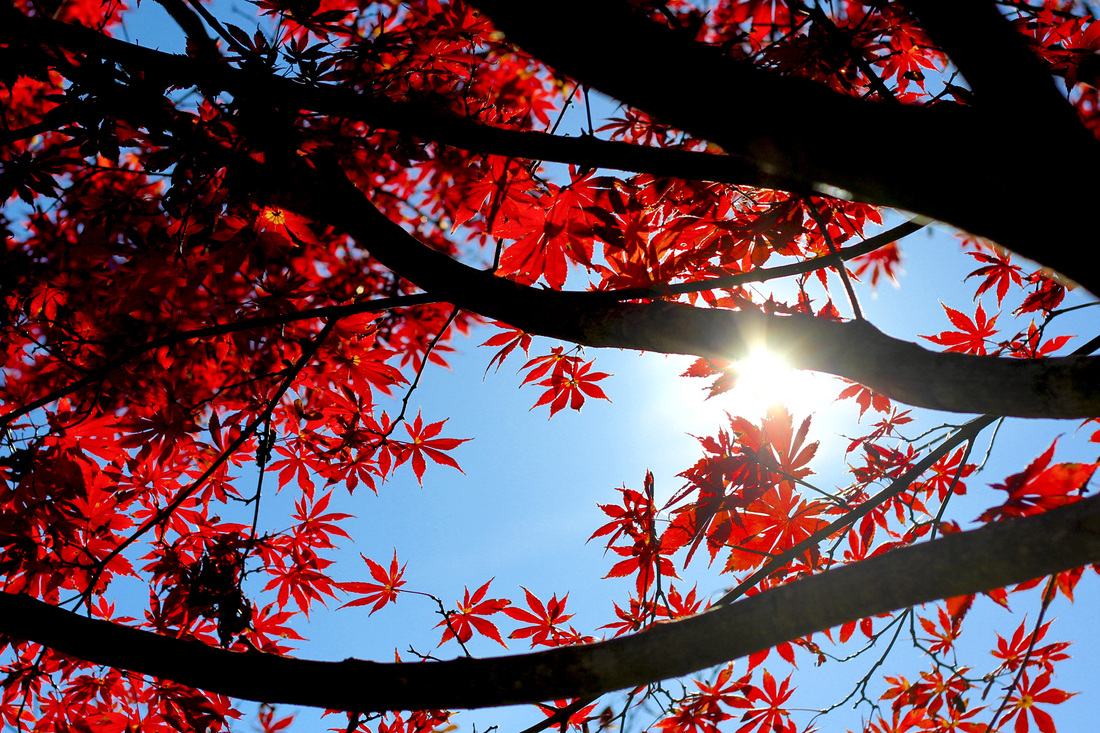
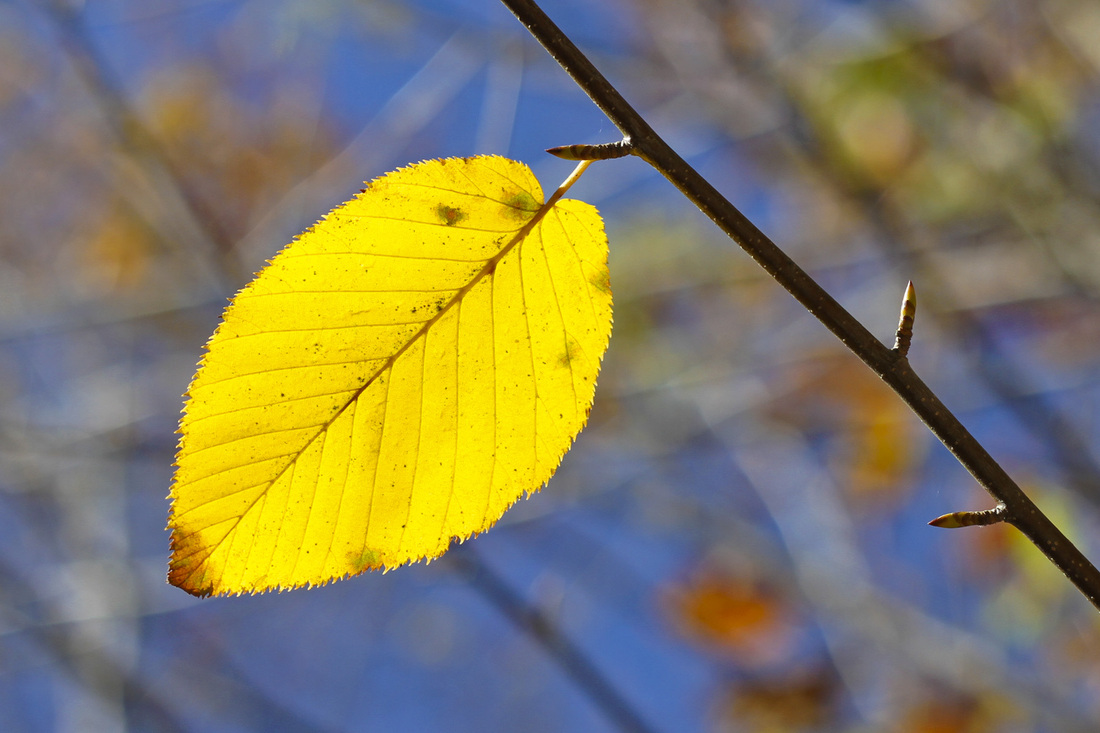
Goodness this year has been a blur—one filled with absolute joy and absolutely sleepless nights; with happy, healthy development and loads of viruses (oh, the weird diseases you get with kids around!); with giggles and tears. But above all, it has been a year filled with profound thankfulness for all we have been given, all we have created and the future we seek together. Two years ago, Thanksgiving took on a new meaning for us. I'll never forget the moment I glanced up at the clock in the hospital triage room and realized our first baby was going to arrive on this special day. In fact, I can still barely respond without choking up when someone asks me Cricket's birthday. "She's our Thanksgiving turkey!" I joke to keep the tears at bay, so grateful I am for the little girl who transformed me into a mother. What timing she had. This year, I am grateful for the doubling of my joy. Nora chose her own day to greet the world. No official holiday—just a beautiful, bright afternoon in May. We first gazed at her as parents who, though a bit more seasoned than we were the first time around, still wondered how we could ever do right by this new life, how we could ever measure up in the face of perfection. I'm sure we never will, but I am thankful for the certainty that we will never stop trying. Our family extends far, far beyond the walls of our home, and for each member I am grateful. In the last year, our family has propped us up and walked with us when we were too exhausted or too sick or too anxious to move forward alone. How could we ever repay such selflessness? Despite these blessings, I know several of our family and close friends are struggling through very difficult circumstances this Thanksgiving. My heart is with them, with those on whom they lean and with those who lean on them. I am incredibly grateful that they somehow find the strength each morning to climb out of bed, put one foot in front of the other and fight for their lives. I could go on forever listing the things for which I am thankful, but enough of my rambling. Go enjoy your turkey. Happy Thanksgiving to you and yours! Above: Japanese maple in our yard. Below: Red leaf at the neighborhood playground. 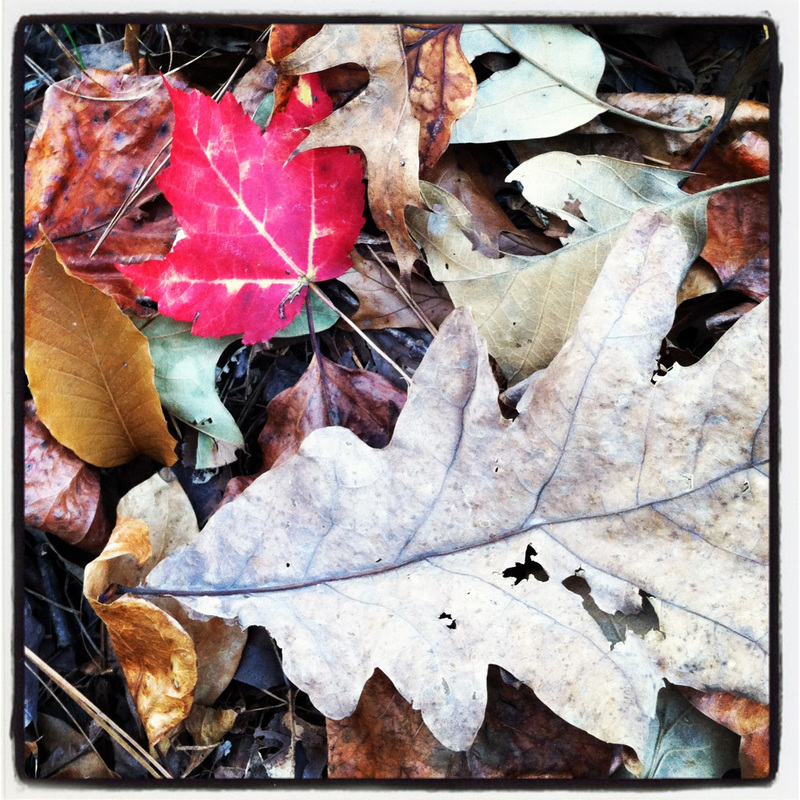
 Are you planning to send holiday cards this year? My proofs just arrived from the printer, so I'm finishing up with a couple tweaks here and there and can't wait to send them out in a few weeks. In the meantime, I thought I'd share our card from last year (above), as well as some cute ideas I've been eyeing.
As a photographer, I like to keep our cards simple so the design won't distract from the photos. I use Photoshop, sometimes in combination with Illustrator or InDesign, to create and add text and graphics. In my mind, Cricket looks the same now as she did a year ago, so pulling up this photo made me gasp. She was really just a baby back then! And how did we forget to include little Nora? Oh, wait...Nora was just a baby bump. Our life has changed a lot since I took this shot; now we have double the joy (and a fraction of the sleep). Do any of these ideas resonate with you? Some tips on prepping for a family photo from Design Mom. (You must check out her adorable Christmas pics.) I'm coveting this return address stamp. And this one, too. Could these envelopes in peacock add an interesting twist? Here's a cute sentiment. And this one will never get old. Chalkboard template, anyone? Don't forget to seal the deal. I'm excited our mailbox to be filled once again with holiday cards from friends and family! (Looking for gift ideas? Check out my shop and holiday discounts.)  I'm excited to offer several more holiday discounts today, so you can cross some shopping off your list! FREE 8x10 print of your choice with a gift card purchase of $75 or more. Are you thinking of giving the gift of artwork but not sure which prints to select? Consider purchasing gift cards to Calm Cradle Photo & Design for your friends and family. For each gift card purchase of $75 or more, you'll receive one free 8x10 print of your choice from my portfolio (a $41 value). I'll ship the print for free to you or a friend. Here's how it works: Between now and December 25, 2012, purchase a gift card of $75 or more. As soon as I receive your payment, I'll email you asking which 8x10 print you'd like and where to send it. Two new featured photo discounts: 25% OFF From now through December 15, 2012, receive 25% off the print price of any size of two new photos: "Japanese magnolia in orange and yellow" (above) or "Yellow leaf against blue" (below). I took these photos on our recent trip to the Blue Ridge Mountains. If you are interested in purchasing a canvas print, please contact me for pricing.  Don't forget the two ongoing featured photo discounts below. Now through December 10, 2012, receive 25% off the print price of any size of "Dragonfly silhouette" (below top) and "Red dragonfly" (below bottom). 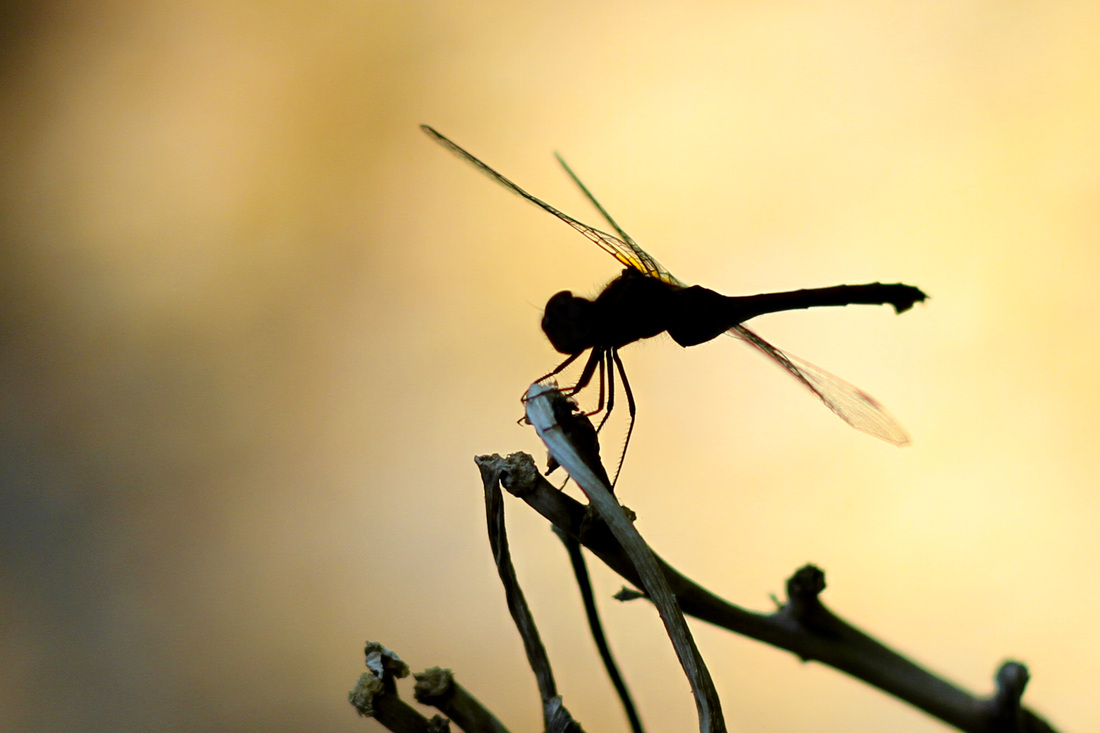  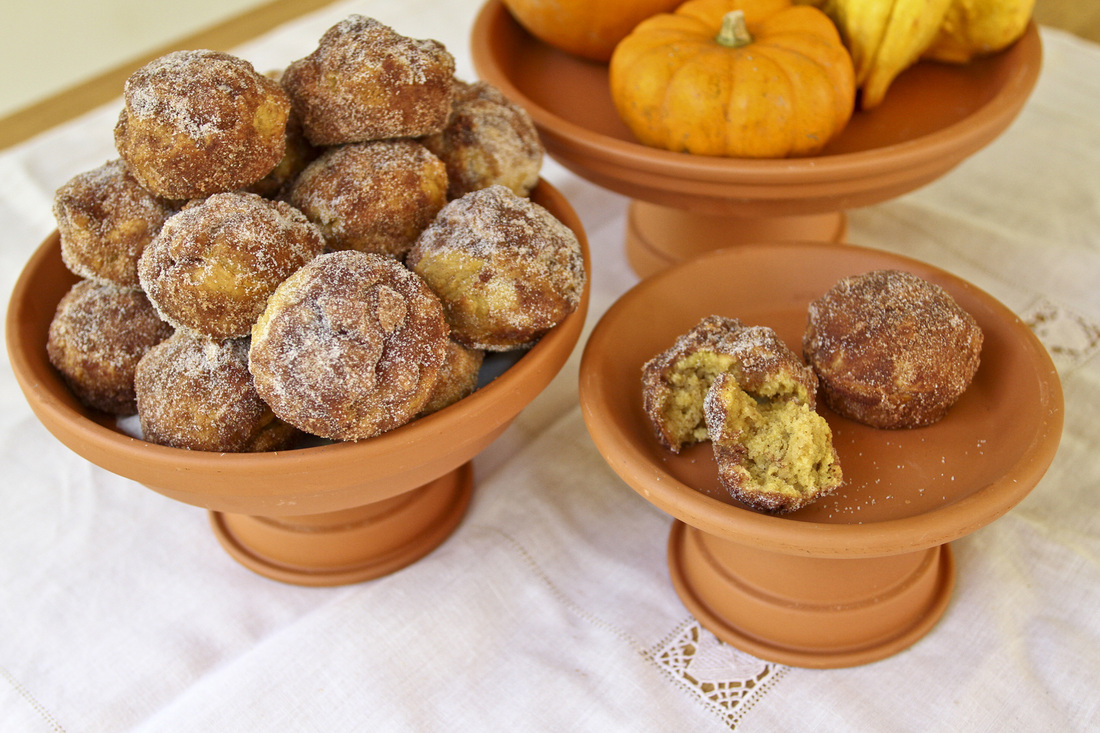 Hurricane Sandy almost did away with this post. My best friend, Rachel, the baker-blogger extraordinaire behind sweet tarte, was supposed to fly down from New York City for a visit two weeks ago, and we planned to collaborate on a festive fall post while she was here. Despite several dicey moments, she managed to escape the Sandy-ravaged city by a stroke of luck and some creative thinking. I couldn't believe my eyes when I saw her walk out of the airport in North Carolina! With that, I'm excited to present you with our first joint post. I'll describe how to make cake stands from flower pots, while Rachel will provide the recipe for these scrumptious (nut-free) pumpkin doughnut muffins over on sweet tarte. The cake stand inspiration came from here, though I spotted it first on Pinterest. I made three stands, so I could have a variety of sizes to arrange. And rearrange. And then rearrange again. Supplies: Round potting trays (I used 10-, 8- and 6.5-inch diameter trays) Varied pots (I used 3- and 4-inch tall pots) Super glue Clear caulk Optional supplies: Spray paint Food-safe (food grade) clear sealer 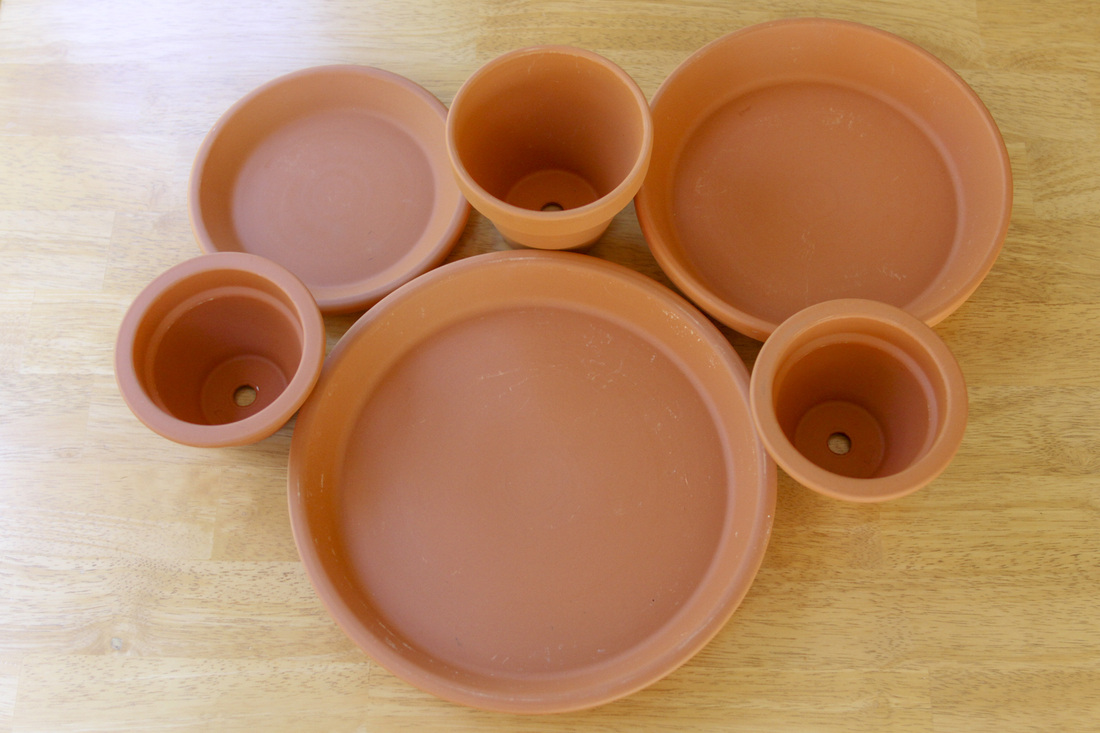 Flip pot and glue the bottom of the pot to the bottom of the tray. To further secure once the glue is dry, caulk around the edges where the pot meets the tray. Voila. The construction is done. 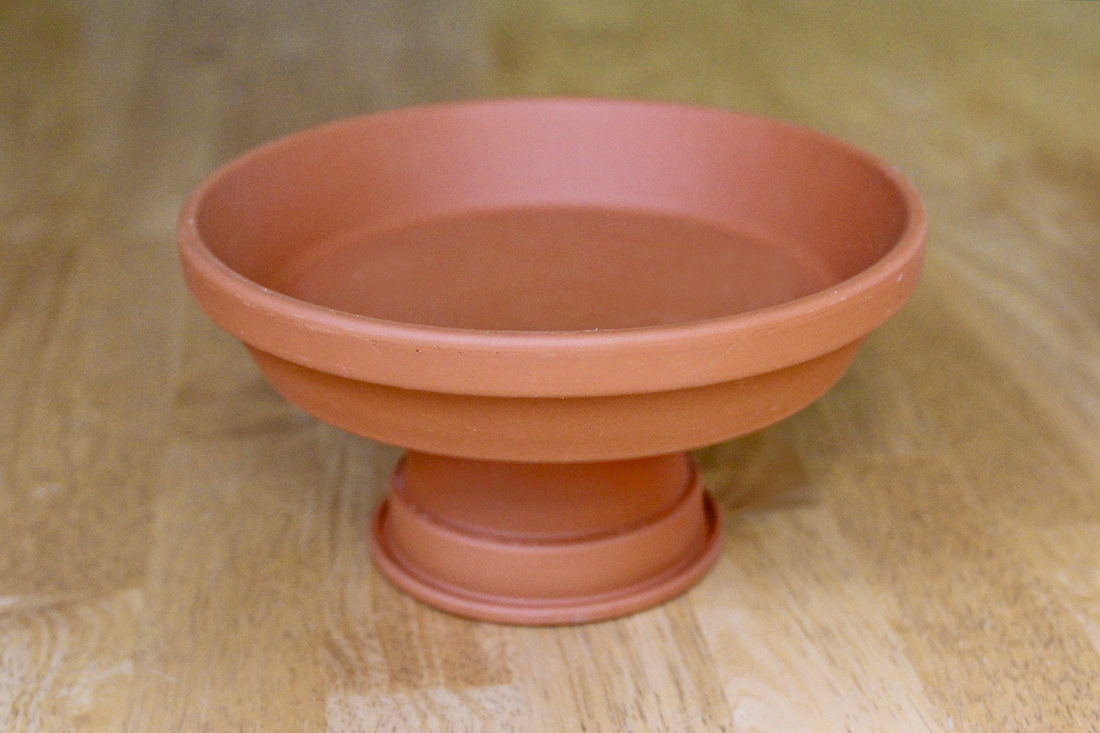 Now let's talk about paint. Since I planned to use these stands for both a fall birthday party and Thanksgiving, I wanted a rustic look. So I went to Lowe's and found myself looking for a nice earthy orange spray paint. And then I realized...the pots were already an earthy orange. Right. I decided to leave them unpainted for these upcoming events and unsealed in case I decide to paint them later for another occasion. If you leave them unpainted and unsealed, use a paper or plastic plate under your food so you don't stain the stand. If you decide to paint, find a clear, food-safe (or "food grade") sealer to apply over the paint. You don't want your treats soaking up nasty paint chemicals. (Now you can see them here painted glossy white.) 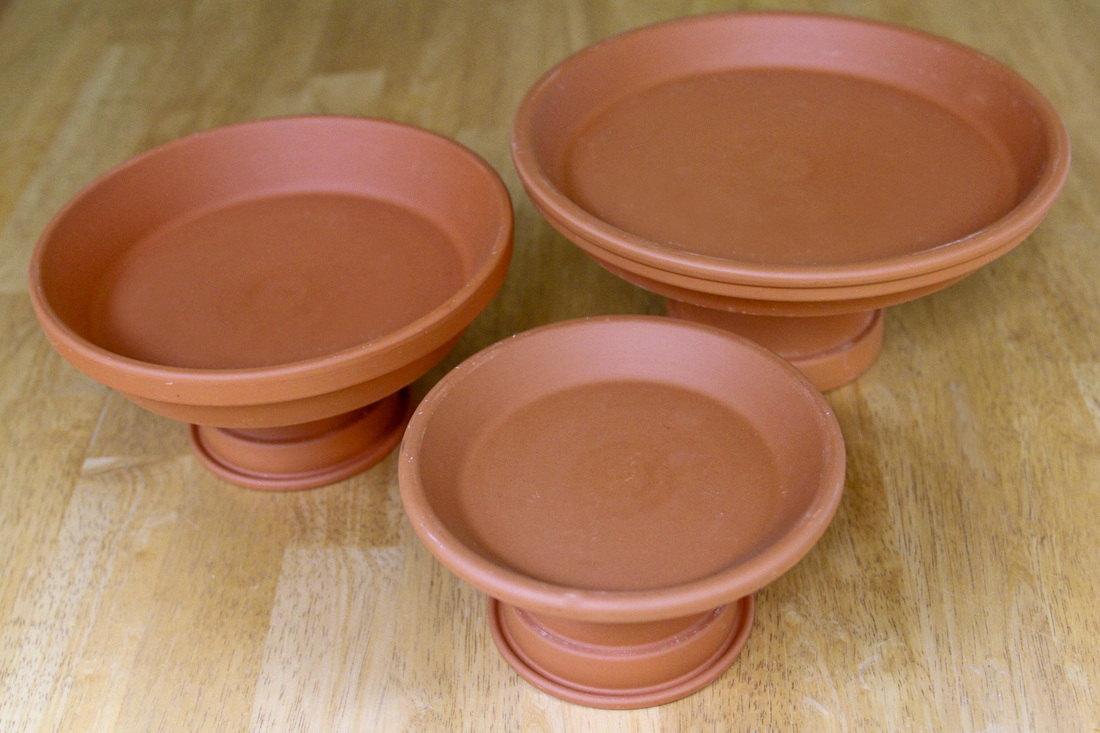 One benefit to making three stands is that you can use some for serving food and others for display.  Now head over to sweet tarte to check out the pumpkin doughnut muffin recipe. Right away. Tout de suite. These muffins would be perfect for a fall brunch. Or just for nibbling away on a cool morning, coffee in hand. Our official taste tester heartily approved them for a post-nap snack. 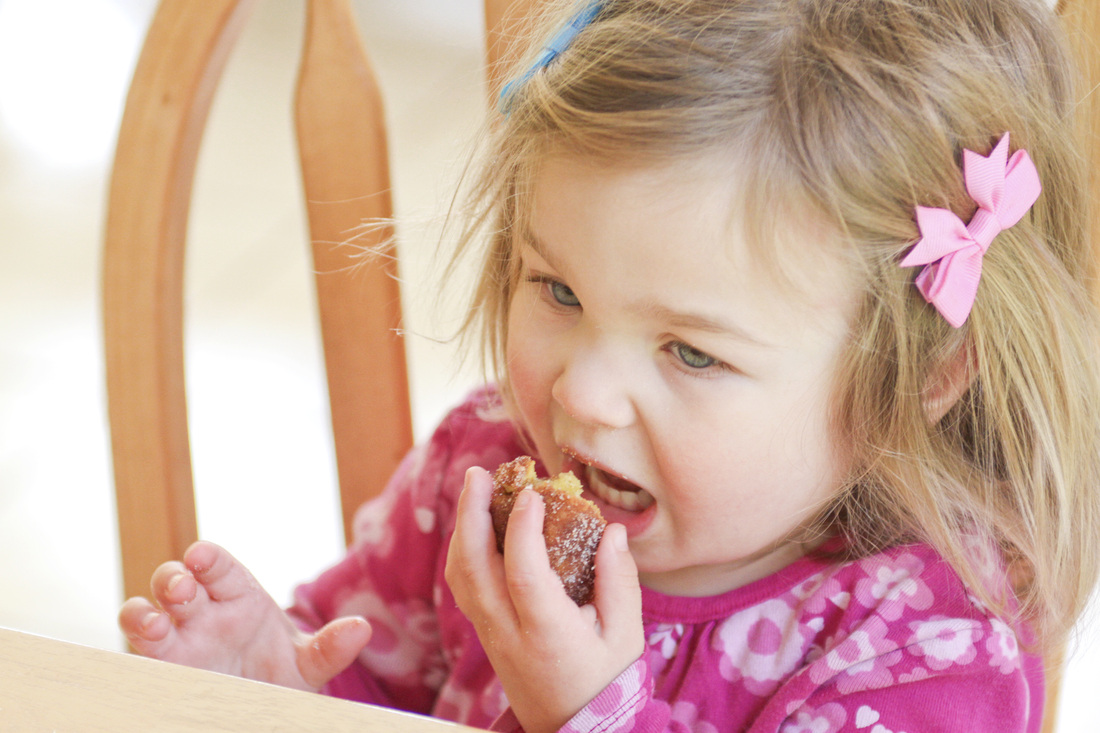 Looking for more fall decorating ideas? Check out this yarn wreath or this candle and coffee bean centerpiece.
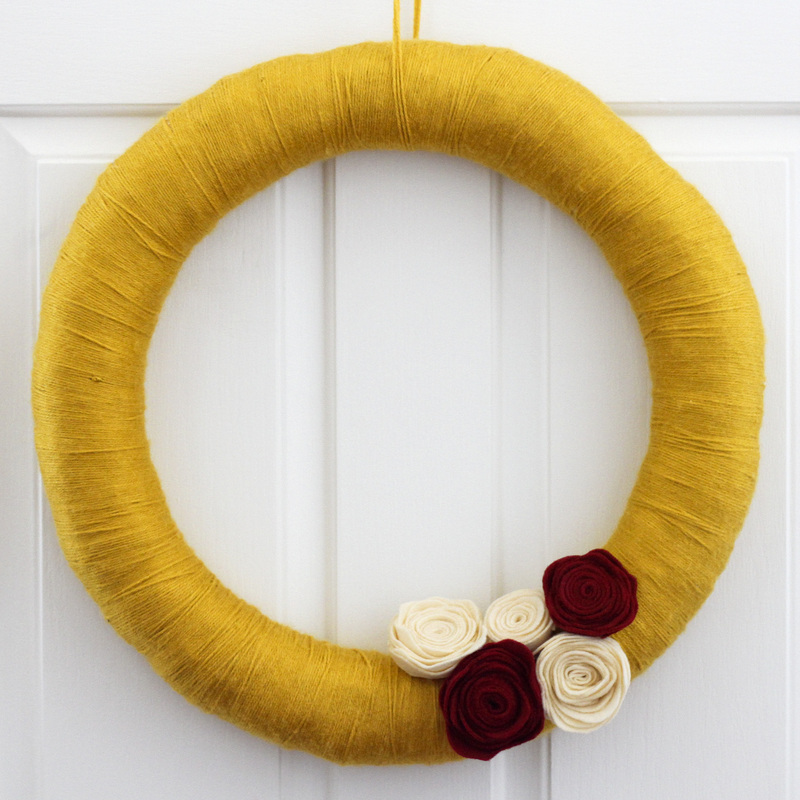 How do you feel about the yarn wreath trend? I wasn't sure until I came across this lovely wreath on Pinterest. Now I'm a convert. The color combination and simple felt flowers drew me in, as did the fact that with a little embellishment it could double as a Thanksgiving and fall birthday party decoration. 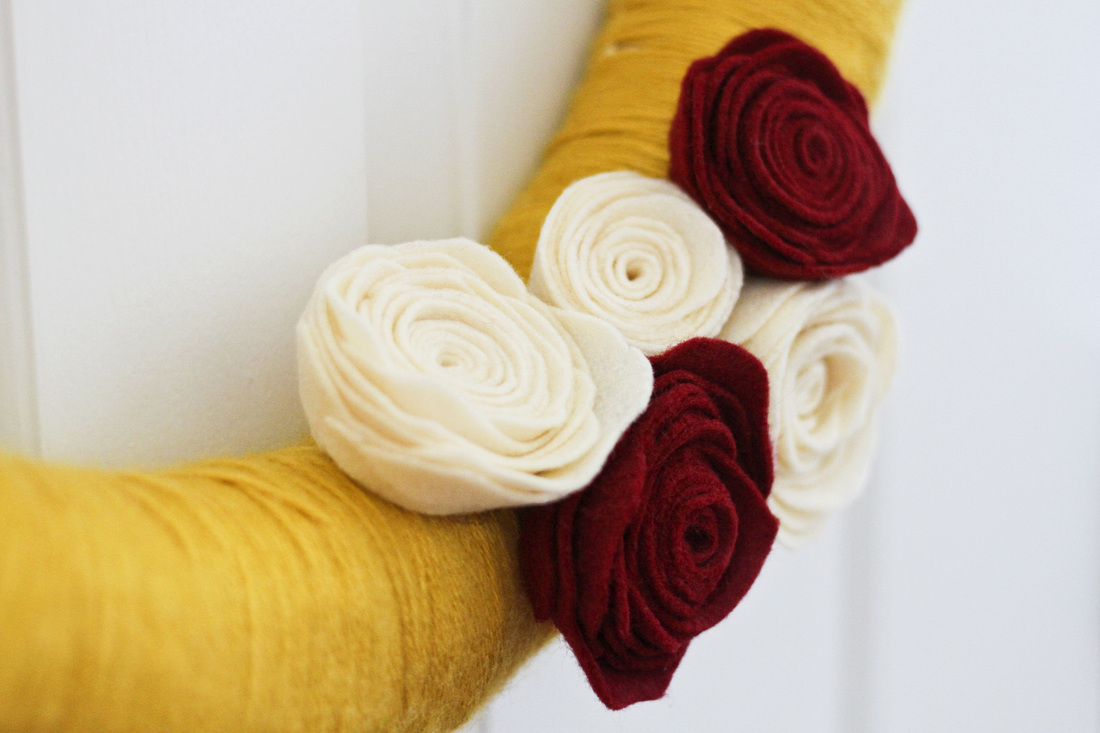 To make the wreath, I followed these instructions, using an 18-inch diameter straw wreath and leaving the plastic wrap on. I had to dip into a second spool of yarn (is spool even the right word here?) to finish wrapping and hanging the wreath. Cricket's birthday falls the weekend after Thanksgiving this year, so I'll be adding this little "2" to transform the wreath into a party decoration. I bought the unfinished wooden number, painted it with acrylic paint to match the felt flowers and hung it with extra yarn. Using an initial could be cute, too. There's still time to make one of these for your fall festivities, so get wrapping! 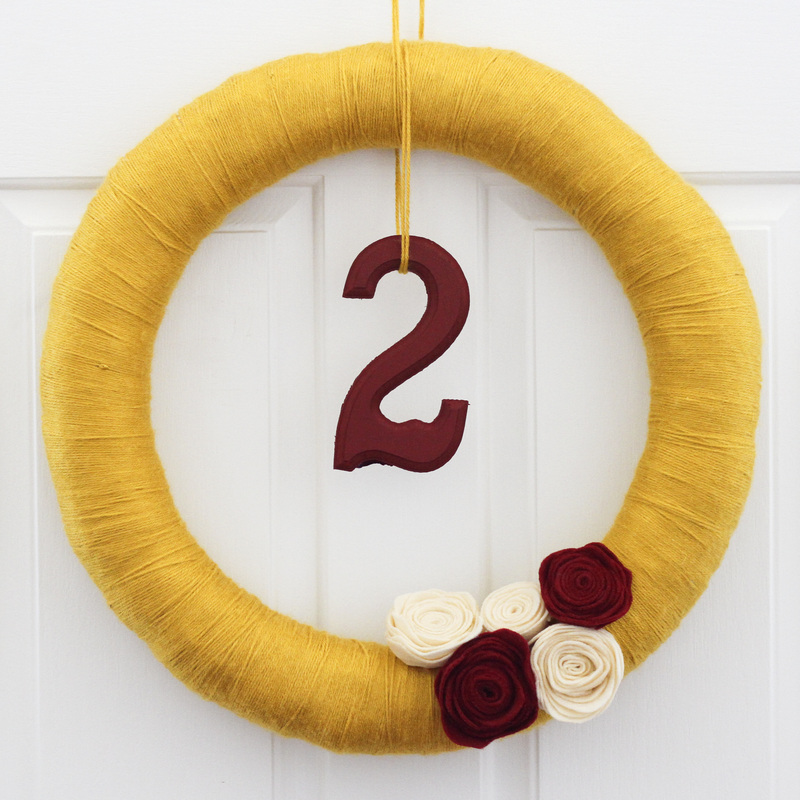 Looking for another fall display idea? Check out this candle and coffee bean centerpiece.
 We're always up for an adventure, but I have to admit that sometimes we arrive home from and trip with kids and wonder whether it was worth the herculean effort of packing the piles of essential gear, driving or flying with beings who just want to run around or be snuggled instead of sit belted in, and surviving the sleepless nights that a change in setting almost guarantee. Our recent trip to the Blue Ridge Mountains, however, was well worth all of the above. We spent a long weekend admiring the changing leaves and inhaling the fresh Appalachian air of Black Mountain and Montreat, NC, with two of my three sisters and their families. Our tiny lady travel companions included the following: Our girls, Nora and Cricket.  The lovely sisters, Cousin L and Cousin P.  And sweet Cousin I. 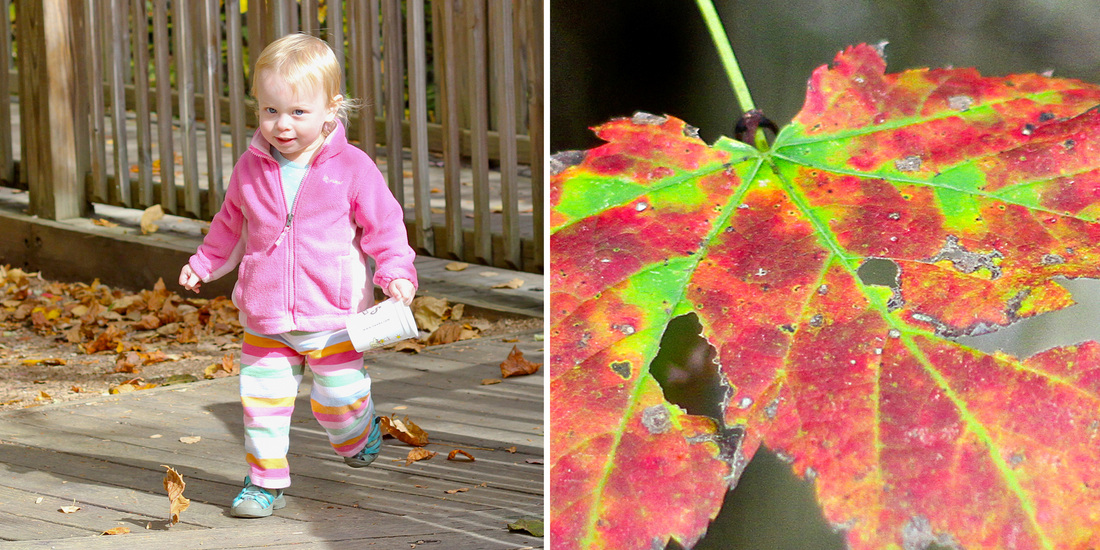 We rented one giant house together in Montreat, which—despite the secular nature of our trip—is actually a little town built around a religious conference center. With a killer playground. And hiking trails. And free paddle boats. What could be more exciting for a group of five girls (all under 4 years and four under 2 years) and their haggard parents? Attempting to eat at a restaurant with all the girls was a comedy of errors. Thankfully The Morning Glory Cafe and The Artisan provided us with delicious breakfasts, and everyone there managed to laugh instead of cry when our chaotic group approached. You can only imagine the complexity of the six parents' coffee orders... 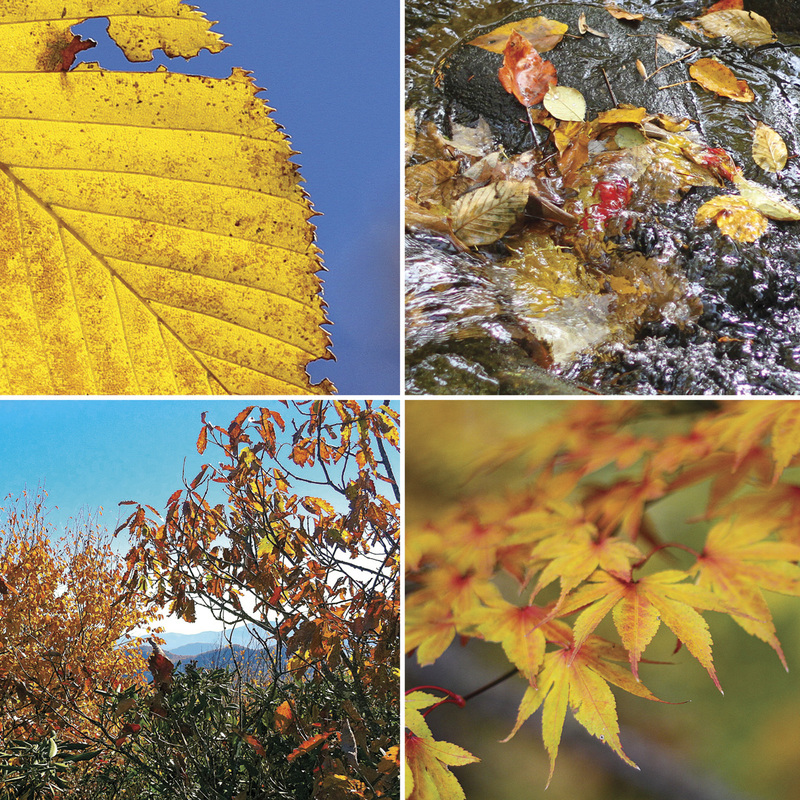 While the others caused trouble at the playground, Meg and I, with Nora snuggled into the Ergo, snuck away for a hike up the Lookout Trail to Rattlesnake Mountain. It was a low-key trail with spectacular views. They don't call this range the Blue Ridge for nothing.   Below, clockwise: P and Nora admire each other. Cricket and Dad take a walk to check out the leaves. The colorful driveway to our rental house. Half of us take a spin on a paddle boat (also known to some as: “Tiny boat! Tiny boat!). 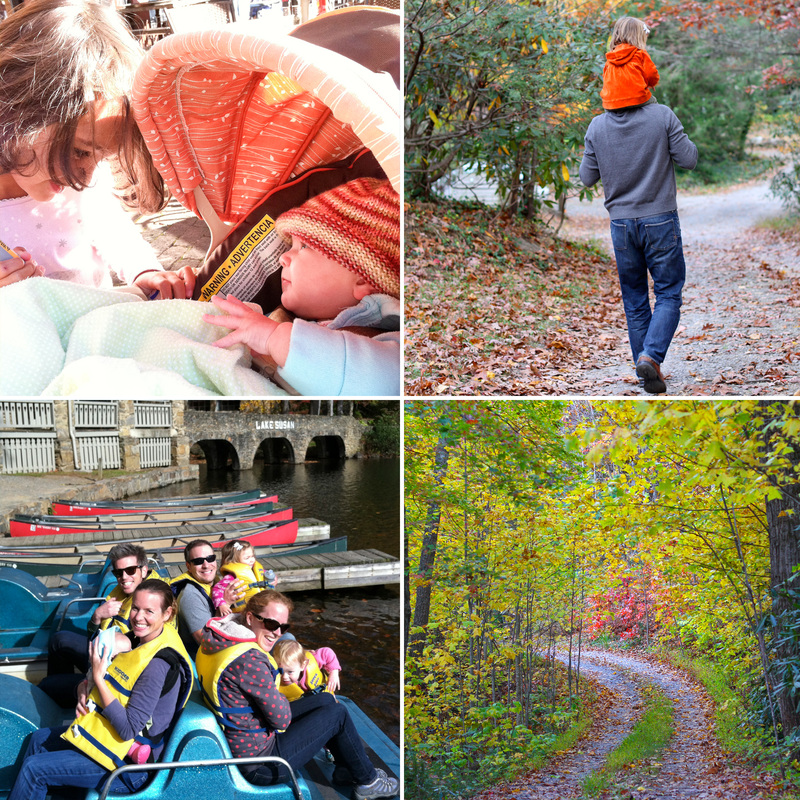  Below, clockwise: P helps push the stroller. Cricket runs around the playground wearing a stunning ponytail (thanks, Meg!). Five girls descend upon a mountain house as Jeff looks on, beer in hand. Nora and I hike the Lookout Trail. 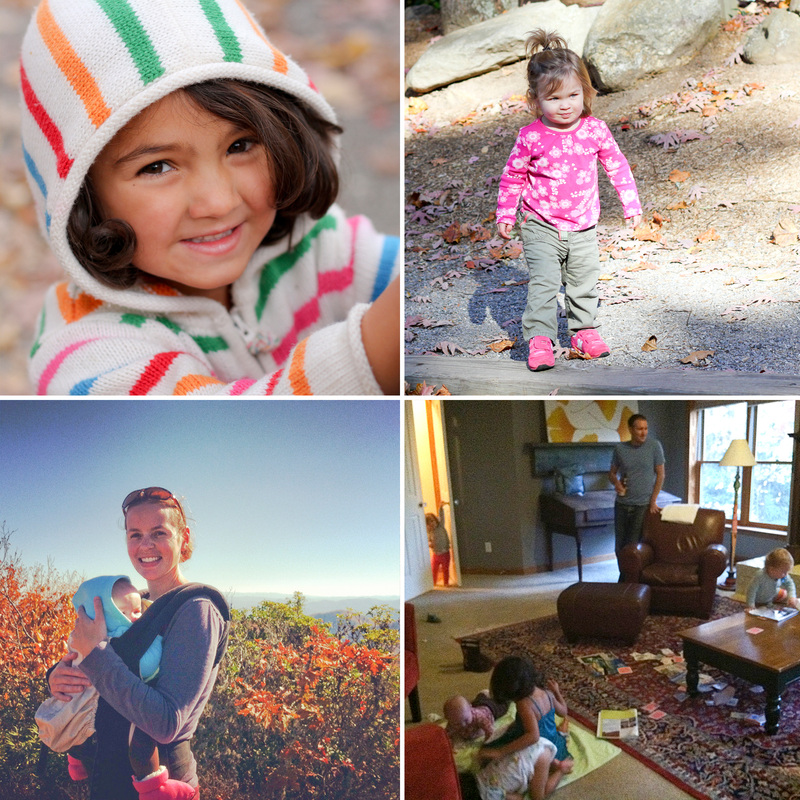 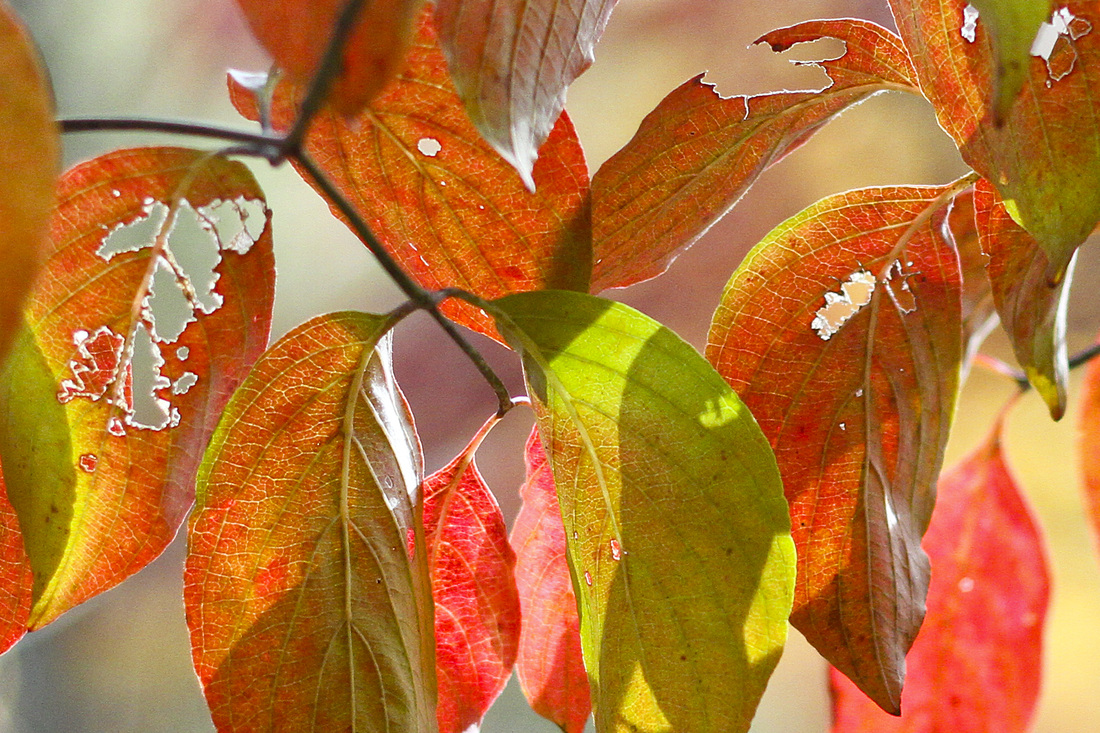 |
My new book is out! Click to learn more about it.
Hello there
I'm Julia Soplop, writer and photographer. I believe there is something profound in bearing witness to moments of joy and pain in others’ lives. My husband, three girls and I live outside of Chapel Hill, NC. You can read more about me here.
Snag my new photo curriculum for kids!
Categories
All

Popular posts |